onegirlmanyideas
  • Home
  • About
  • Contact
  • Lookbook
    • BUSINESS & ADVERTISING
    • LOGO & IDENTITY
    • MAGAZINE & LAYOUT
    • WEDDING & INVITATIONS
  • Services

my DIY high

There's nothing quite like stepping back and saying, "Yes, I made that." 

DIY // dipped wooden utensils

2/26/2017

Comments

 
Picture
Easiest DIY ever! 3 easy steps for dipped wooden utensils

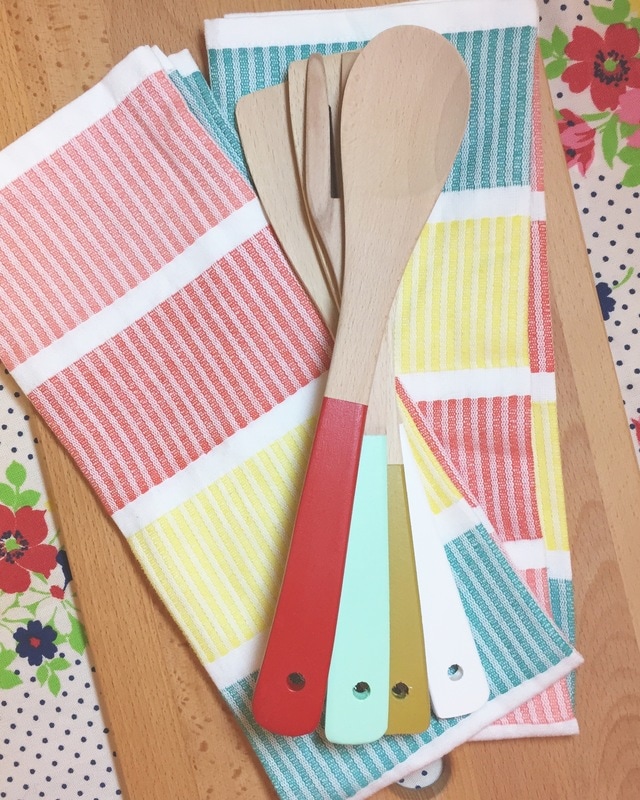
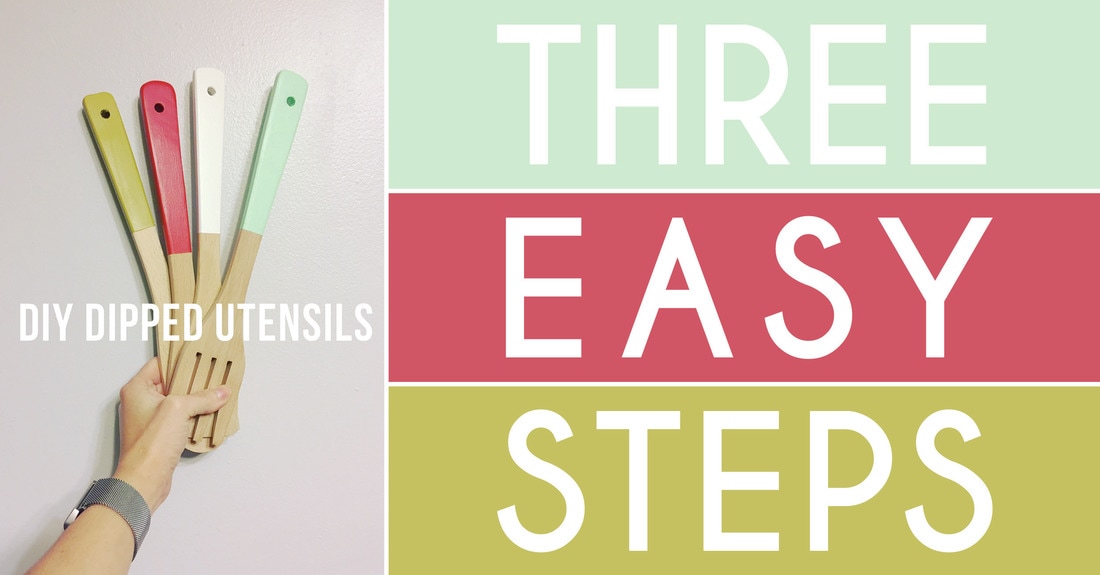
This is probably the easiest DIY I've ever done. 

What's better:
​
A) Under $10 for four painted wooden utensils, or B) a DIY project in under 30 minutes? 

How about BOTH!

What you need: 
  • A paint brush or two 
  • Wooden utensils - I have a whole hoard of wooden utensils, but of course...I got new ones from the DOLLAR TREE. Obviously, this was the inspiration for this project. The majority of utensils I already have were gifted to me from amazing places like Africa and Greece. I didn't want to taint their integrity with paint. You might have different feelings about your current wooden utensils. 
  • Paint - I used generic/cheap acrylic paint I already had. Alternately, it costs anywhere between $0.50 and $1 each at Hobby Lobby. I factored this into my less than $10 guesstimate. 
  • Painter's tape or masking tape 
  • Cookie rack - this is optional. I used mine to hold the utensils up for drying. You could also use a cup. 
  • All purpose sealer - this is to help seal the acrylic paint. If you're just using these for decor, don't worry about it. If you're planning to actually cook with them or use them, I suggest sealing it. Some tutorials suggest food safe shellac. I was in too much of a hurry to hunt that down, so I settled with the sealer. I definitely plan to hand wash...aren't you supposed to hand wash wooden utensils anyway? Sealer is around $3. 


What to do: 
Drum roll please...
Picture
Picture
Picture
Picture
Easiest DIY ever! 3 easy steps for dipped wooden utensils
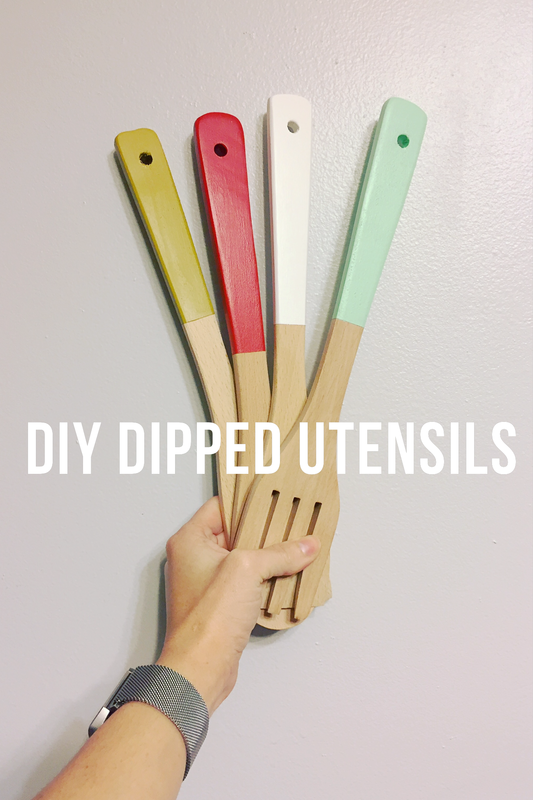
There you have it! The easiest and quickest DIY ever. I hope you enjoy your dipped utensils. Don't forget, handwash only! 
PictureEasiest DIY ever! 3 easy steps for dipped wooden utensils

Pair them with some colorful dish towels and a cutting board for an easy wedding or housewarming gift! 

Easiest DIY ever! 3 easy steps for dipped wooden utensils
Comments
    Follow
    Picture

    Hi, I'm Rachel. 

    I pick up other people's garbage and take it home. 


    Whatcha lookin for?

    All
    ABOUT ONE GIRL
    DECOR
    EASY DIY
    FREEBIE
    FURNITURE
    KITCHEN
    ORGANIZATION
    POWER TOOLS
    SERIES OPENER
    SEWING
    VIDEO TUTORIAL
    WEEKEND PROJECT

    Picture

    By Date:

    July 2018
    March 2018
    January 2018
    December 2017
    November 2017
    September 2017
    August 2017
    July 2017
    June 2017
    April 2017
    March 2017
    February 2017
    January 2017
    December 2016
    November 2016
    October 2016

    RSS Feed

onegirlmanyideas


Email

[email protected]
Follow
  • Home
  • About
  • Contact
  • Lookbook
    • BUSINESS & ADVERTISING
    • LOGO & IDENTITY
    • MAGAZINE & LAYOUT
    • WEDDING & INVITATIONS
  • Services