my DIY high
There's nothing quite like stepping back and saying, "Yes, I made that."

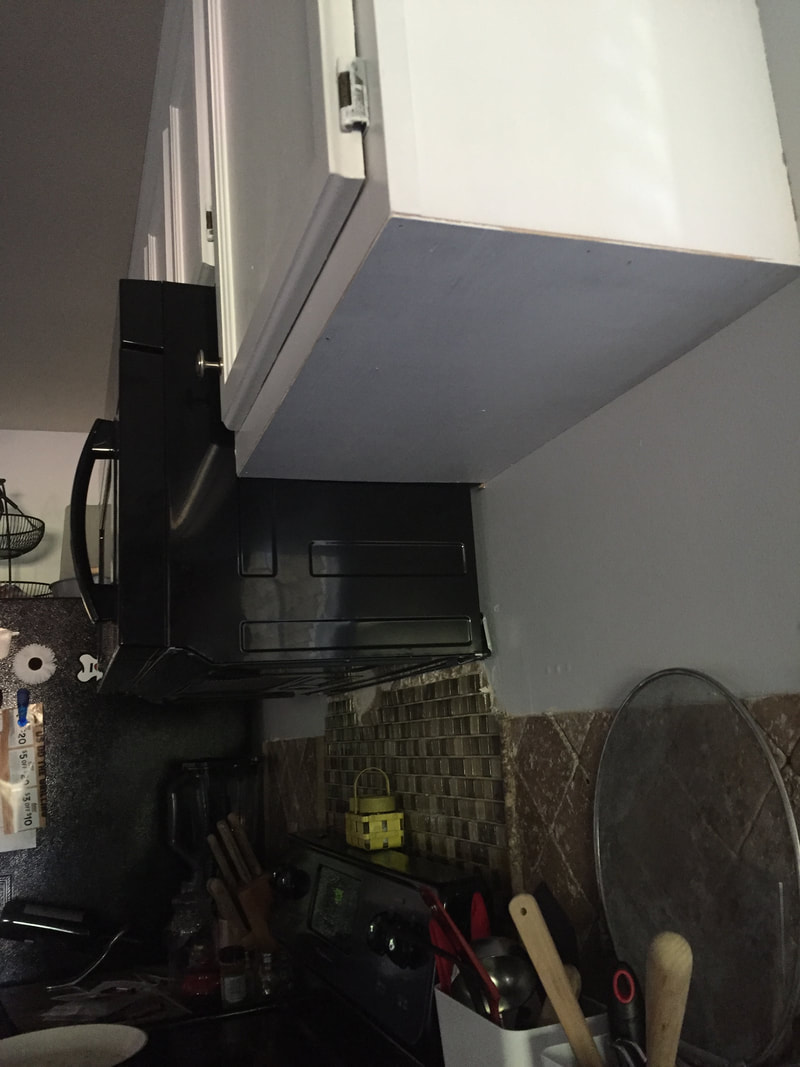
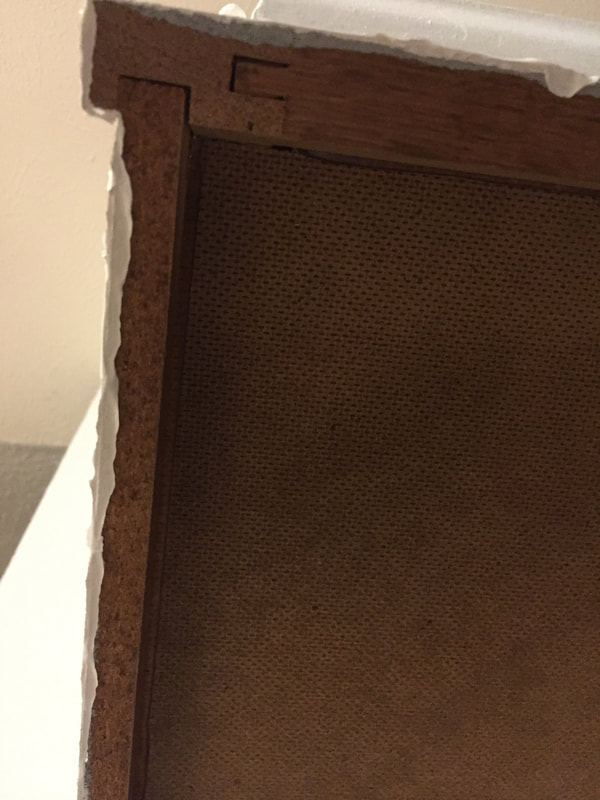
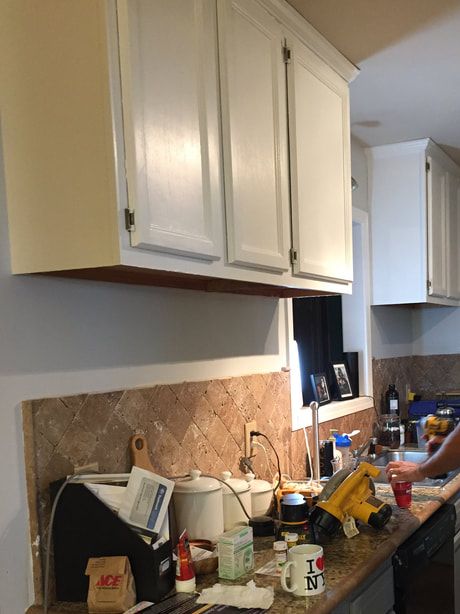
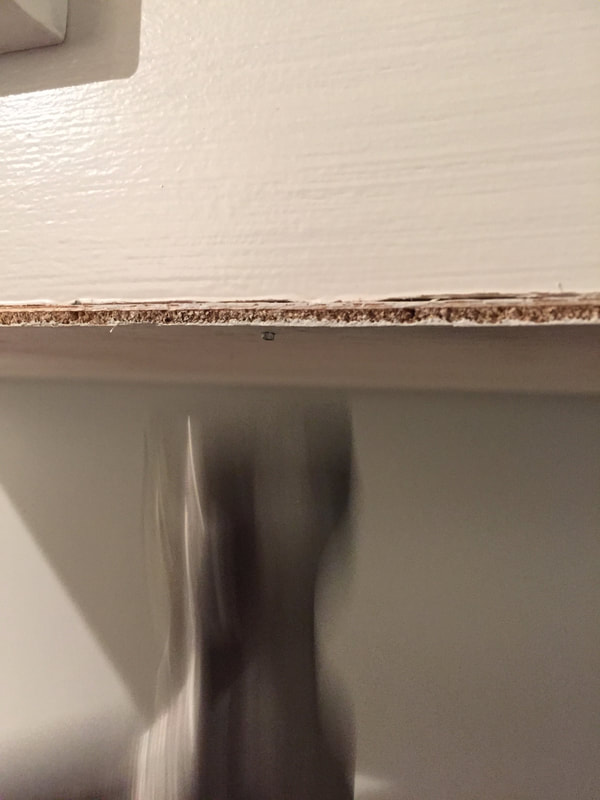
Before I started this project, I knew it was going to be a long one. Once the cabinets were raised, the ugly underside became MUCH more visible. The next step in our kitchen renovation was to cover that mess up.
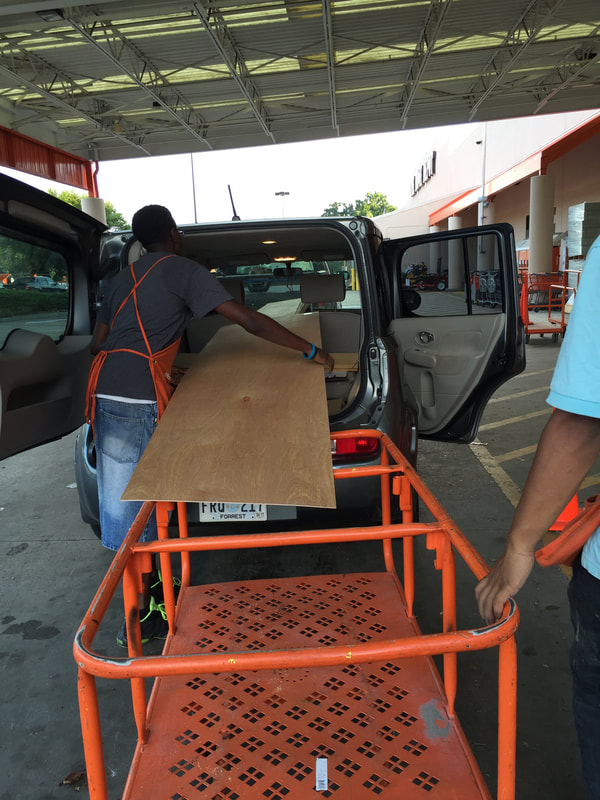
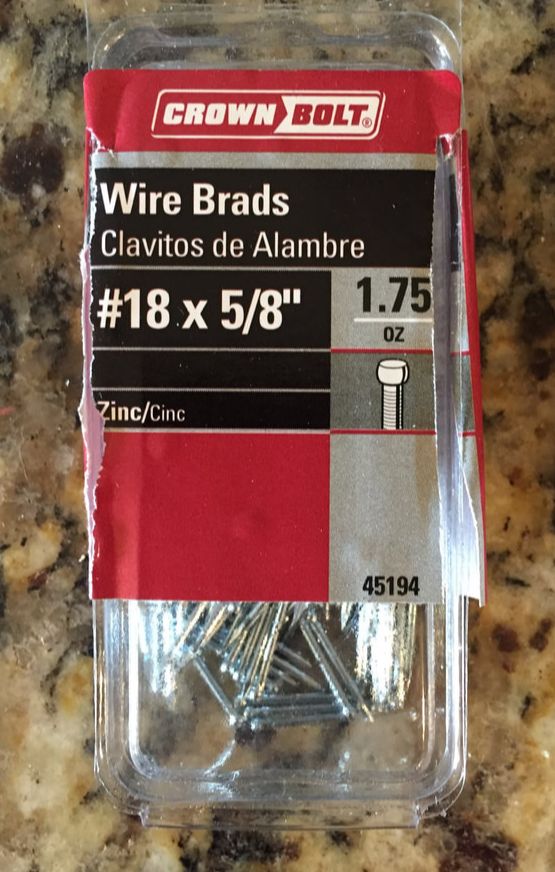
WHAT YOU NEED:
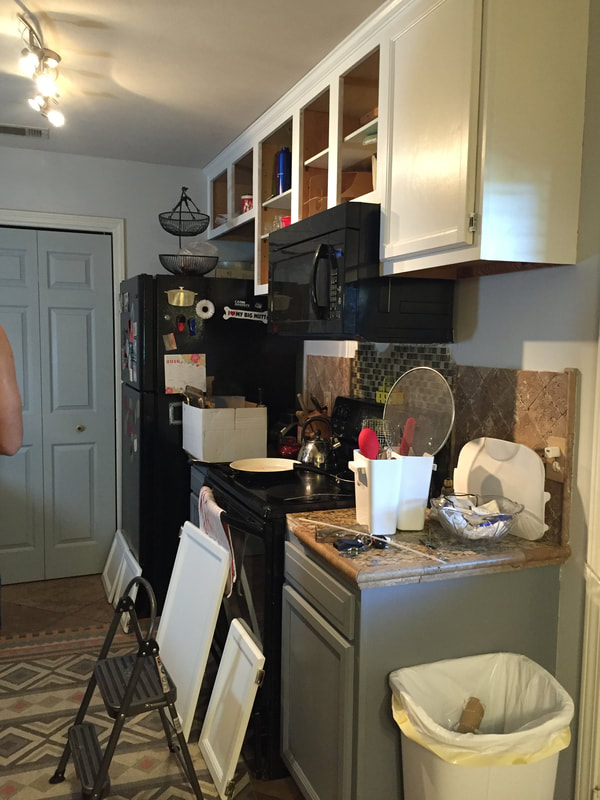
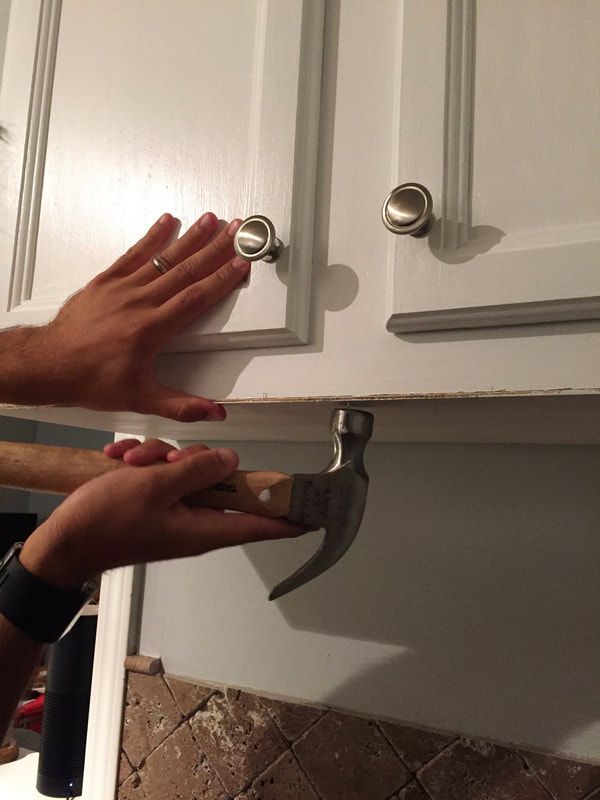
Slap some paint on, and nail it up! Then get to caulking/spackling all the cracks.
IF YOU'RE ADDING OPEN SHELVING:
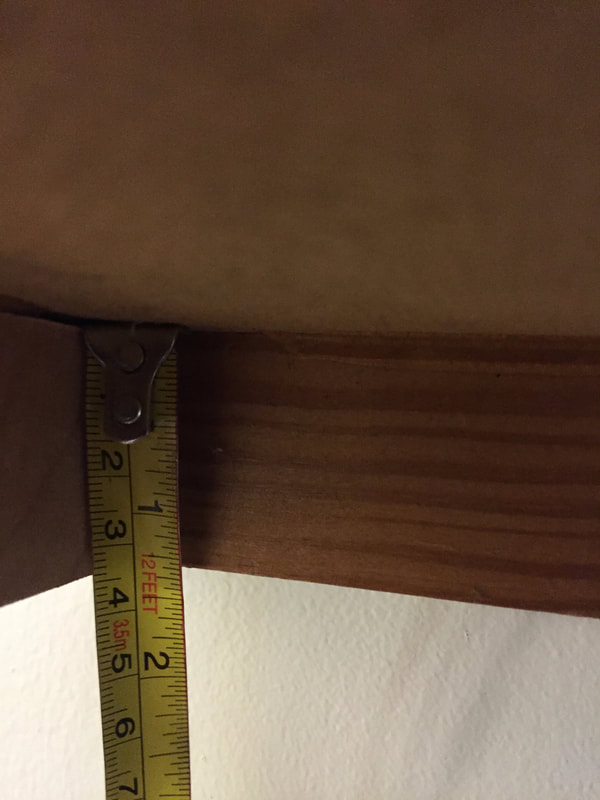
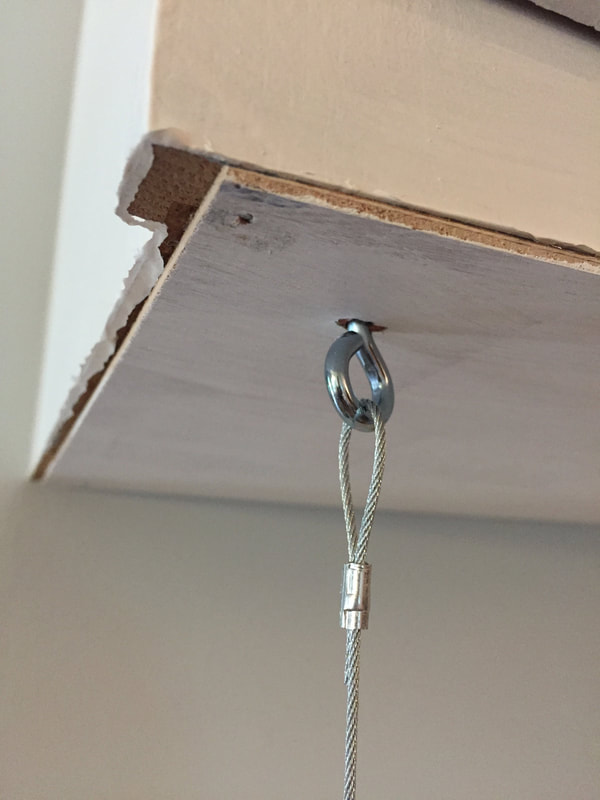
You will need to measure the distance between the bottom of your cabinet shelf, and the bottom of the cabinet edge BEFORE you cover them. Use this measurement to purchase your eye bolts for holding the shelves on! I drilled my holes after I attached all my bottoms, so you don't have to worry about doing that yet.
UP NEXT: adding open shelvingFollow the series by starting at the beginning:
YOU MIGHT ALSO LIKE:
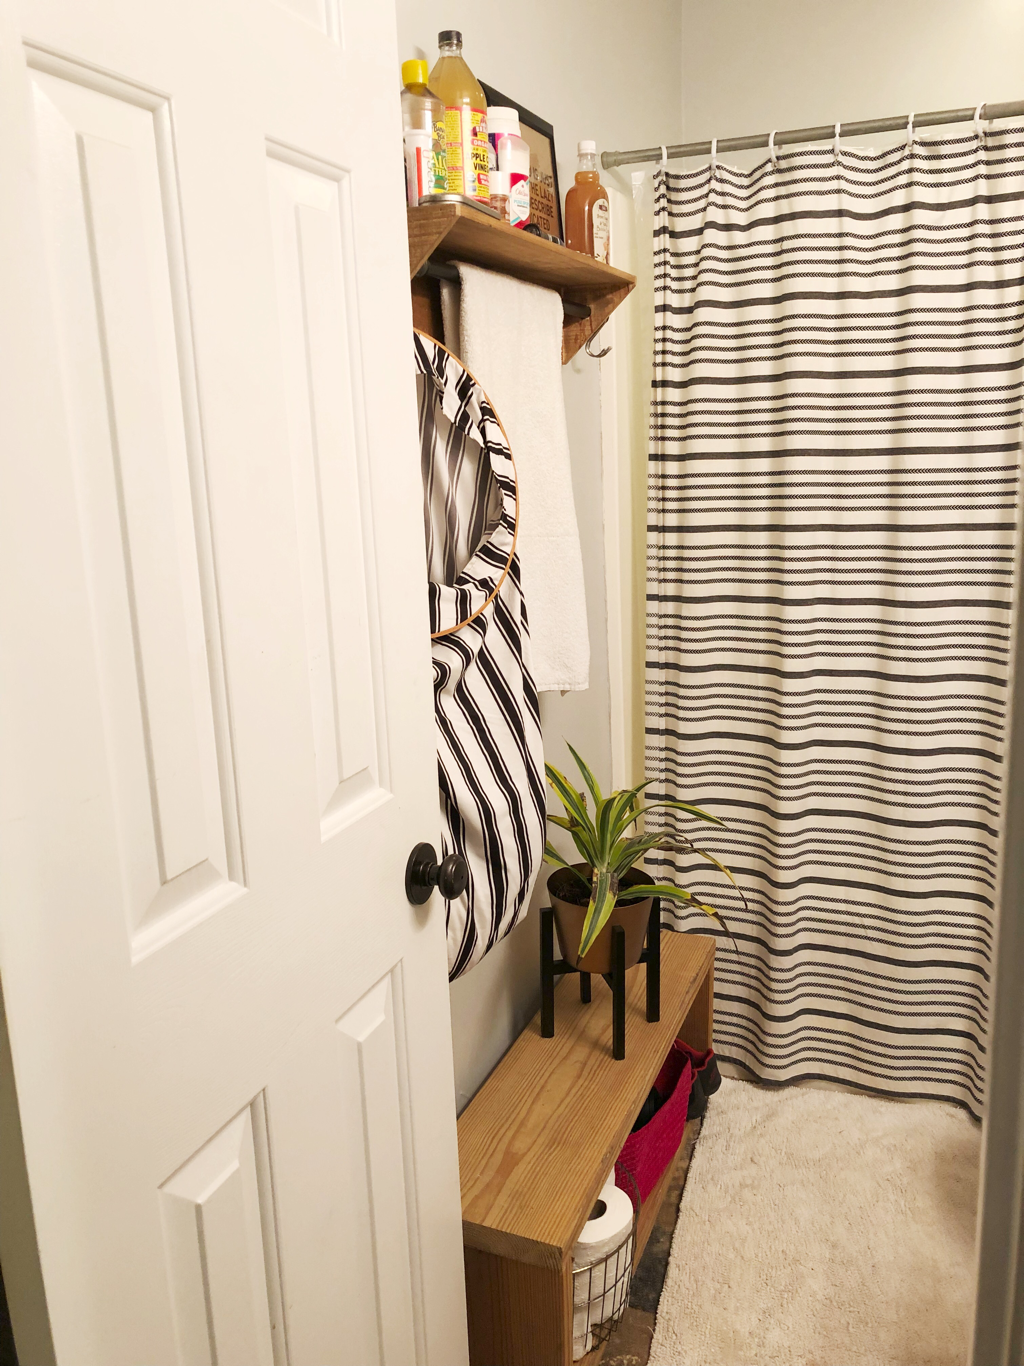
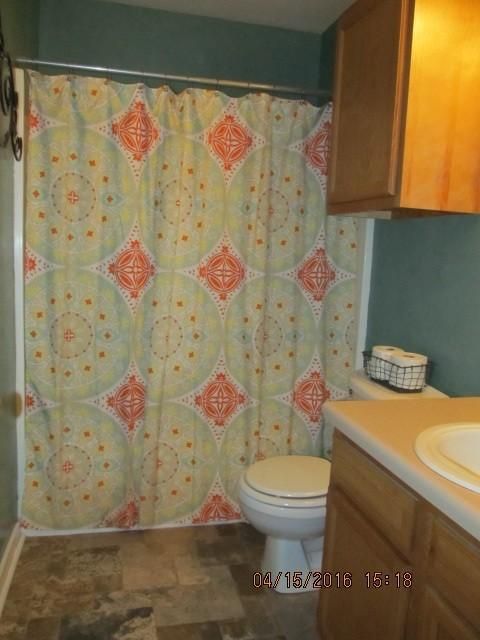
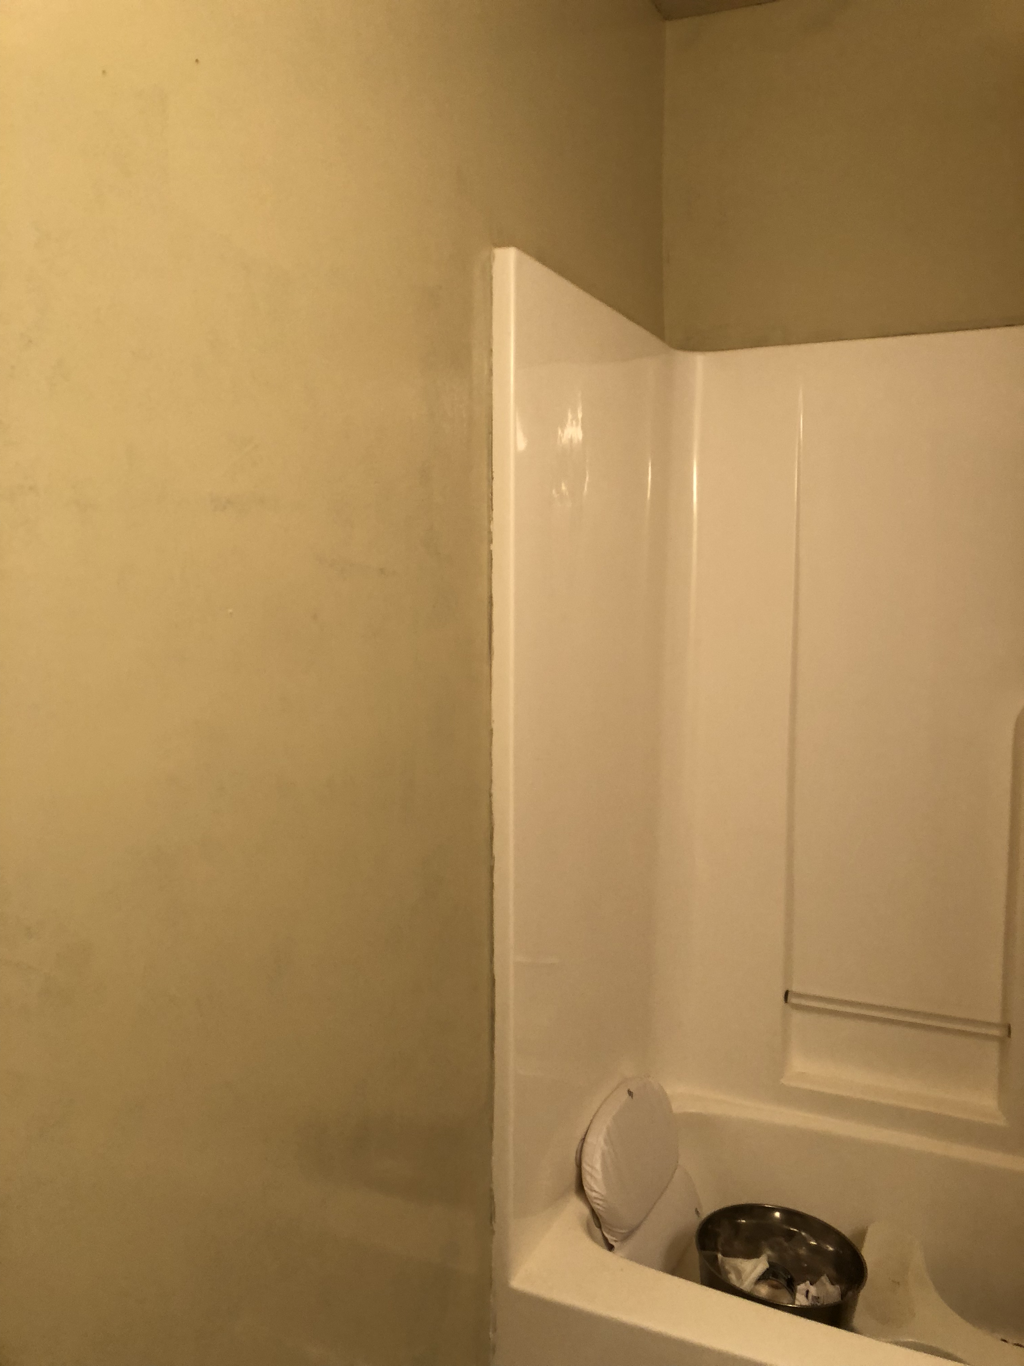
In our little home, we are fortunate enough to have 2 full baths. “My” bathroom is the master bathroom of course, and “Nathan’s” bathroom is the guest bathroom. Unfortunately, Nathan isn’t the cleanest person in the world. Granted his bathroom is pretty dang small, and it’s really the only place that is strictly his…It’s an area I’m too afraid to enter, and I tell all our guest to go through our bedroom to my bathroom because his is never organized.
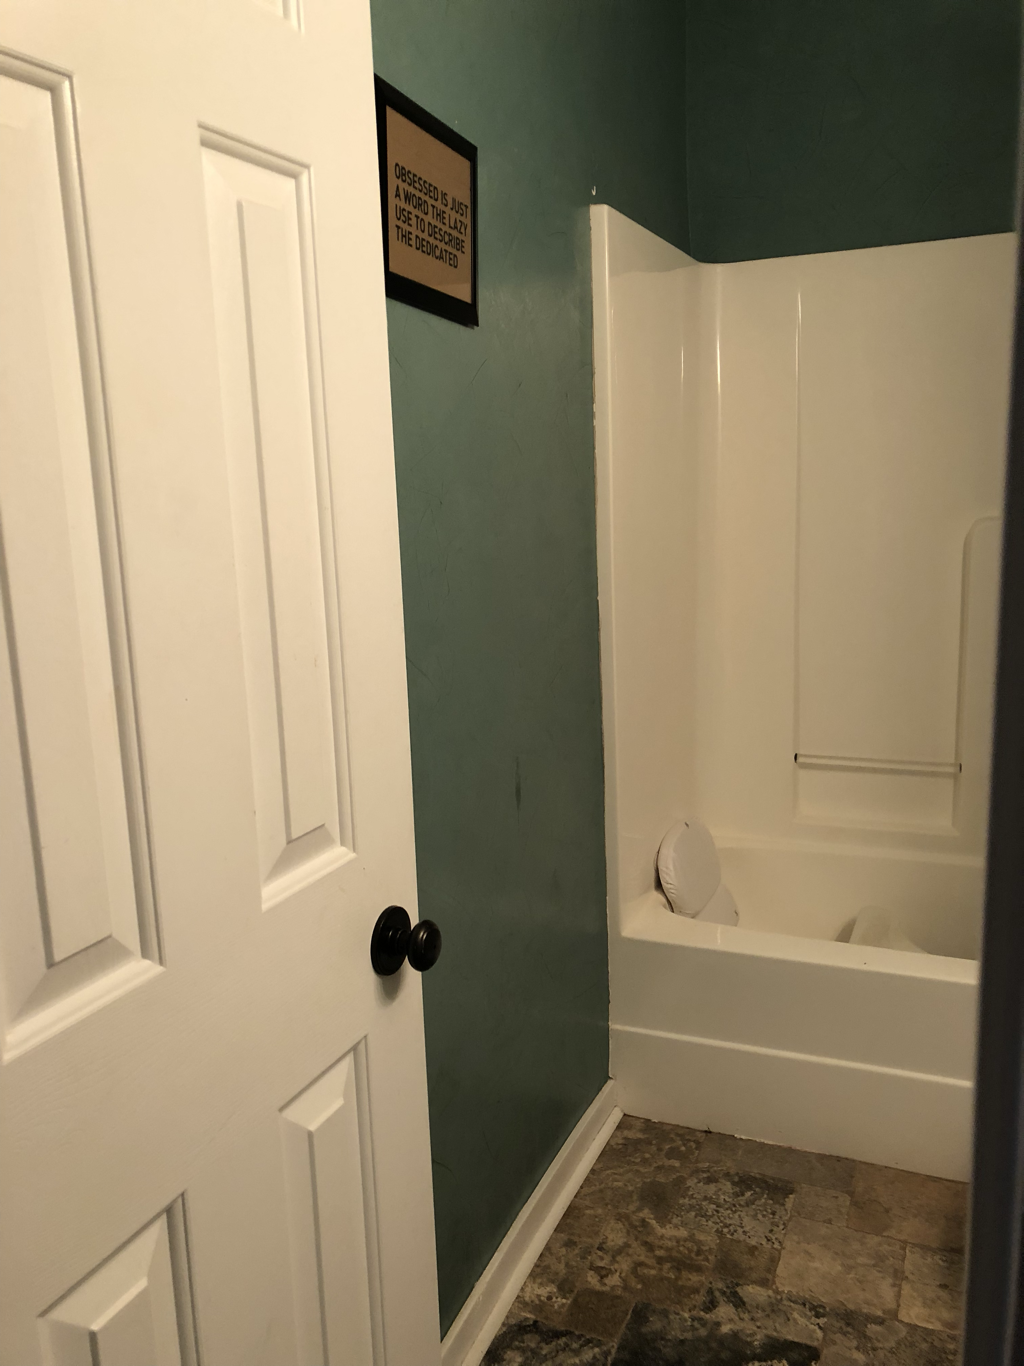
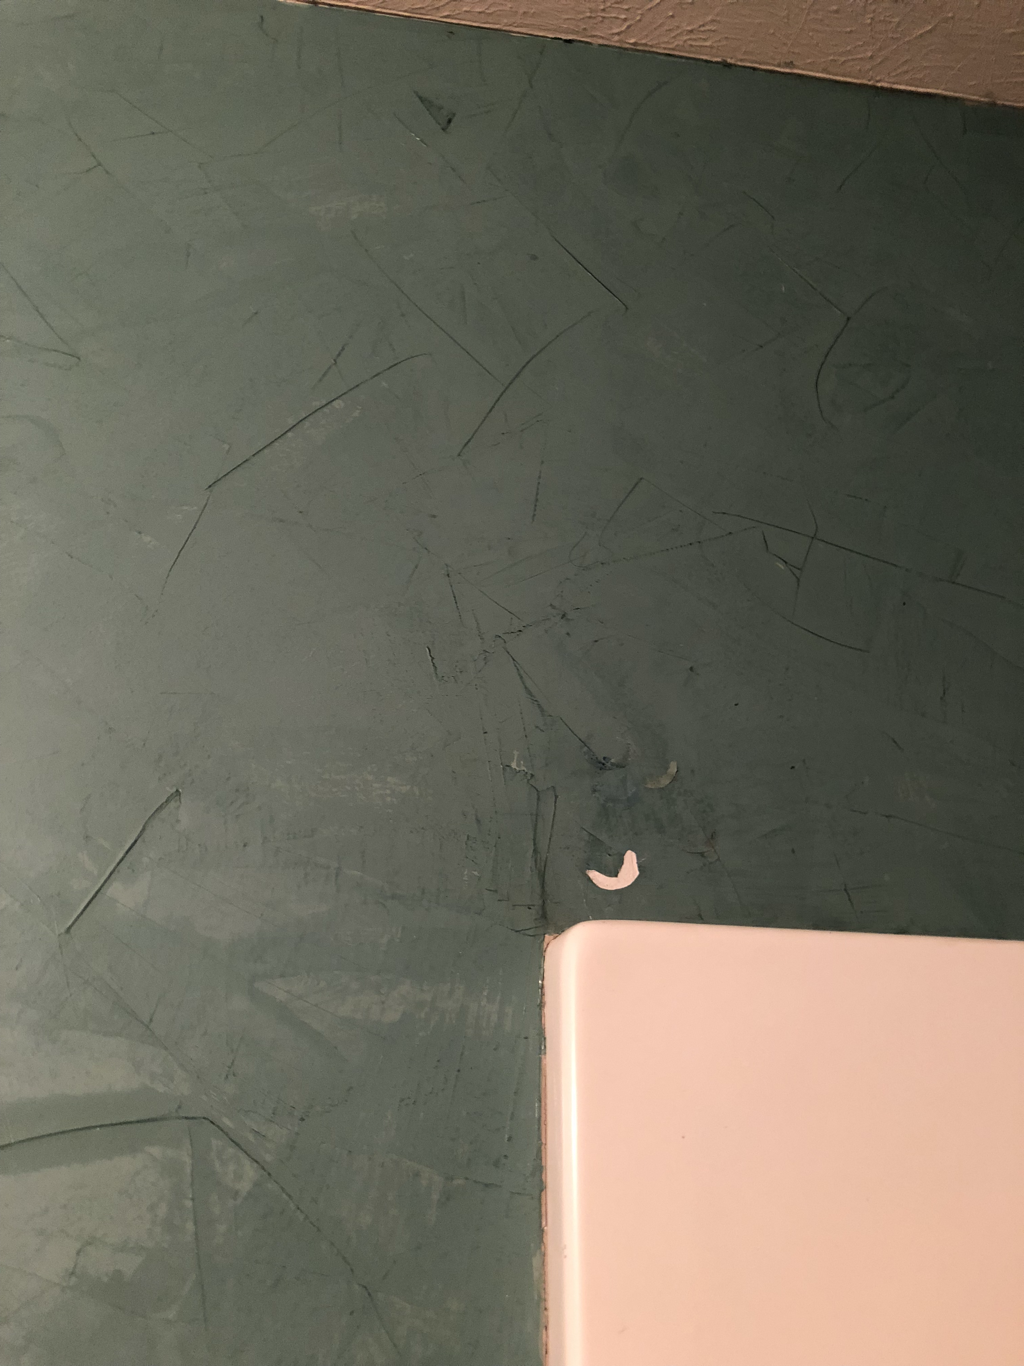
Another factor in the messy bathroom: this is one of only two rooms in our entire house that I didn’t paint before we moved in. Why, you may ask? Because the previous owners painted both bathrooms with this trowel textured wall finish that wasn’t totally my jam.
In the master bath I took the time to sand down all the walls, wipe them off with TSP and paint. It took a while. I got burnt out of bathroom work, so I didn’t dive into the guest bathroom until now. And you know what I did? I used some leftover base paint from the previous owners and painted right over the texture.
I think it helped cover up some of the texture, and I know it helped as a base coat. I only had 1/2 a can of leftover grey paint!
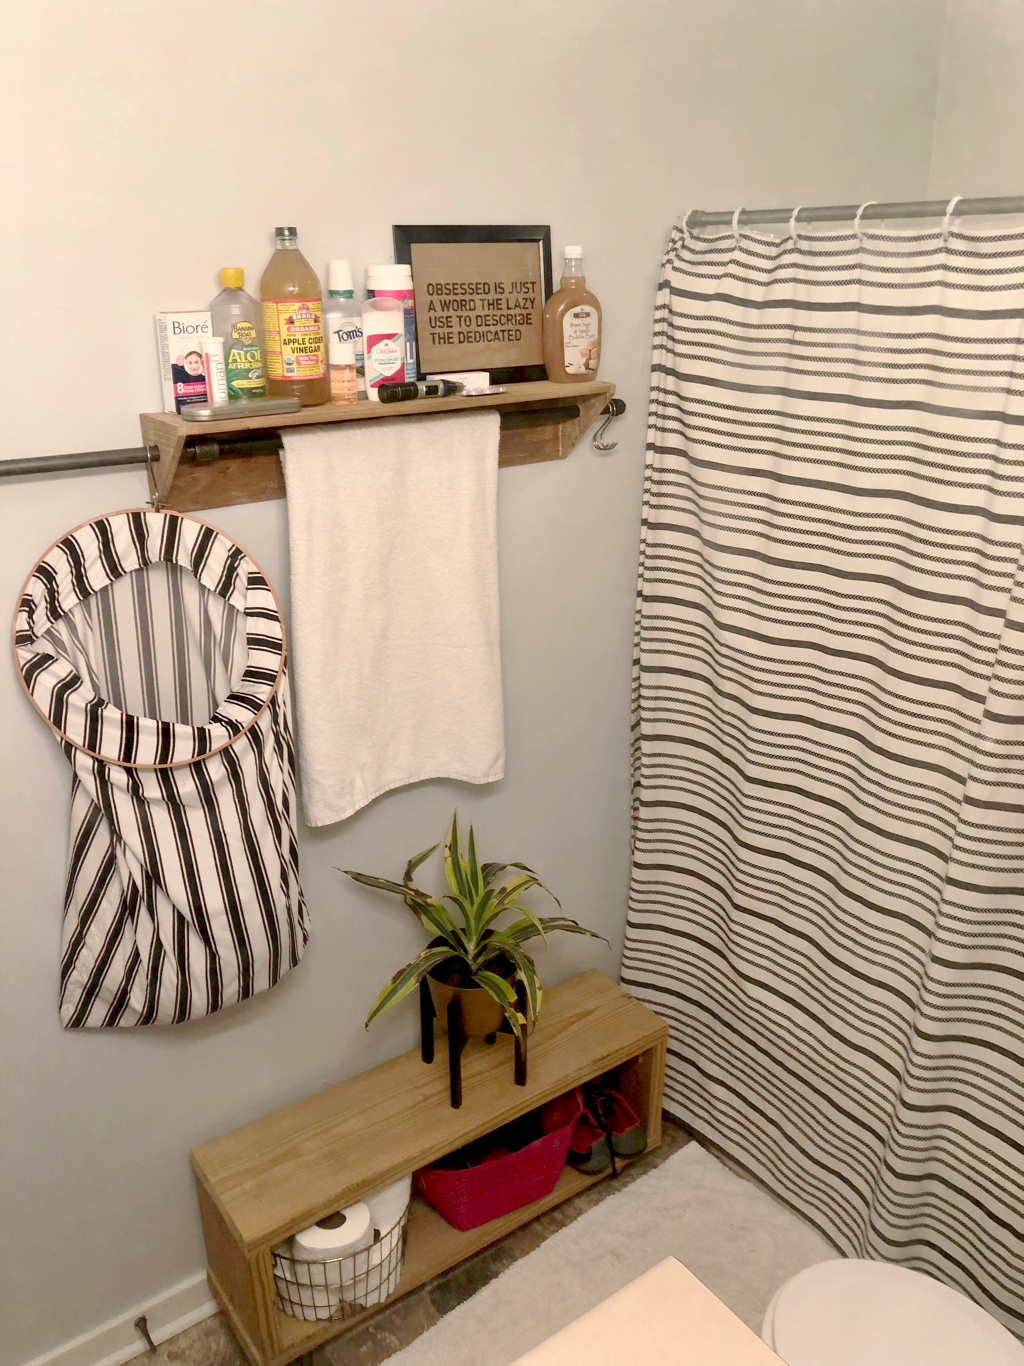
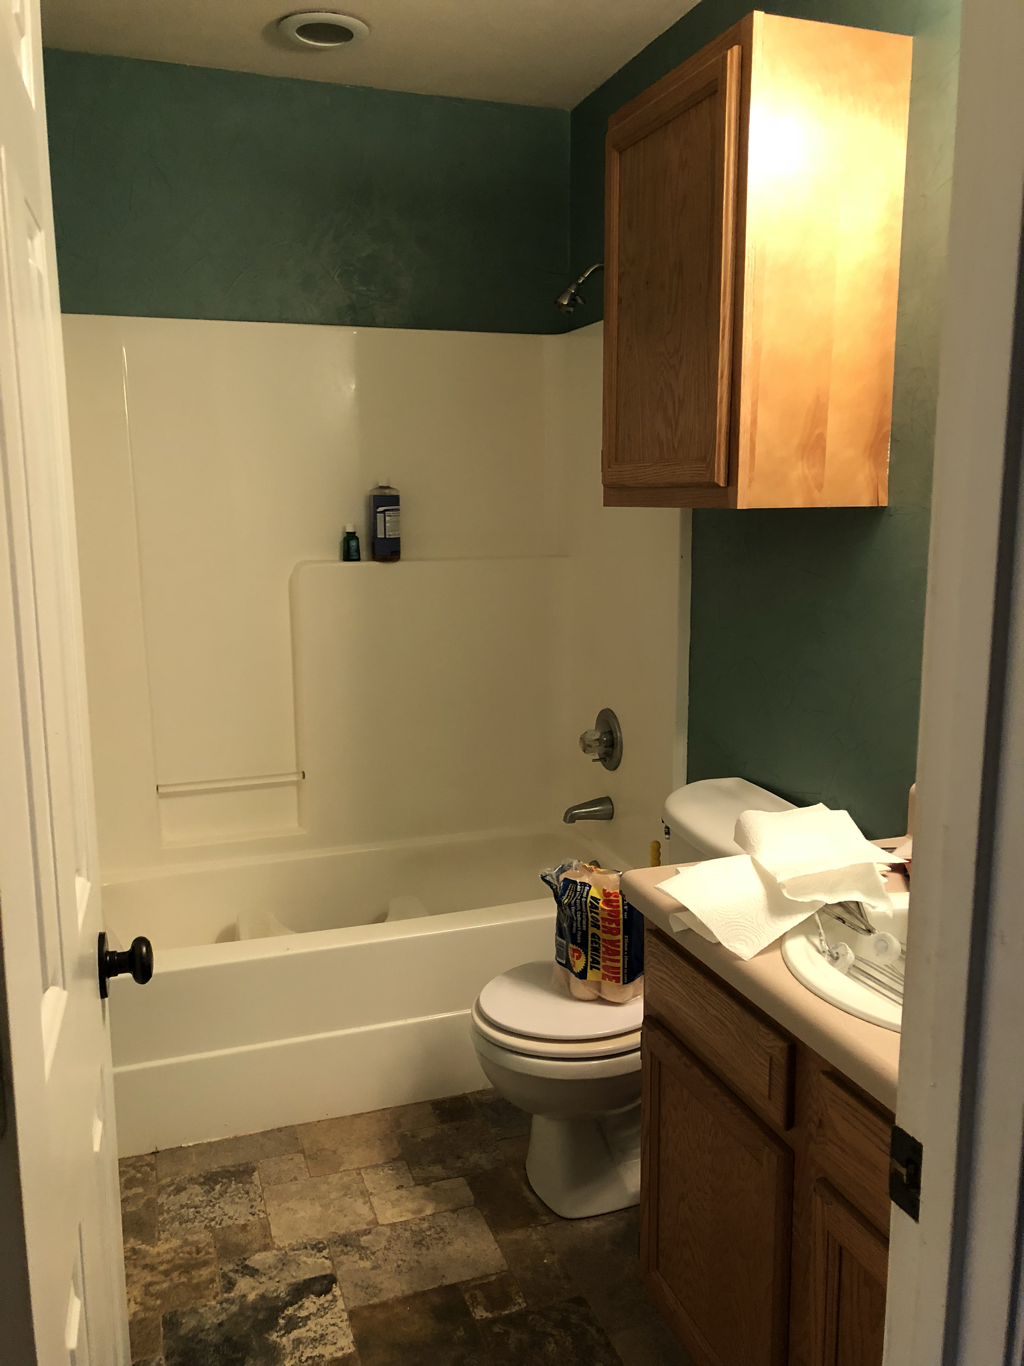
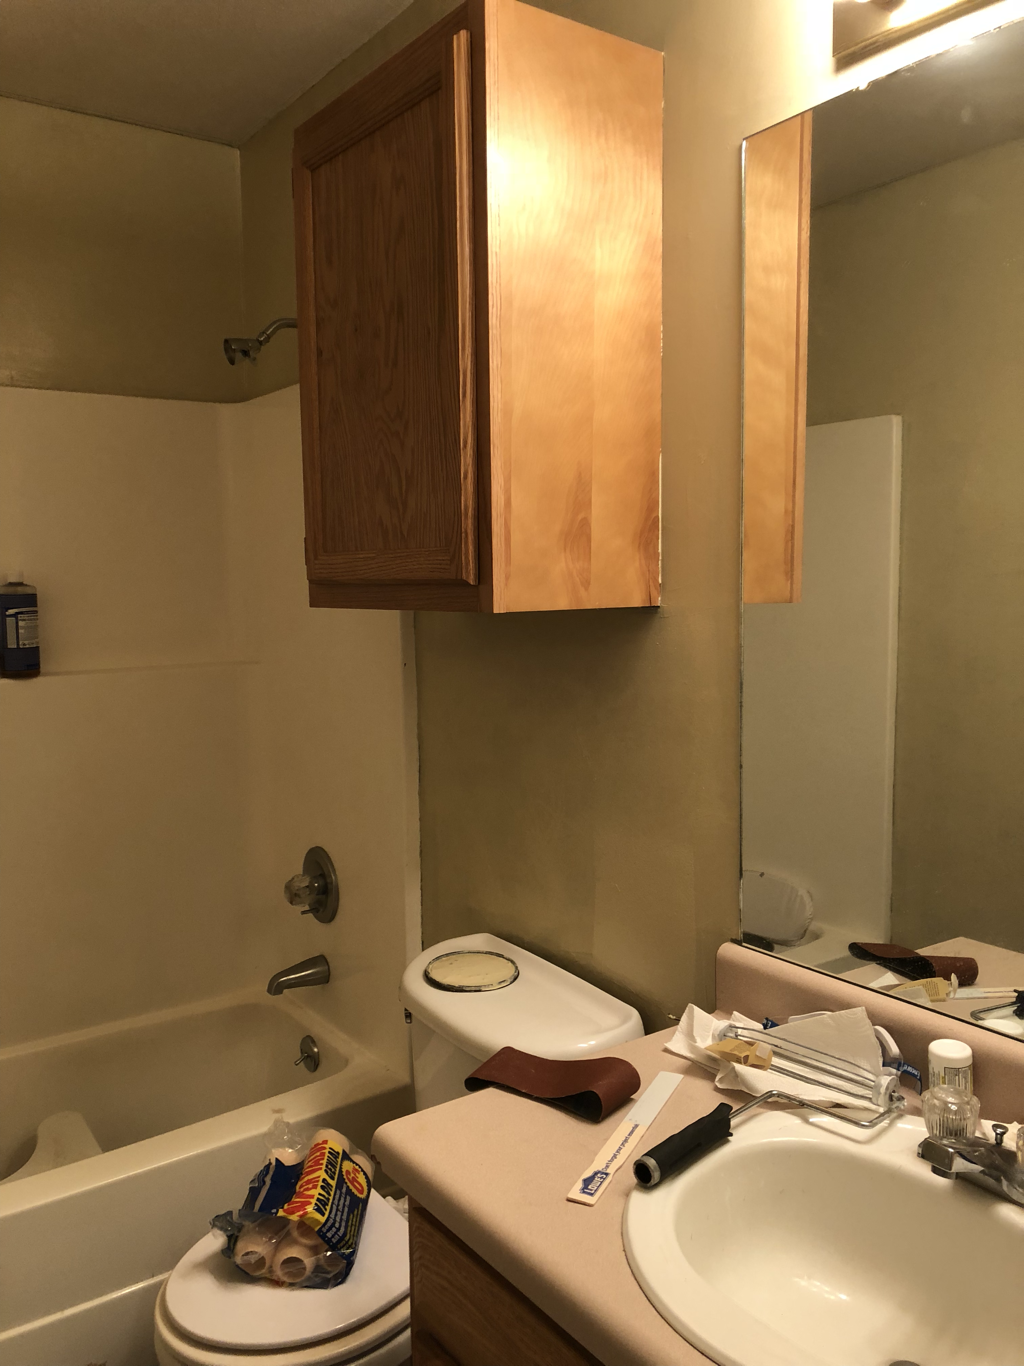
I had some left over black iron pipes from a previous project. Add this shelf from Hobby Lobby and you have a 2-in-1 storage space and towel rack! FYI, cleaning black iron pipes is a serious pain in the rear. Don't think you can just go out and buy a pipe for a towel rack because your towel will be covered in black grease. Maybe I'll do a post later on my experience with pipe cleaning....
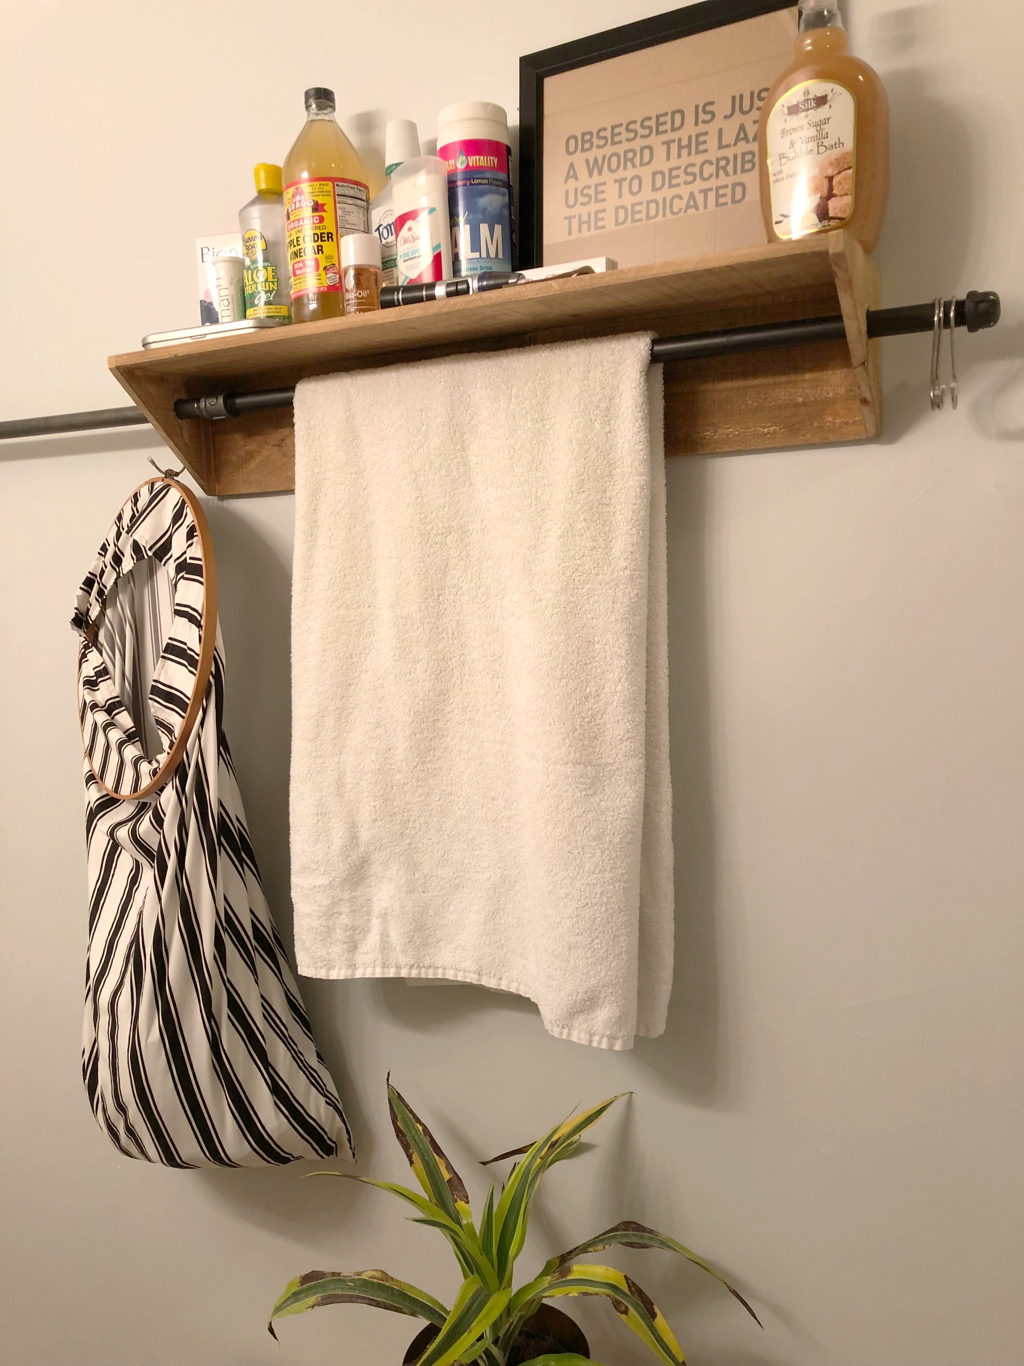
Please ignore the half dead plant there. My favorite pastime is to go to Lowe's and buy clearance plants. Do I usually revive them? no. But I'm getting better!
Check out my LAST POST to find out more about this rolling storage bench. Also, check out my instagram story highlights for more on this cheap DIY laundry basket.
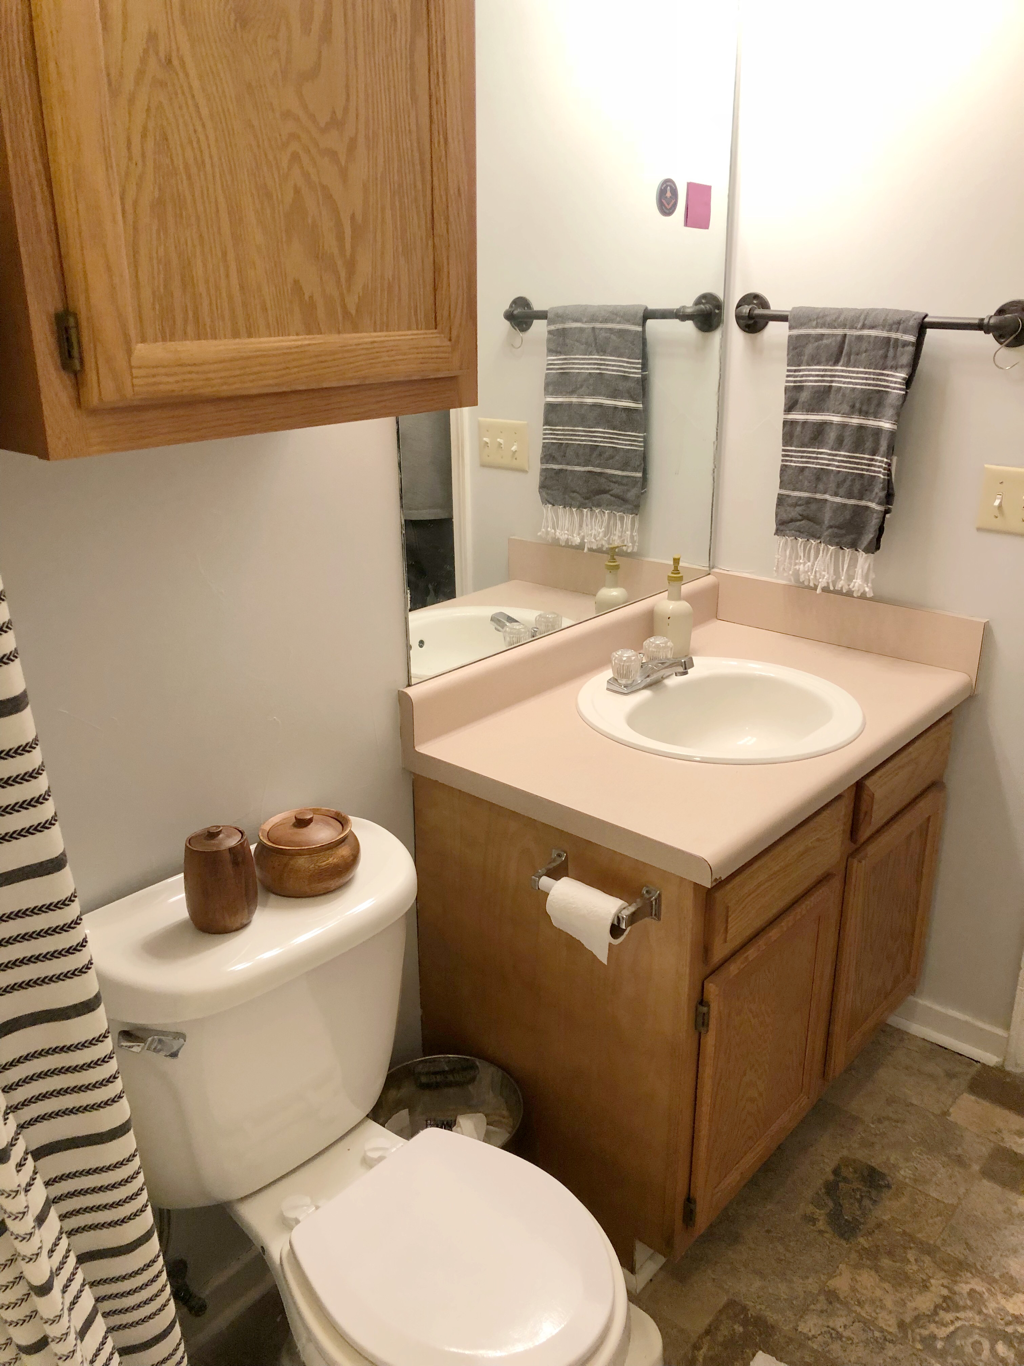
I really want to do something different with the countertop. When we moved in I imagined doing concrete. Is that outdated now? does it even work? Would it end up being a total hot mess? Tell me your thoughts.
I also want to do something different with the mirror situation. And the light switch plate. And probably the shower curtain. Thinking a ceiling to floor would make the bathroom seem bigger, maybe. Does it ever end?? YOU MIGHT ALSO LIKE
The worst of the worst happened to me recently. Okay, maybe not the worst of the worst...but pretty bad. I either misplaced my beloved hand-me-down circular saw or it was stolen. I realized this when I wanted to use it to build a fancy mid century modern planter. Out of pure frustration and determination, and because, well...makers gonna make, I made the planter anyway. It was a total bust.
|

Hi, I'm Rachel.I pick up other people's garbage and take it home. Whatcha lookin for?
All

By Date:
July 2018
|

 RSS Feed