my DIY high
There's nothing quite like stepping back and saying, "Yes, I made that."

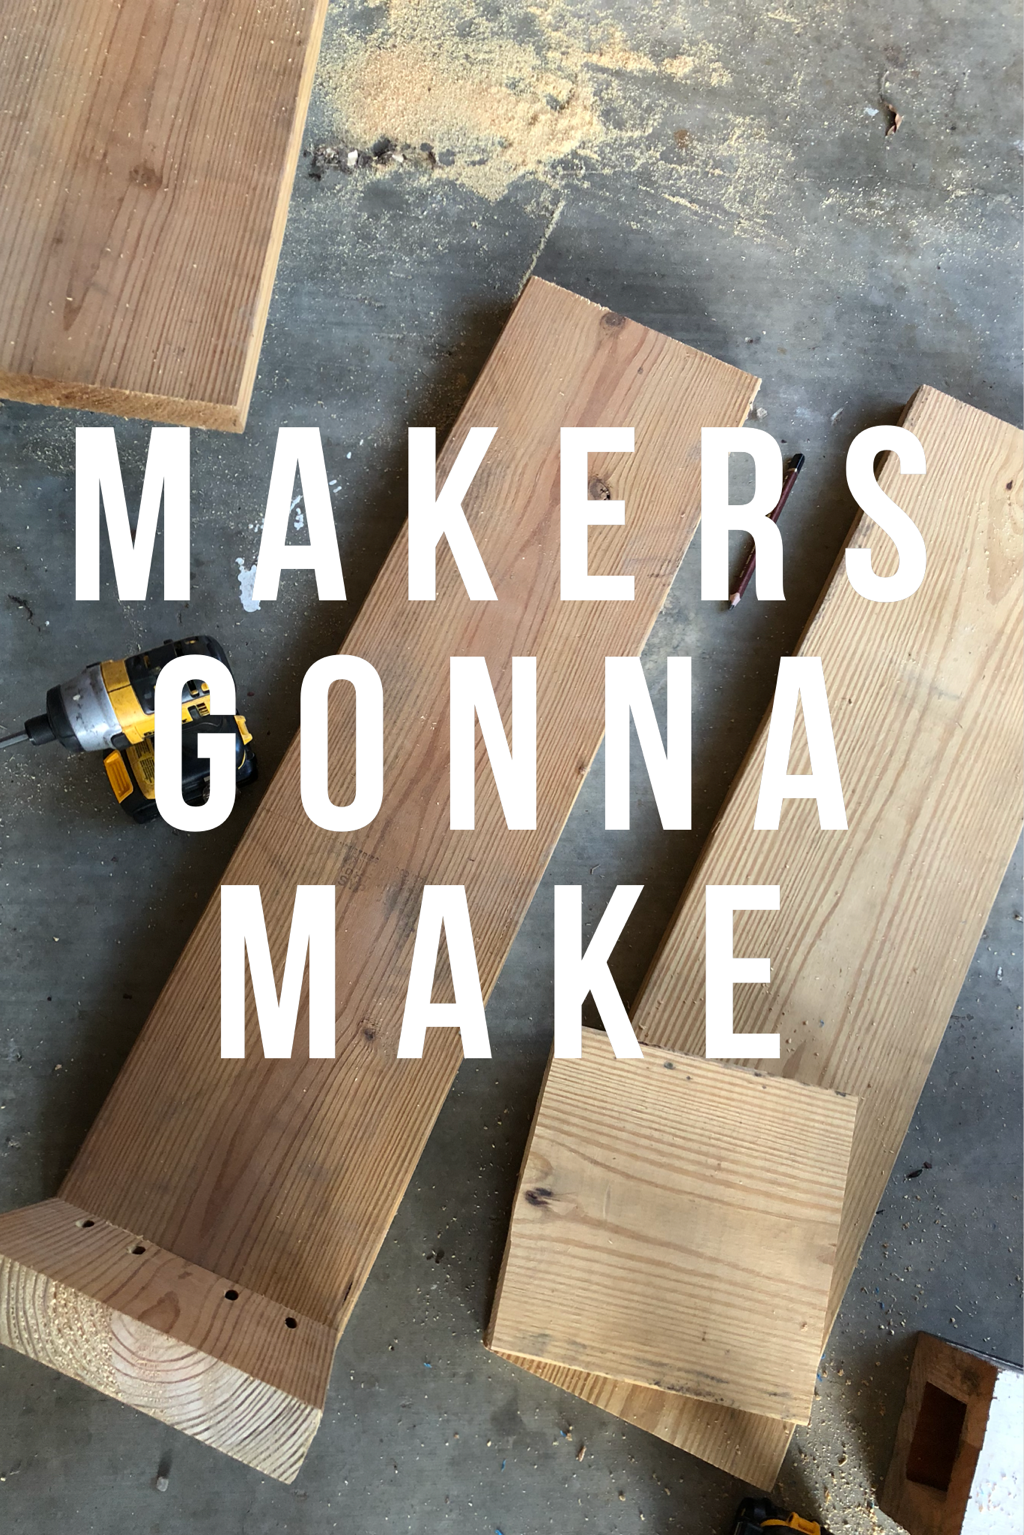
The worst of the worst happened to me recently. Okay, maybe not the worst of the worst...but pretty bad. I either misplaced my beloved hand-me-down circular saw or it was stolen. I realized this when I wanted to use it to build a fancy mid century modern planter. Out of pure frustration and determination, and because, well...makers gonna make, I made the planter anyway. It was a total bust.
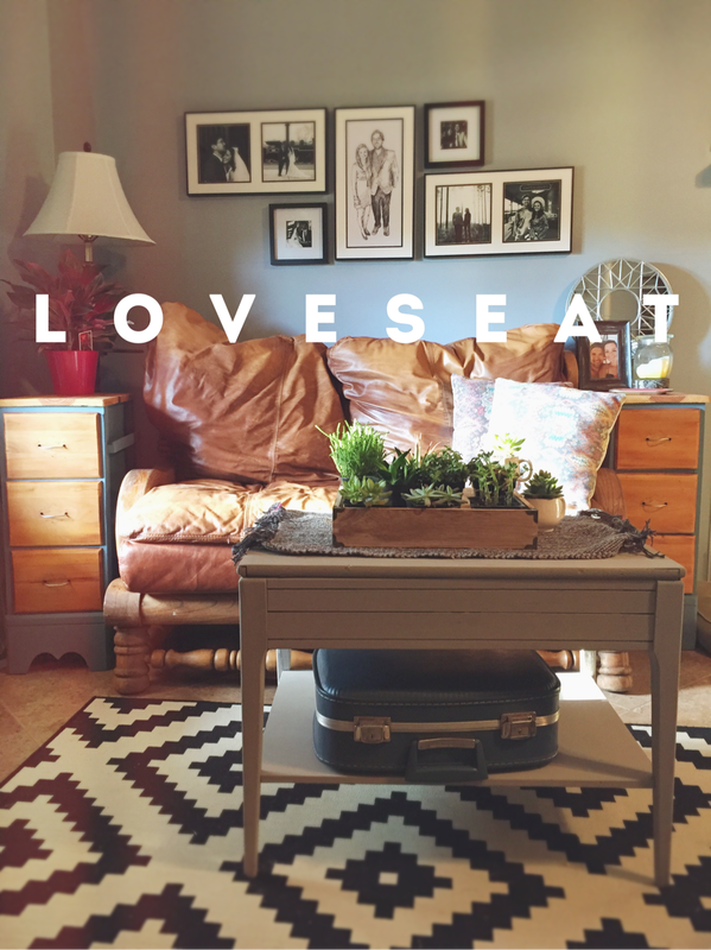
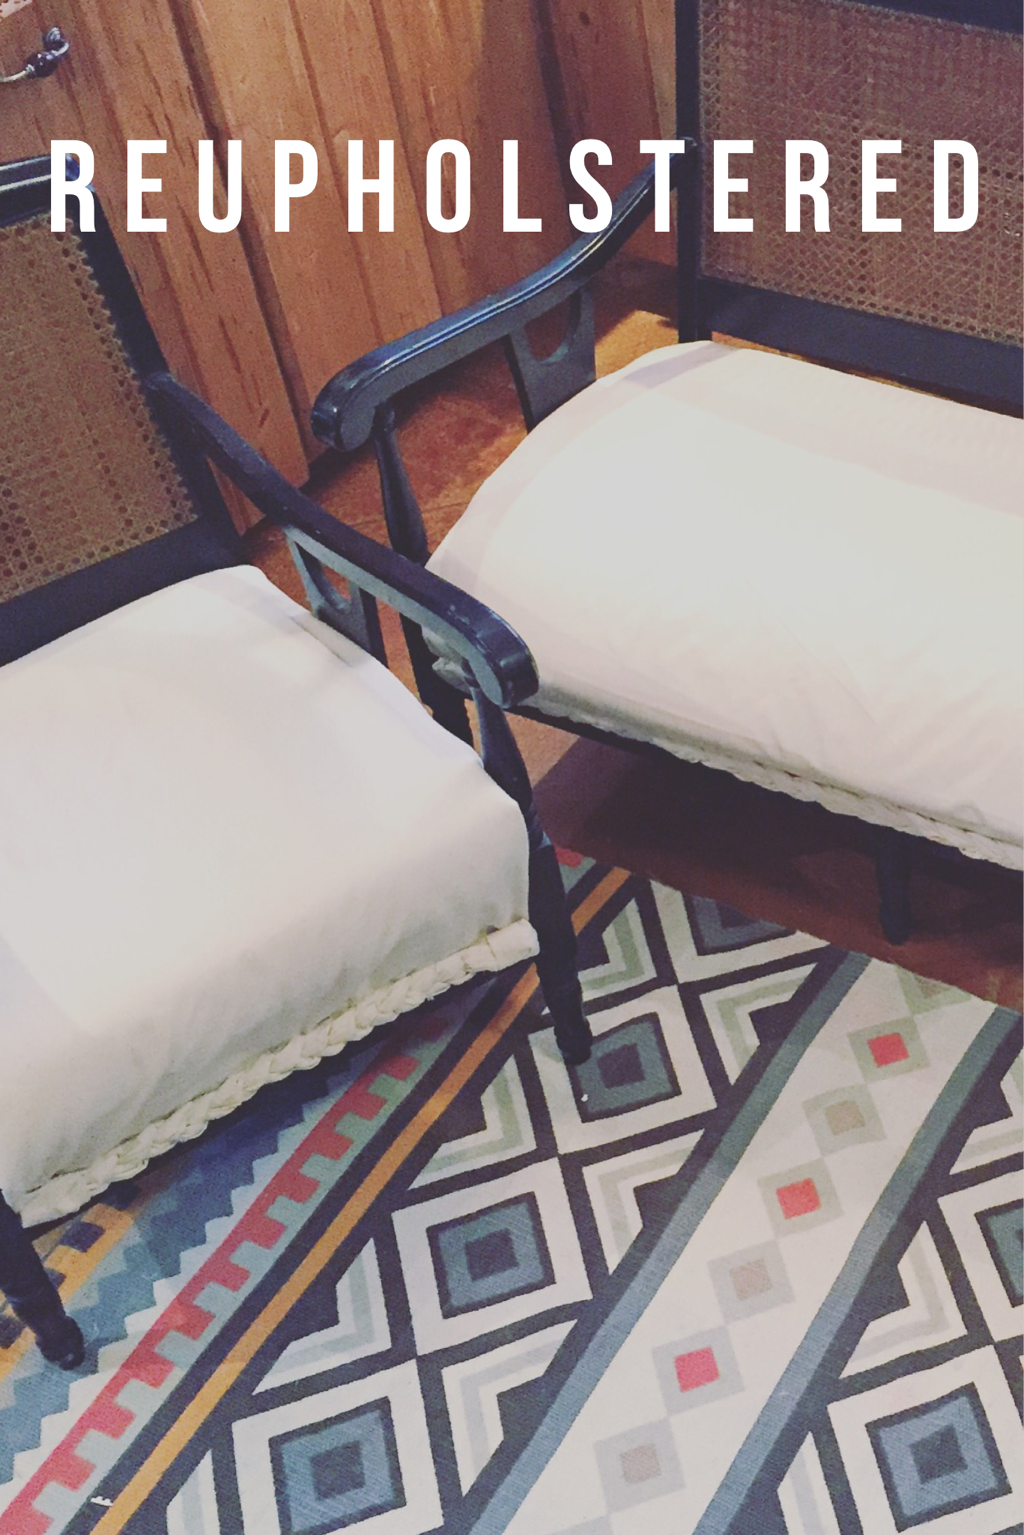 Here's a throw back for you! Several years ago I found this awesome cane back couch on the side of the road (of course). It didn't fit in the cube very well...(you'll learn that I think my cube is amazing and I pack it chock full all the time). Don't worry, I only drove it like this for a few blocks. 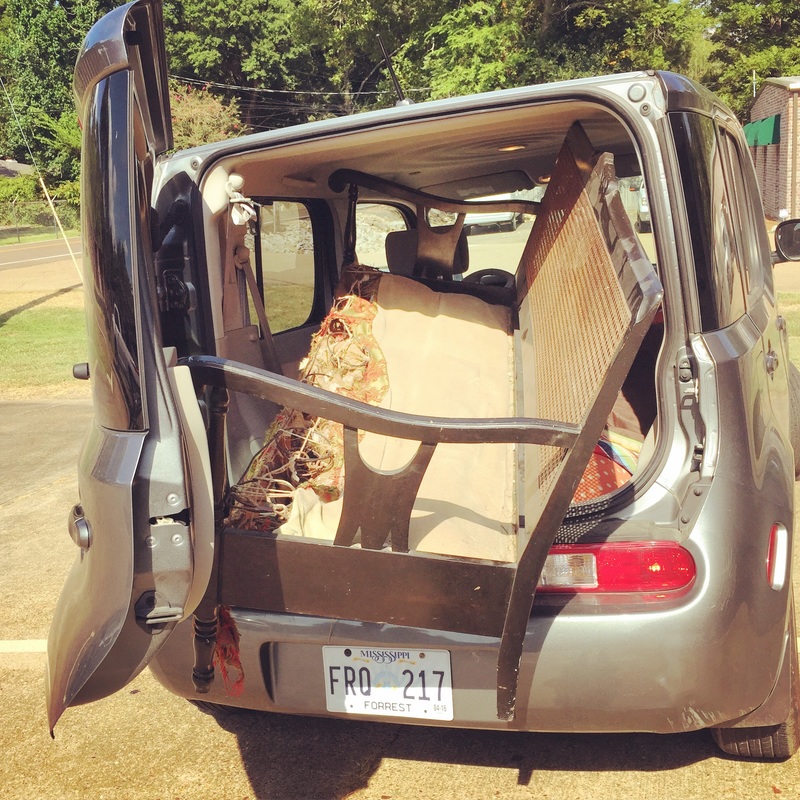 WHAT YOU NEED:
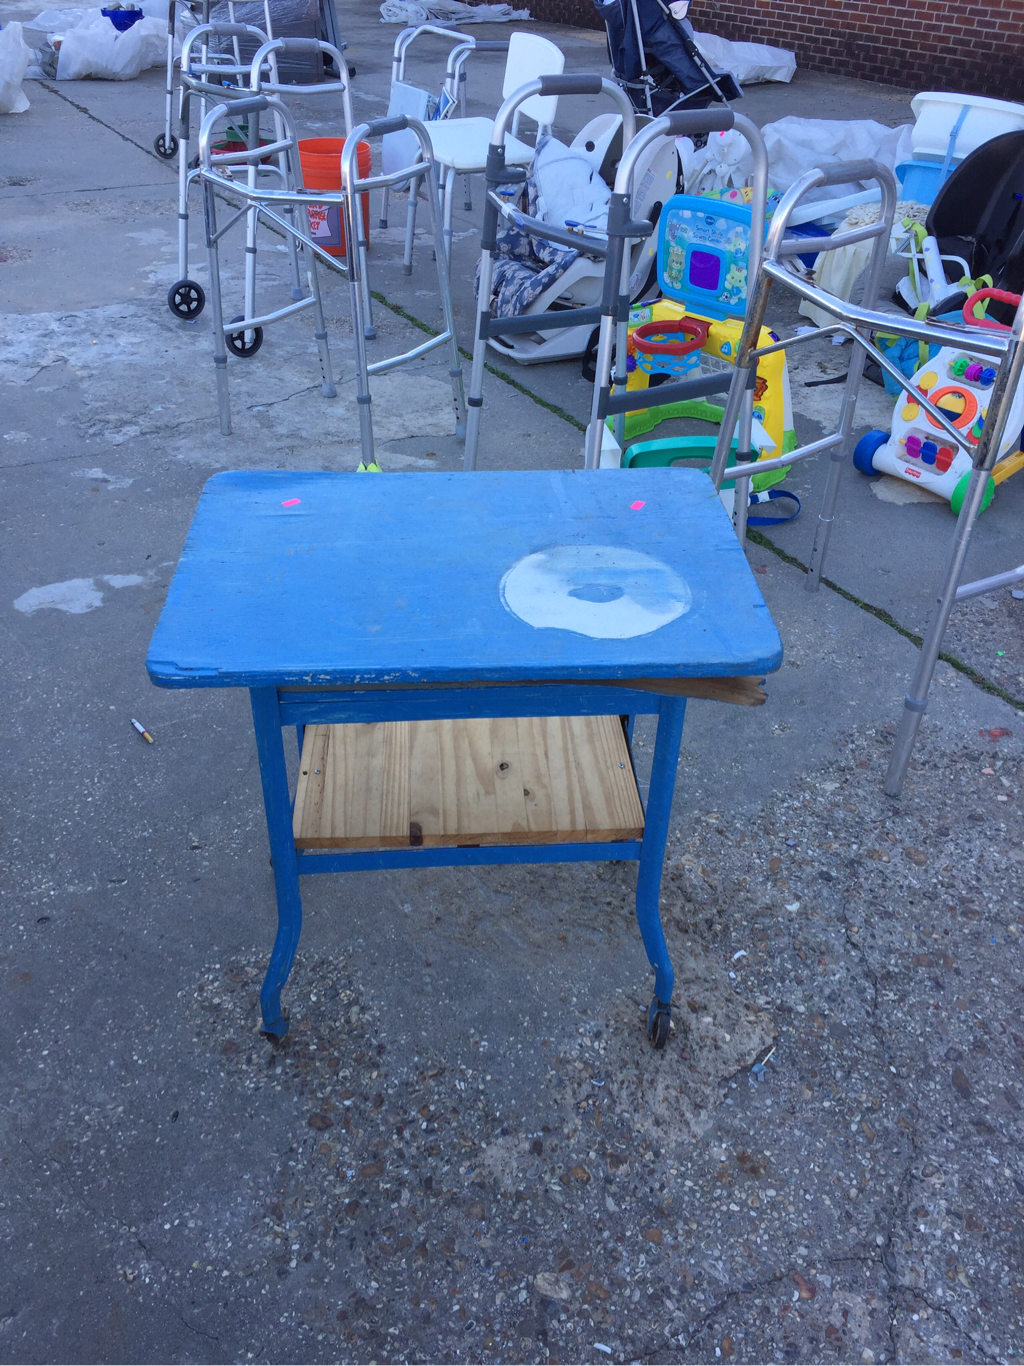
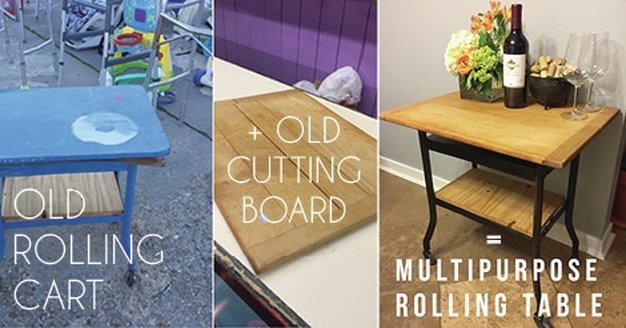 Does anyone else have a ridiculously hard time getting back in the swing of things after the holidays??? It's literally been over a month since I've posted. This is the beginning of the downfall. I am so sorry. Just kidding, we're gonna make this thing work, BECAUSE! I have so many projects I want to do, and I need an excuse to do them. For example: this rolling cart that I really don't have room for in my house. 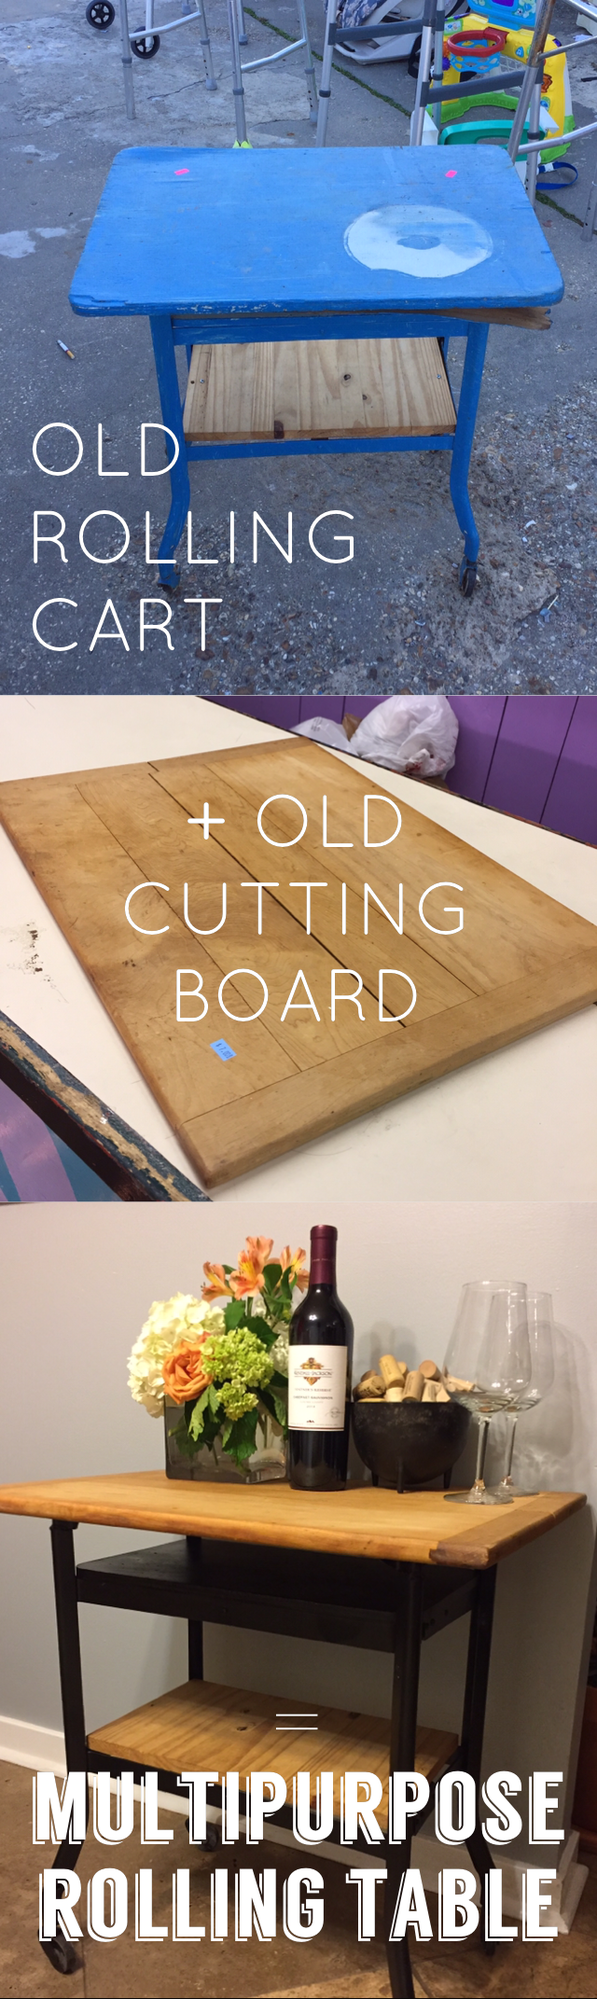 WHAT YOU NEED:
ESTIMATED TIME:1 long afternoon. THINGS I'VE LEARNED:So through this tutorial I have learned quite a bit, but two very major things.
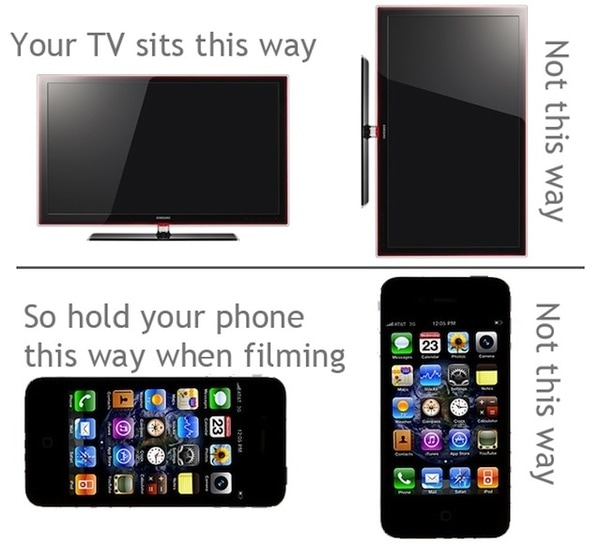 I SHOULD HAVE FOUND THIS IMAGE ^ BEFORE RECORDING THIS VIDEO:What you're seeing in the video:
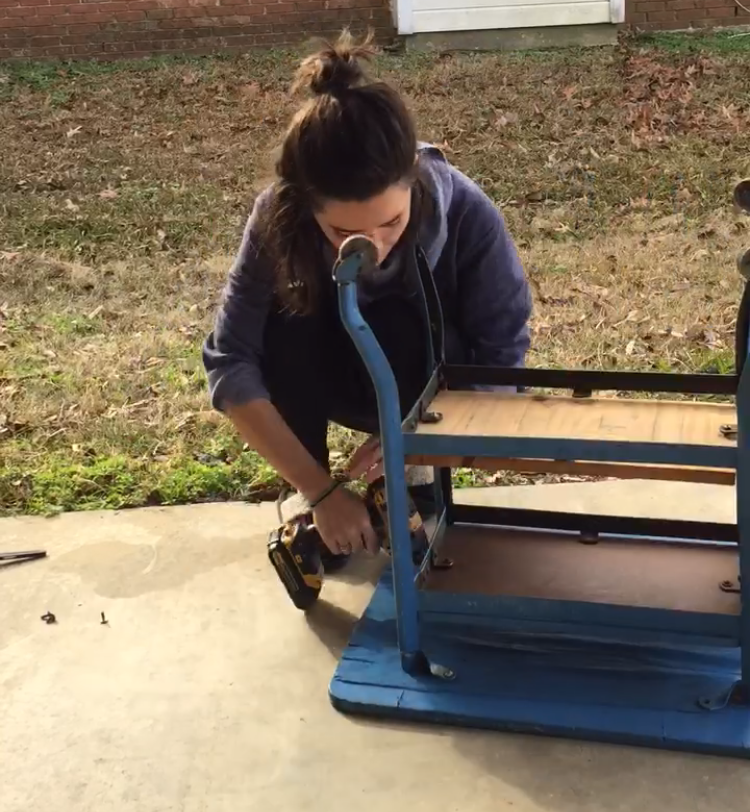
 STEP 1: Remove all non-metal partsThis was actually a tad tricky. Removing the top piece was a cinch because it still had the original screws. The previous owners attached the wooden piece to the bottom...they used random screws that didn't match, both with flat head screws.
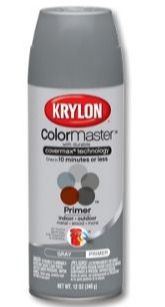
STEP 2: Sandblast the rust off!As you can see in the picture below, the wheels were extremely rusty. The cart still functioned, and the wheels aren't the most important piece to be painted...so sandblasting isn't a necessity if you don't want to go through the trouble. However, you will need to sand down all parts of the cart for good spray paint bondage. 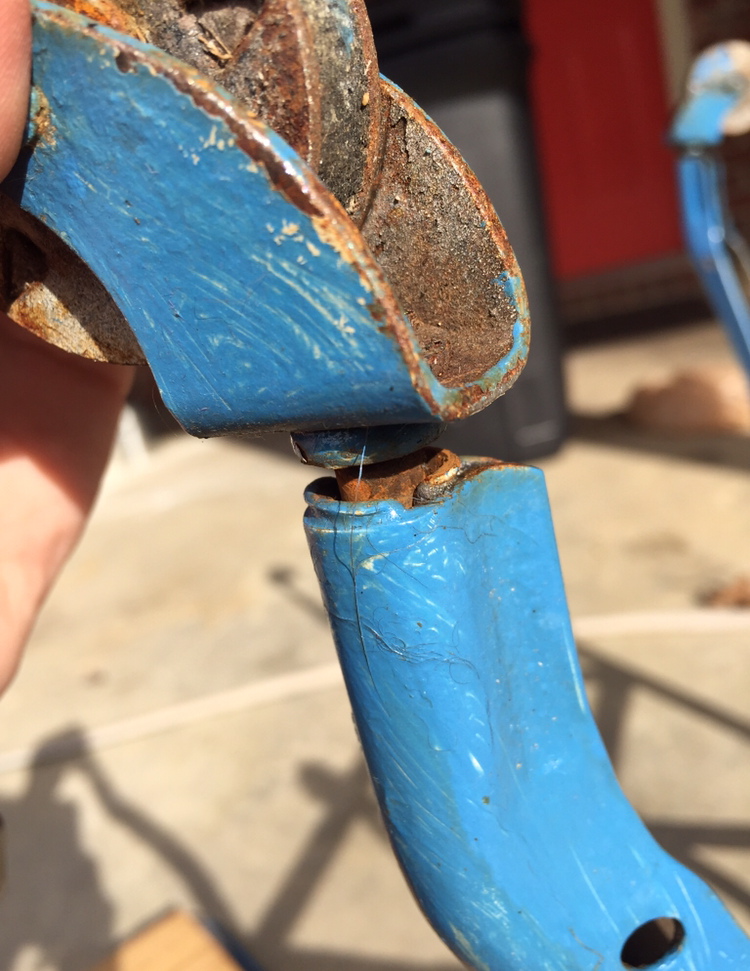 I should have a whole tutorial about how to buy a sandblaster. Actually, I should have read a whole tutorial about how to buy a sandblaster before buying mine. I don't regret buying this particular blaster from Harbor Freight, because I plan to use it for more "delicate" projects in the future. It worked fine for me for removing the rusty bits off the wheels. I feel certain if I had bit the bullet and purchased a nicer, more expensive blaster, I would have been able to blast this cart with no need for painting after. 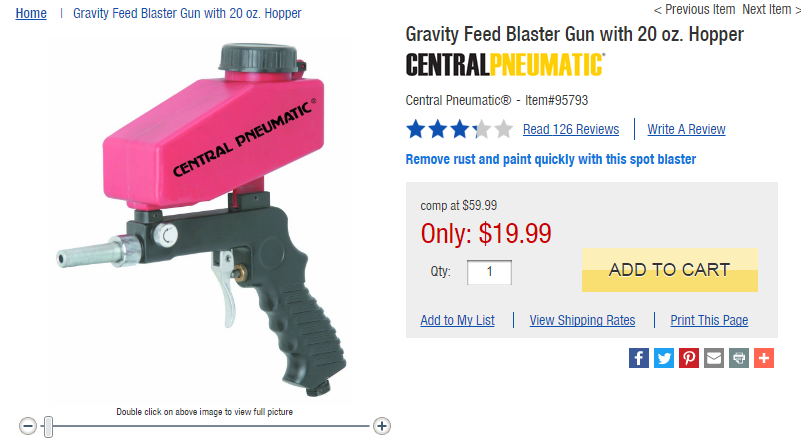 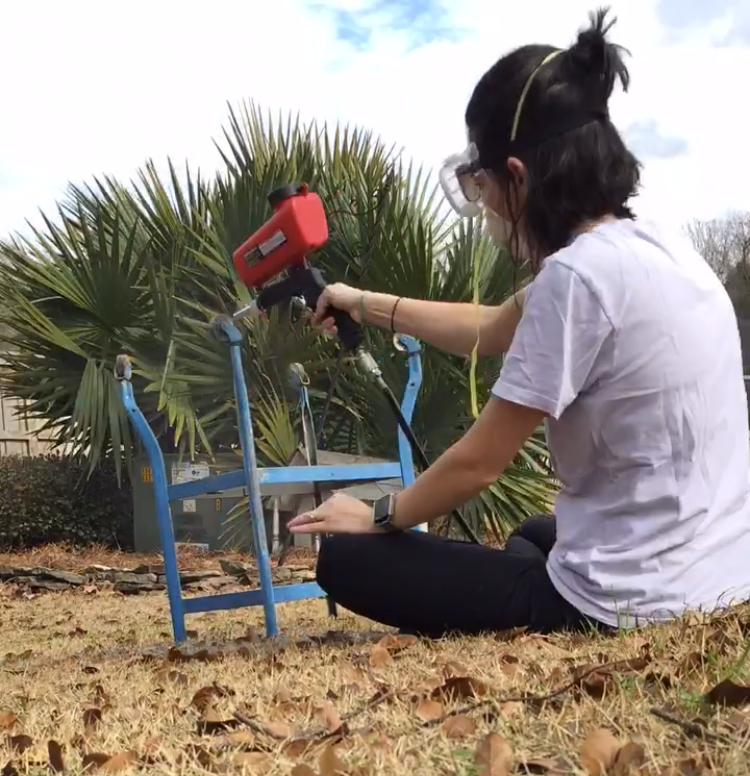 STEP 3: wipe off all the sanding particles I used lysol wipes. Quick and easy. STEP 4: spray the primer!Thin layers, people. Thin layers. Drips are not okay! Let dry completely before step 5.
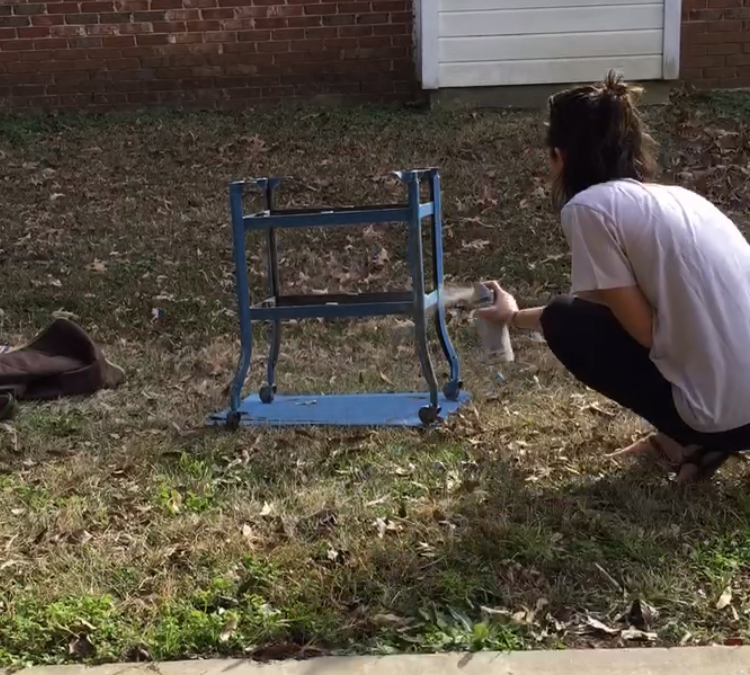
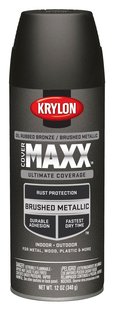
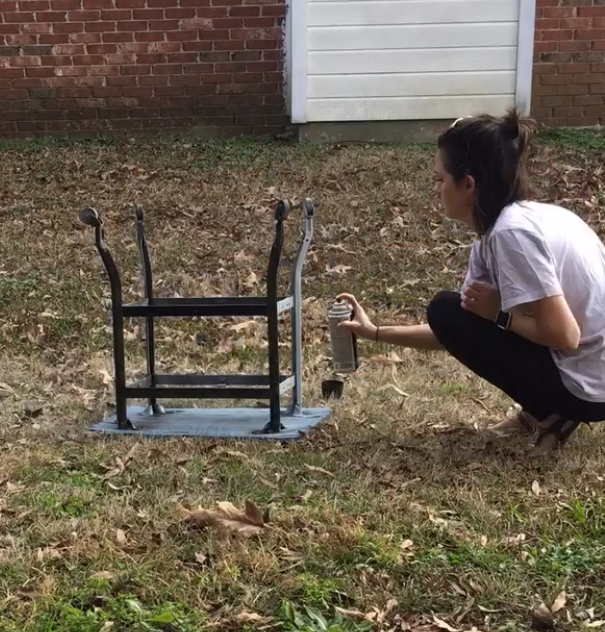
STEP 5: spray final color!Again, go for thin layers. I went on and sprayed the wheels. I'll let you know how that turns out on down the line....
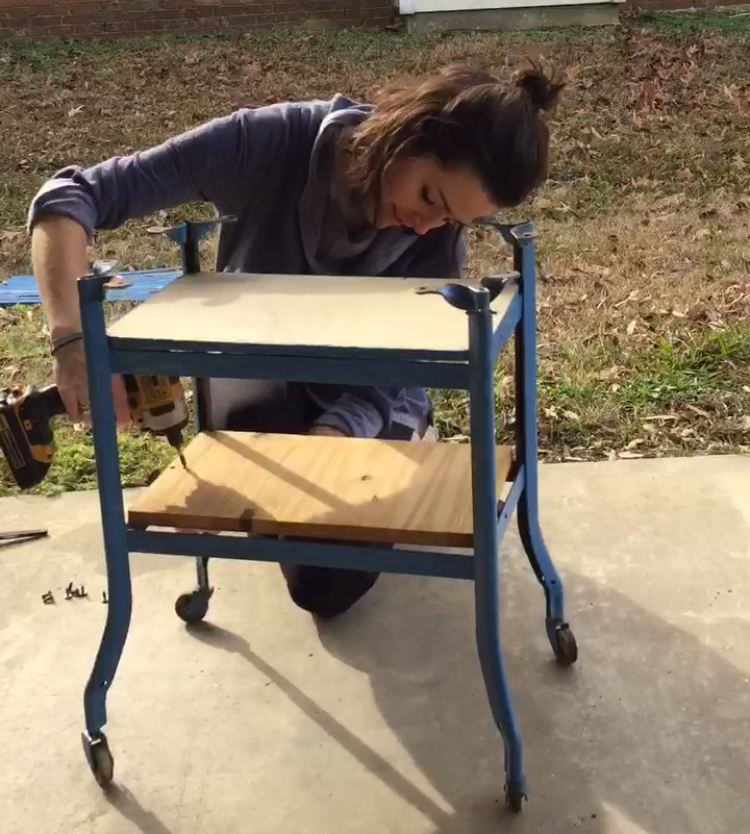
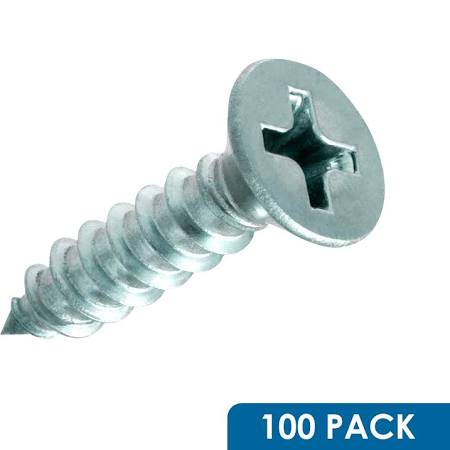
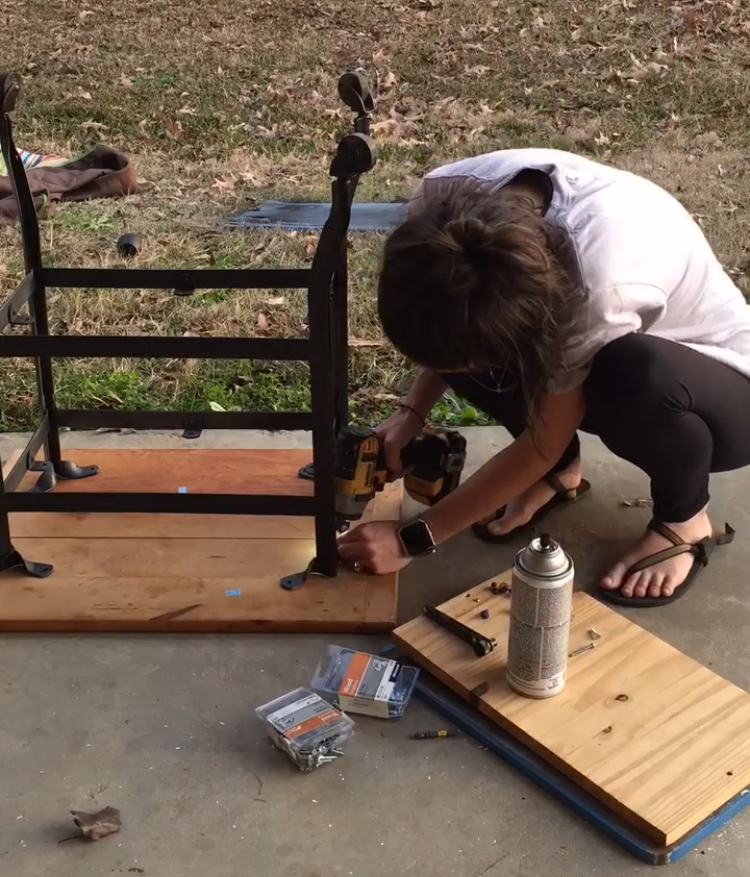
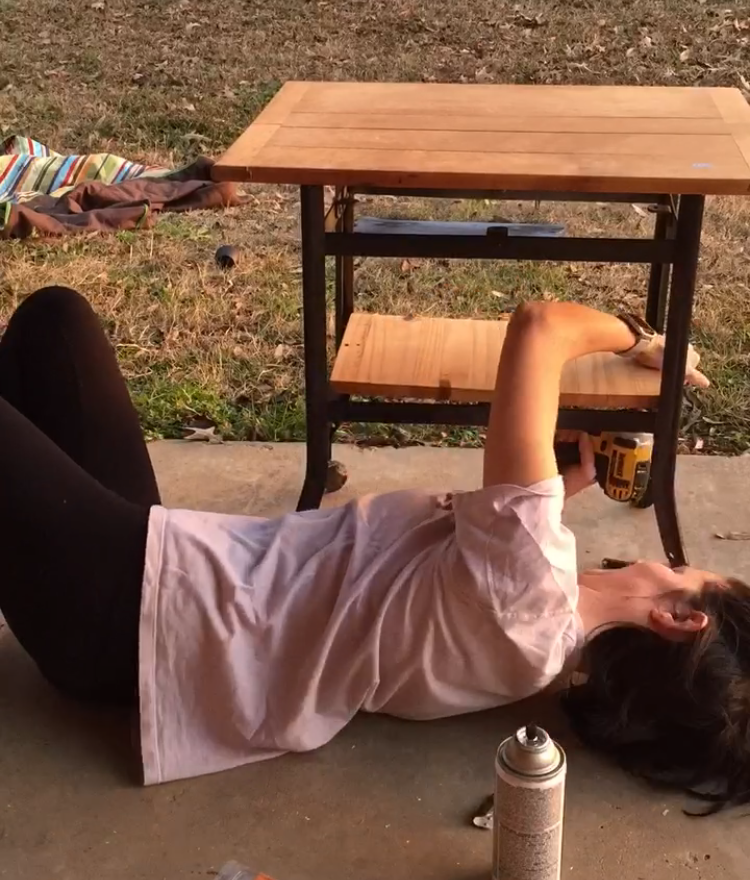
STEP 6: attach the cutting board and re-attach other shelvingMake sure your screws are short enough that they won't go through your cutting board!
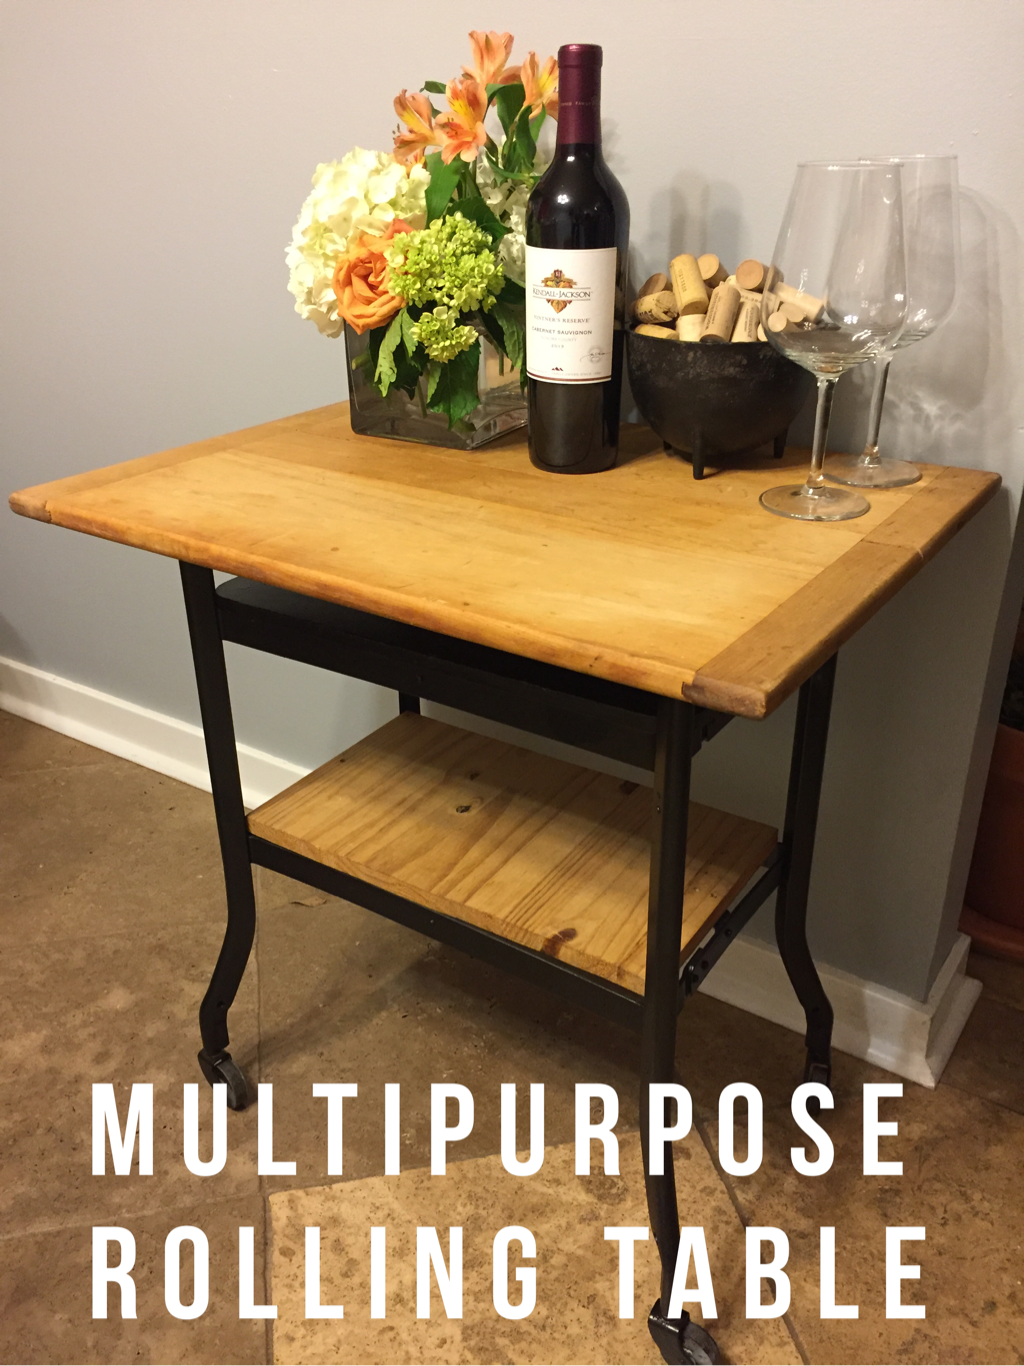
STEP 7: all done!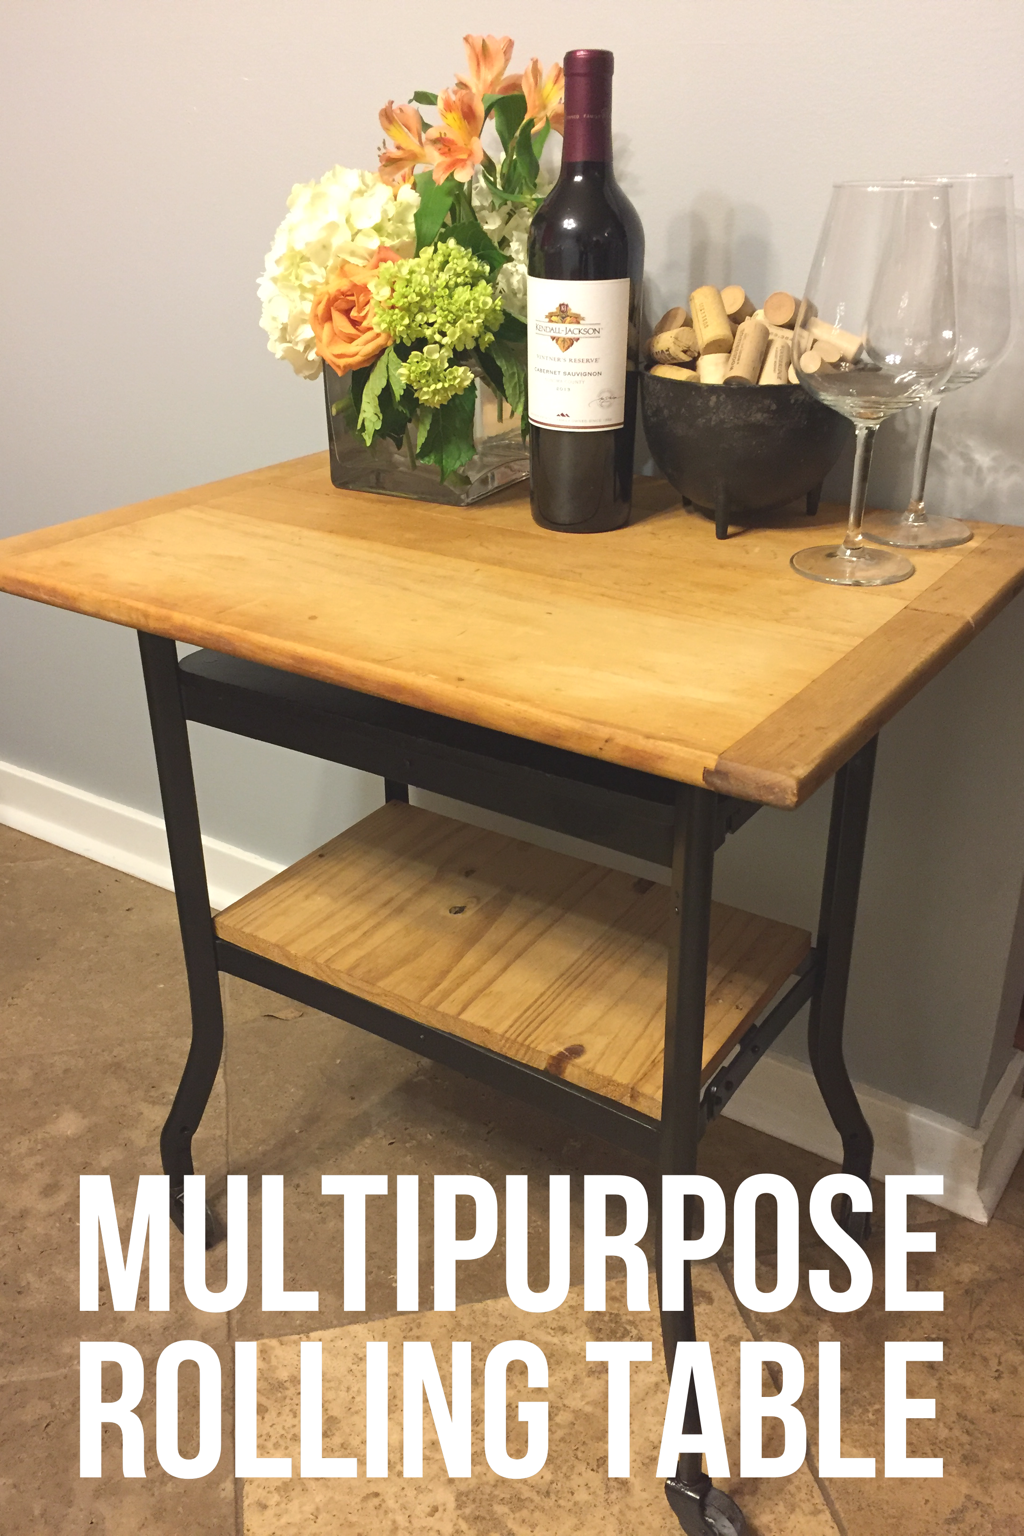  HOW TO FIX UP A WOODEN LOVESEAT |

Hi, I'm Rachel.I pick up other people's garbage and take it home. Whatcha lookin for?
All

By Date:
July 2018
|


 RSS Feed