my DIY high
There's nothing quite like stepping back and saying, "Yes, I made that."

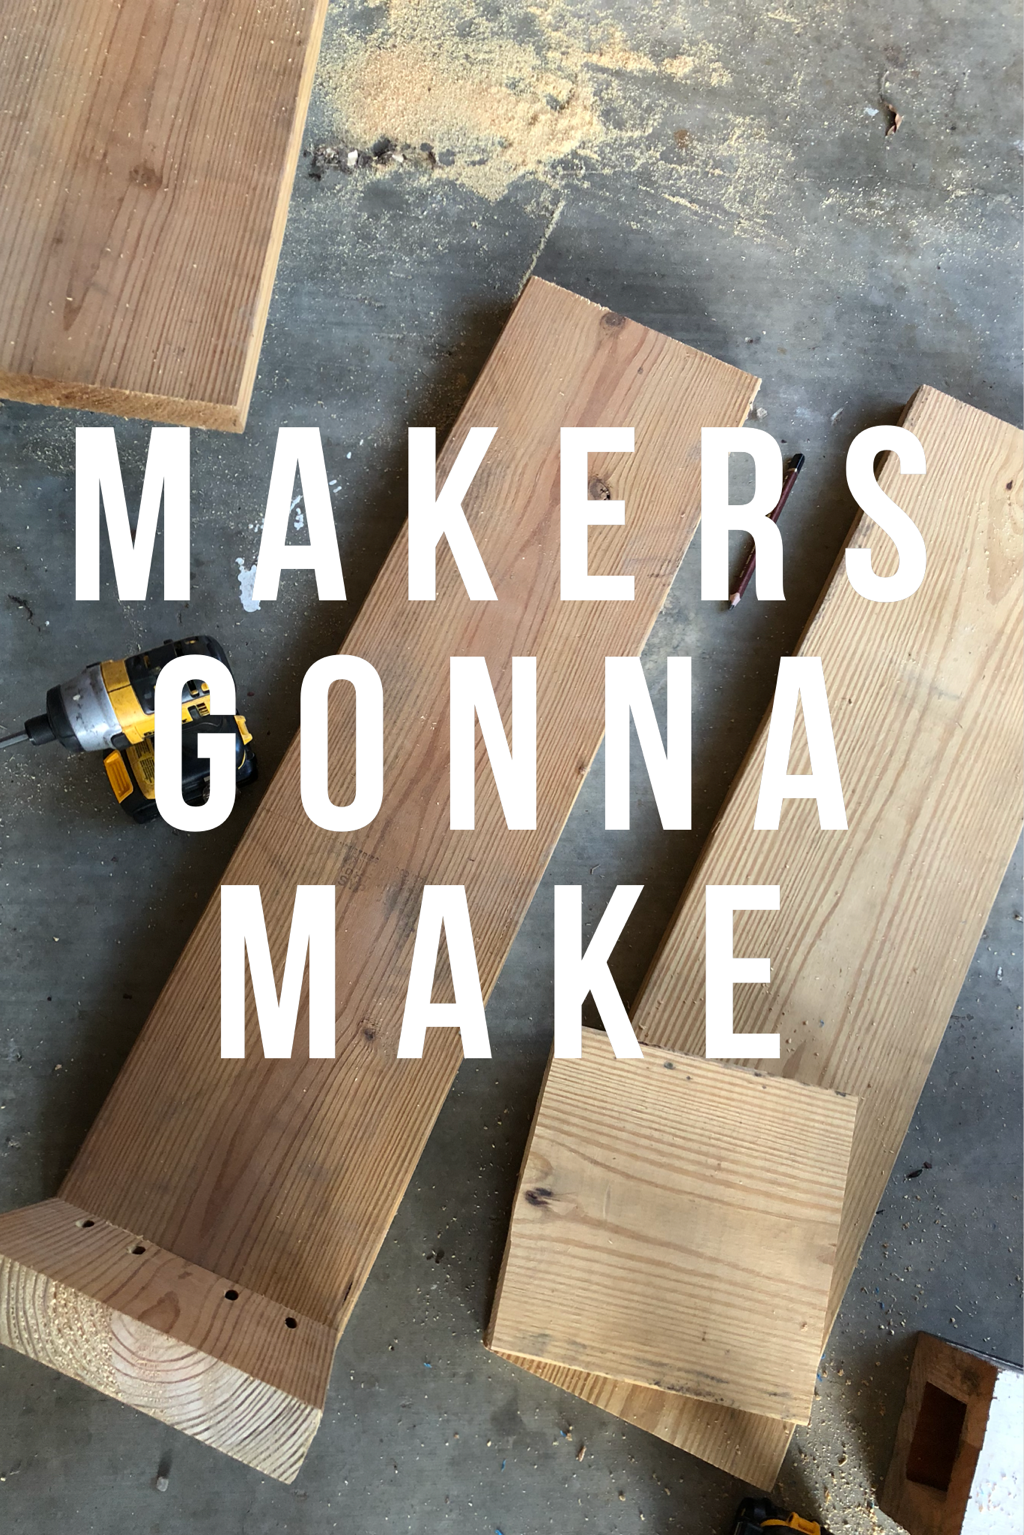
The worst of the worst happened to me recently. Okay, maybe not the worst of the worst...but pretty bad. I either misplaced my beloved hand-me-down circular saw or it was stolen. I realized this when I wanted to use it to build a fancy mid century modern planter. Out of pure frustration and determination, and because, well...makers gonna make, I made the planter anyway. It was a total bust.
 I officially bullied my way into doing a tutorial in Madison County Magazine! I so wish emojis would show up on here because I'd definitely use the smirky side grin face right now :)
 Here's a quick tutorial on how I created our house numbers for our METAL door.Pinterest caught me with their "suggested pins" of BEAUTIFUL front doors with amazing, modern address numbers here and there. I loved anything I saw with these great modern brushed metal letters.
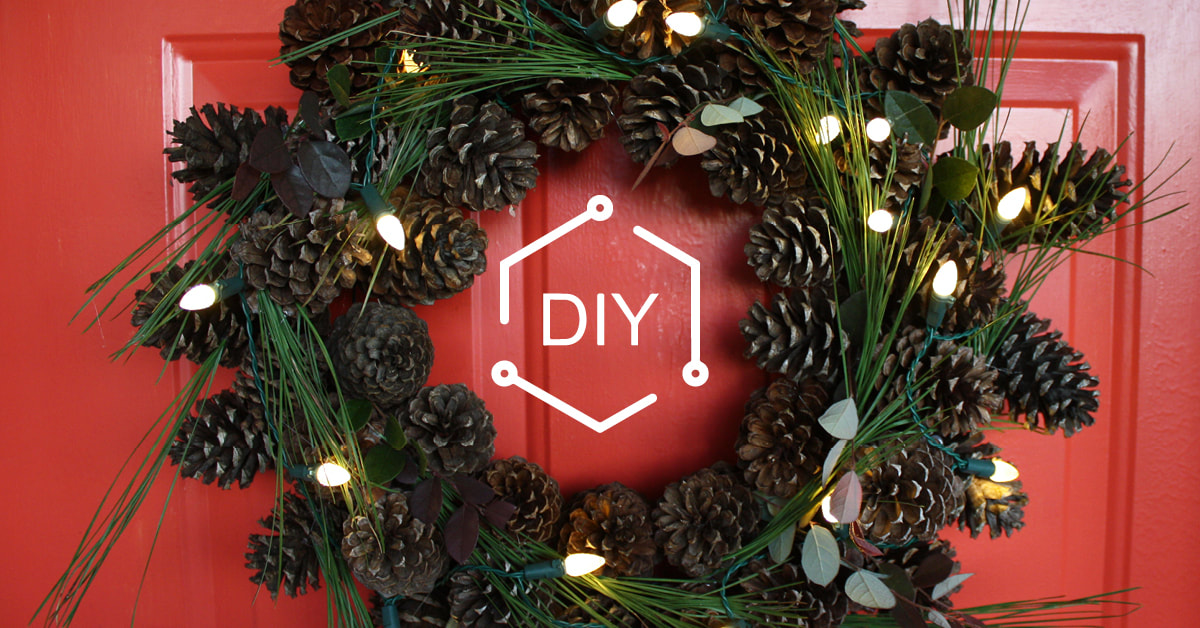
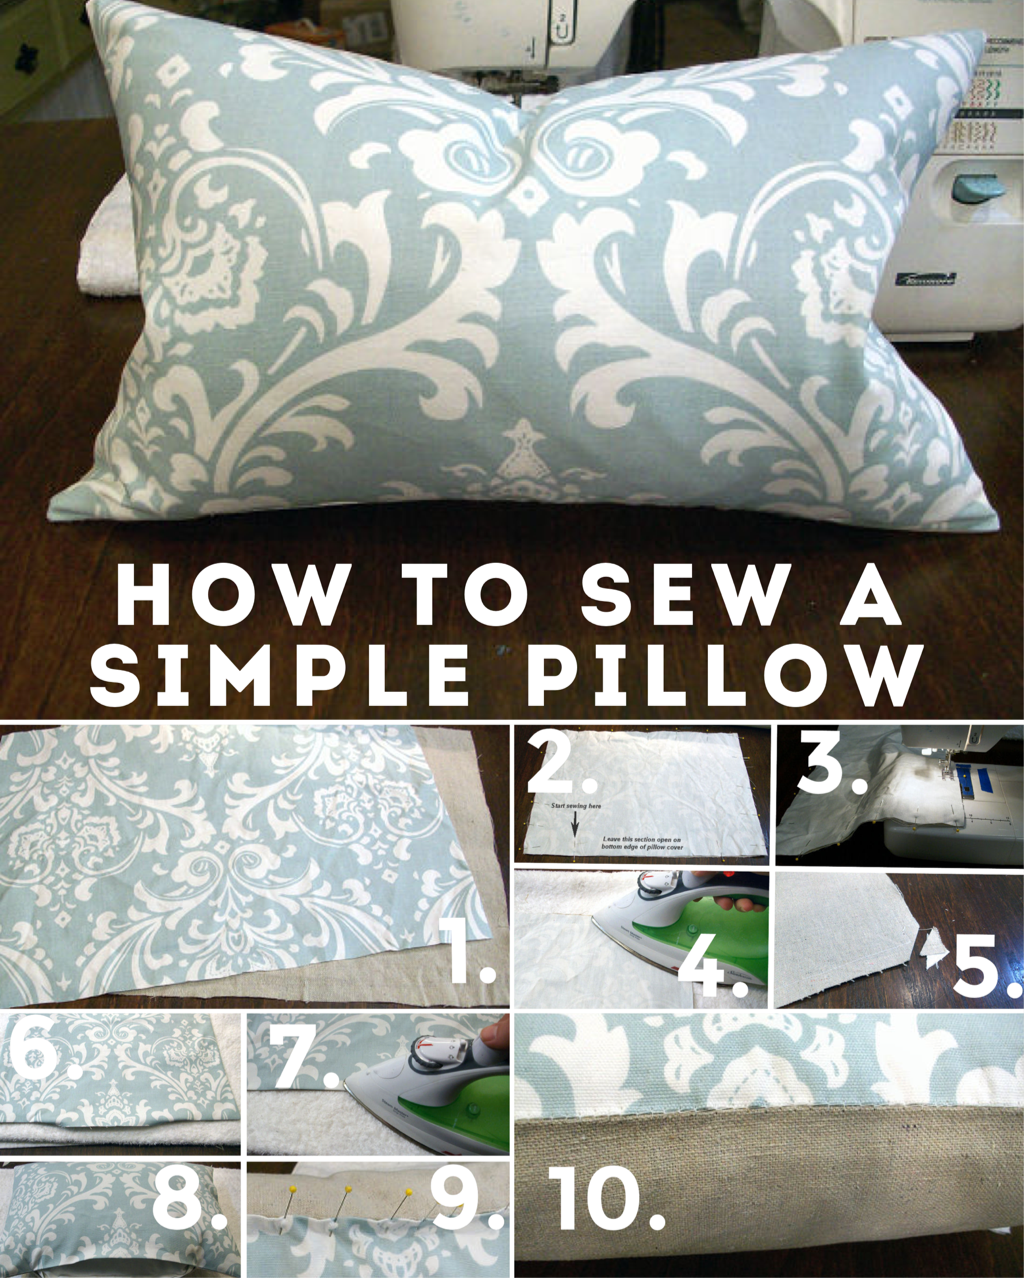
 In my last post I said it was the easiest DIY I've ever done. This floral wreath is a close second.I've no idea what the "proper" way is to make a wreath. I actually never know the proper way to do things. I legit trial and error EVERYTHING I do. I think the only thing that could make my wreath DIY difficult is the glue gun. Some people just can't do it. They get stringy glue all over the place and burn the tips of their fingers off. Fortunately, I love my glue gun. I can't say I've never burnt the tip of my finger off though... WHAT YOU'LL NEED:
WHAT TO DO:
Thanks for watching!
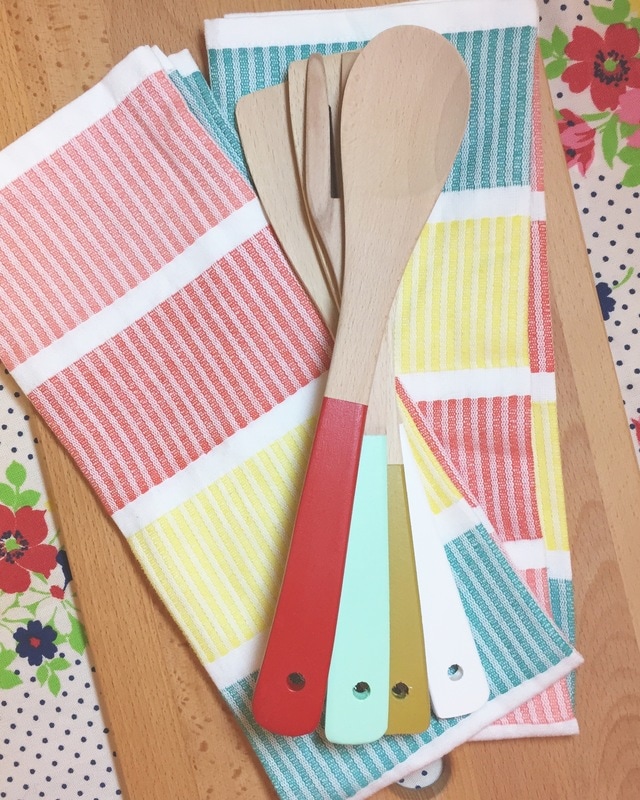
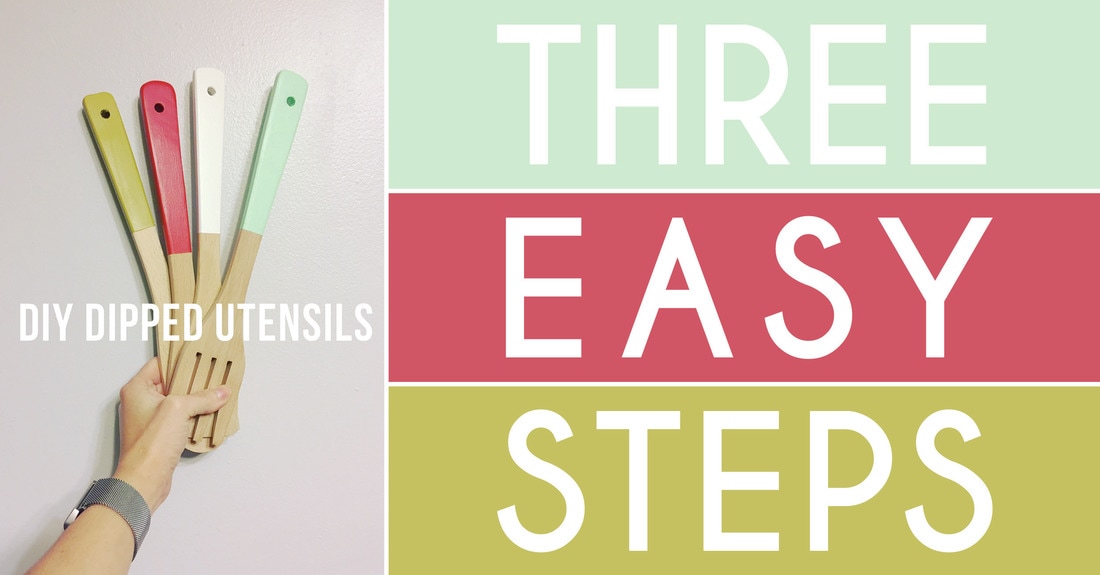 This is probably the easiest DIY I've ever done.What's better: A) Under $10 for four painted wooden utensils, or B) a DIY project in under 30 minutes? How about BOTH! What you need:
What to do: Drum roll please...
 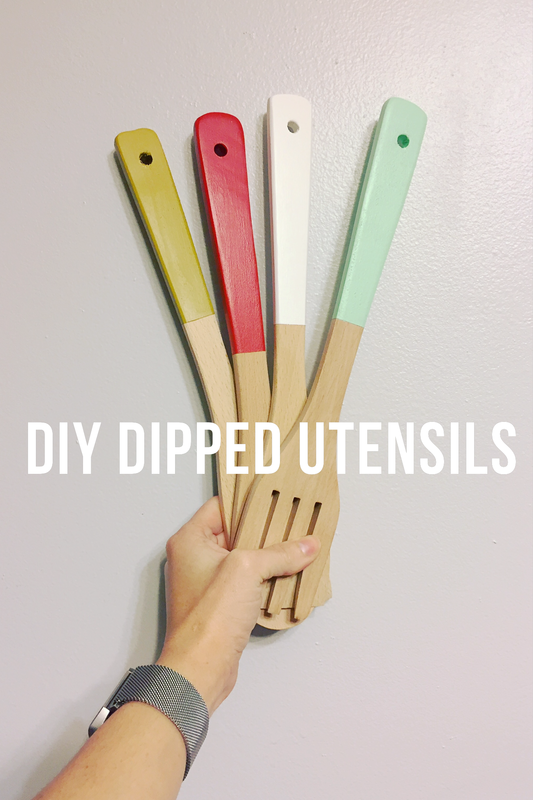 There you have it! The easiest and quickest DIY ever. I hope you enjoy your dipped utensils. Don't forget, handwash only!
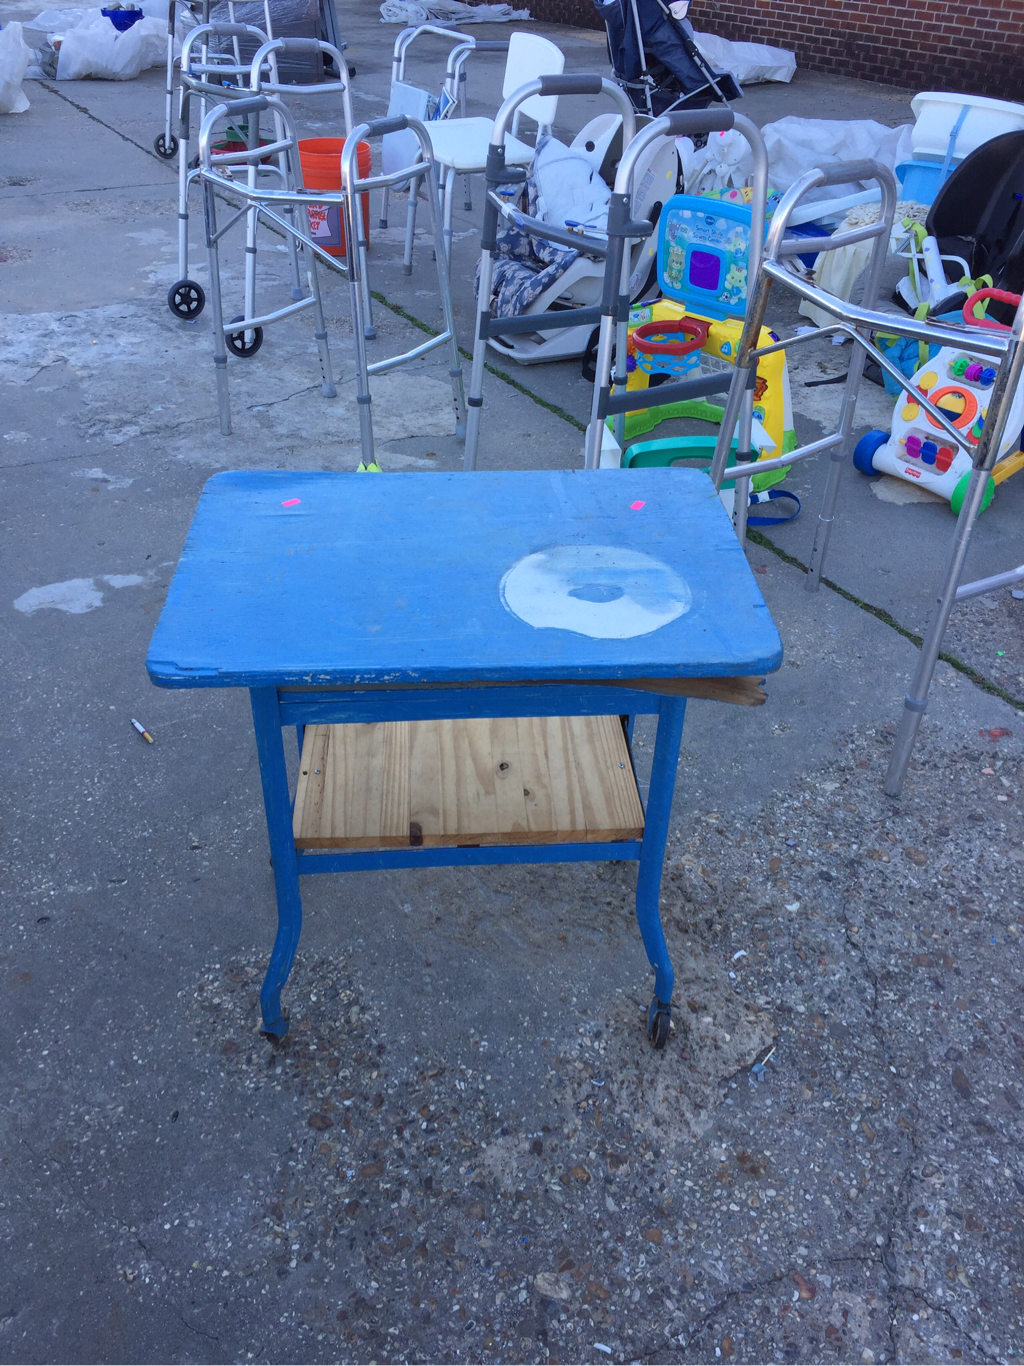
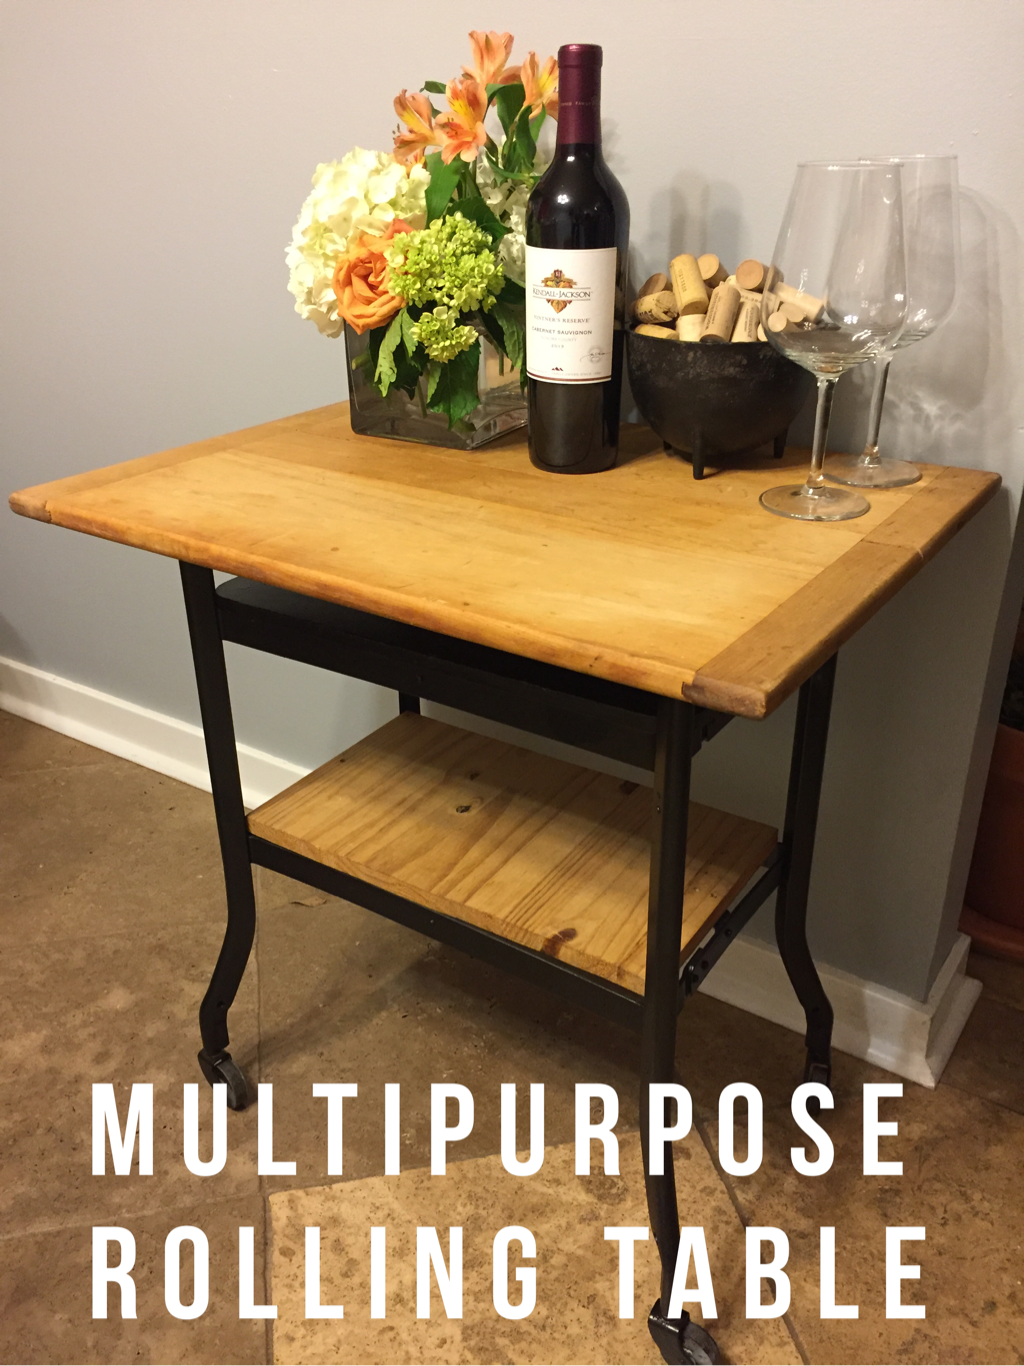
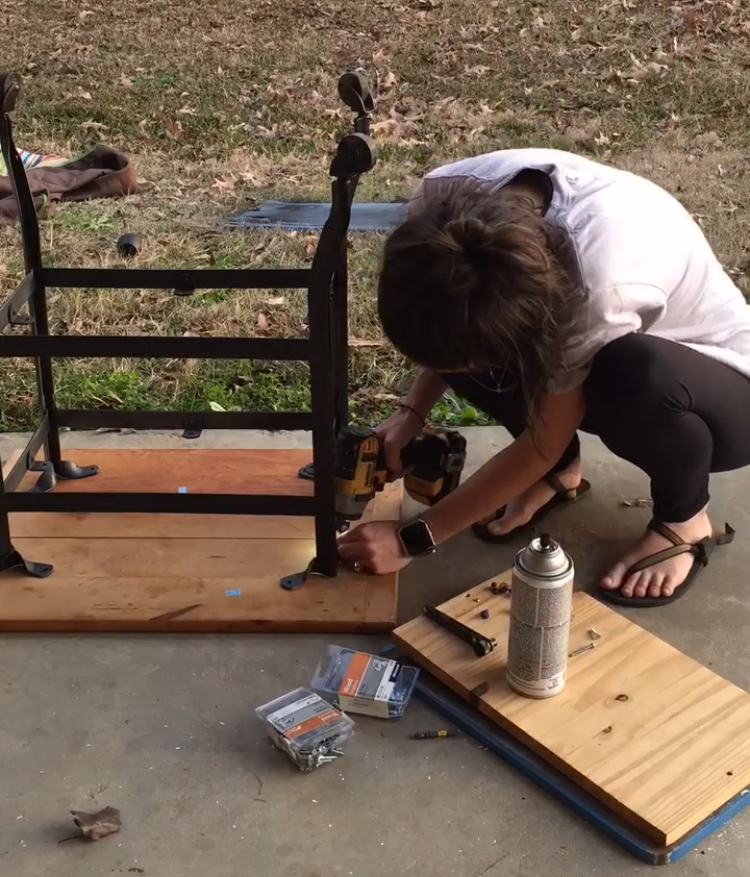
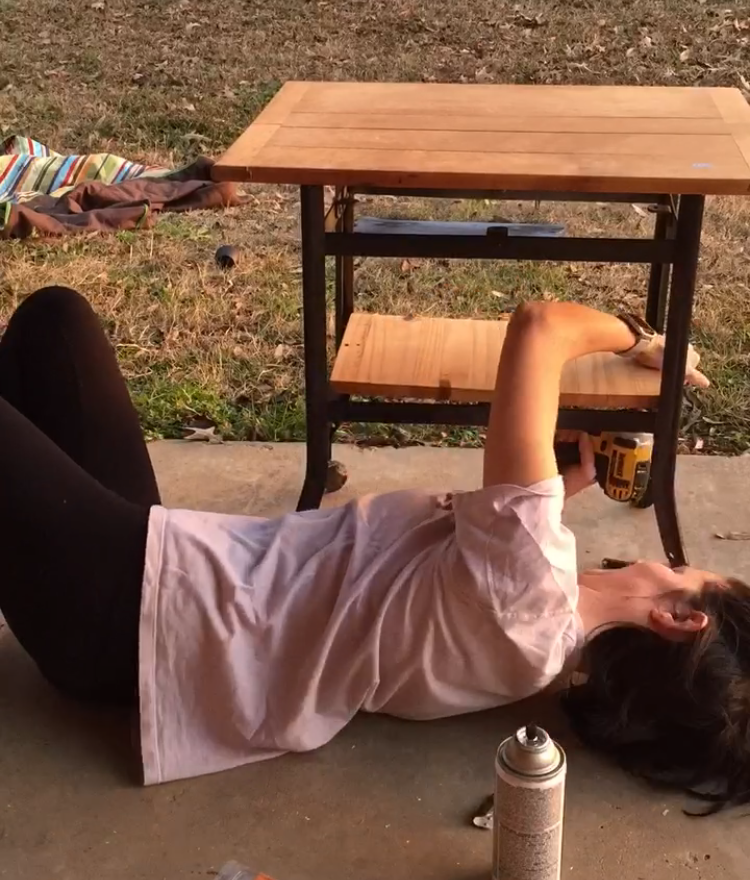
 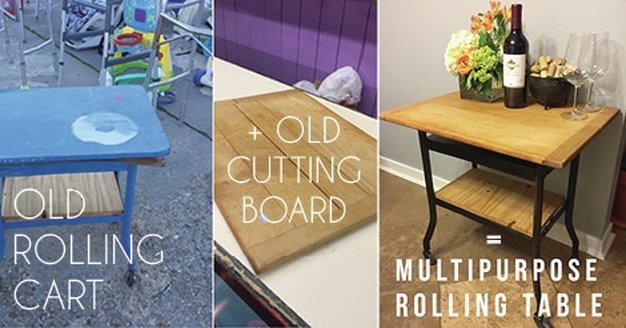 Does anyone else have a ridiculously hard time getting back in the swing of things after the holidays??? It's literally been over a month since I've posted. This is the beginning of the downfall. I am so sorry. Just kidding, we're gonna make this thing work, BECAUSE! I have so many projects I want to do, and I need an excuse to do them. For example: this rolling cart that I really don't have room for in my house. 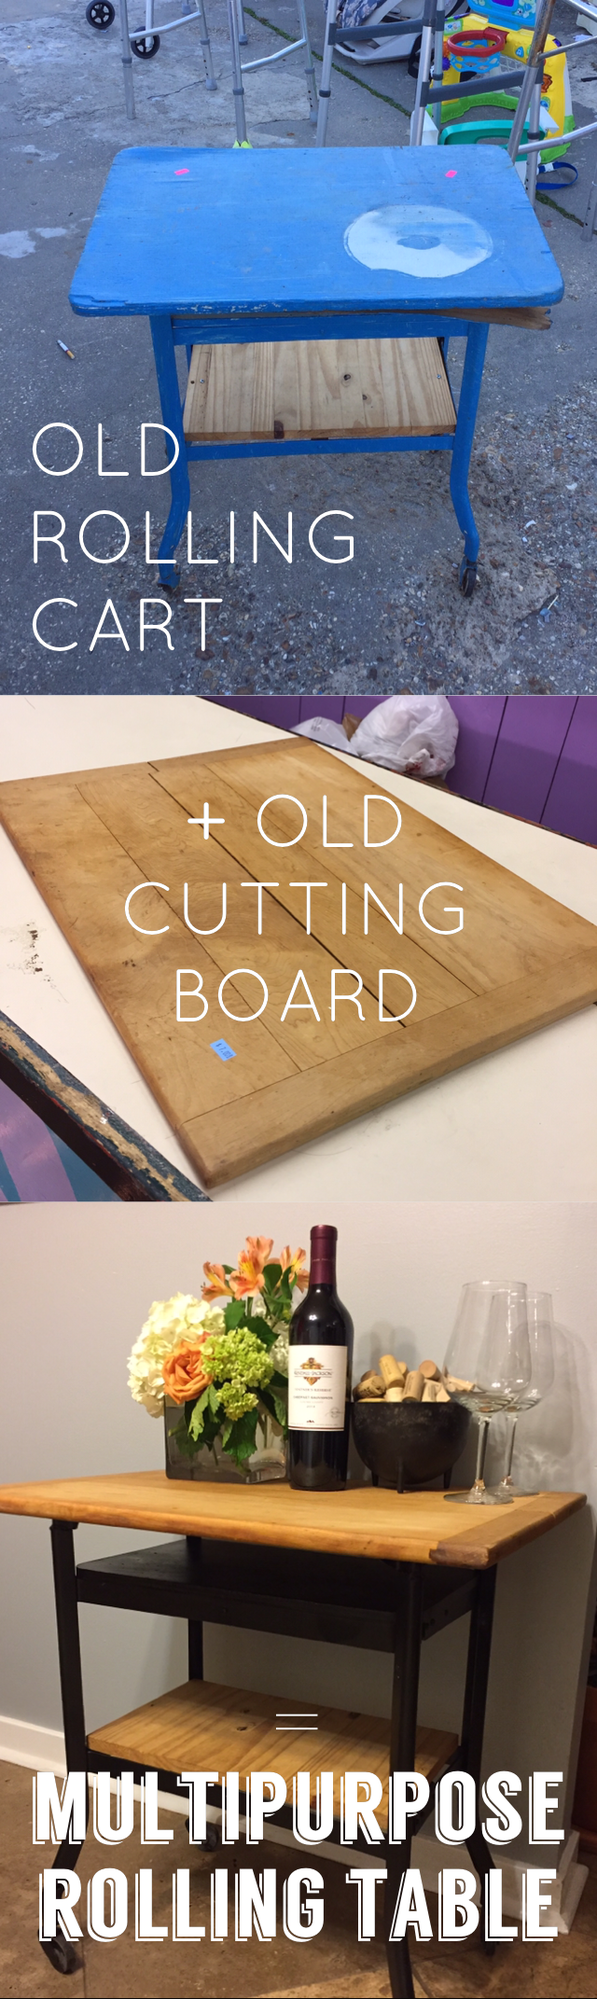 WHAT YOU NEED:
ESTIMATED TIME:1 long afternoon. THINGS I'VE LEARNED:So through this tutorial I have learned quite a bit, but two very major things.
 I SHOULD HAVE FOUND THIS IMAGE ^ BEFORE RECORDING THIS VIDEO:What you're seeing in the video:
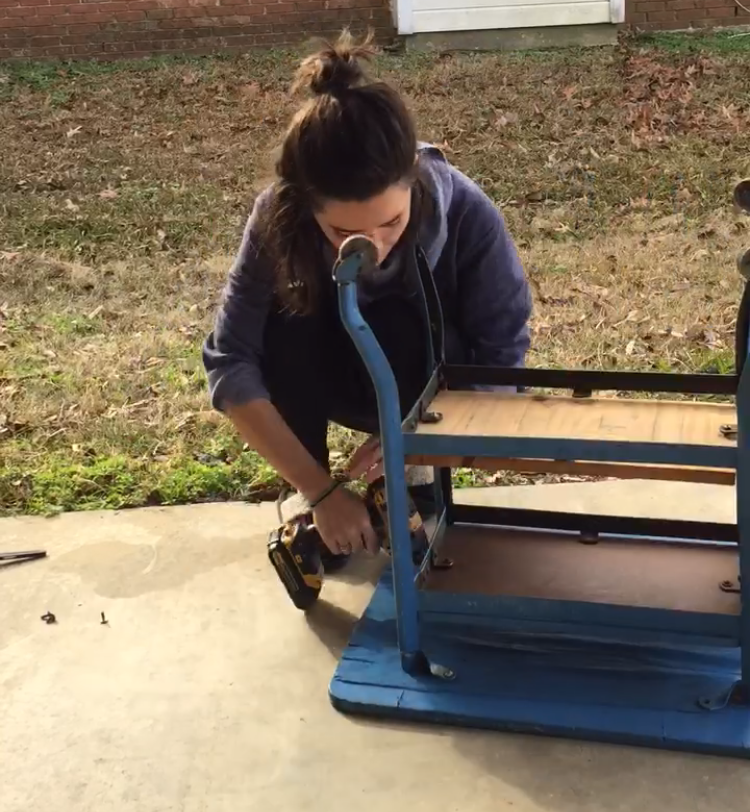
 STEP 1: Remove all non-metal partsThis was actually a tad tricky. Removing the top piece was a cinch because it still had the original screws. The previous owners attached the wooden piece to the bottom...they used random screws that didn't match, both with flat head screws.
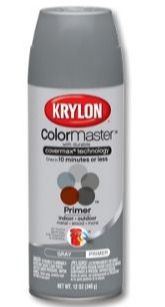
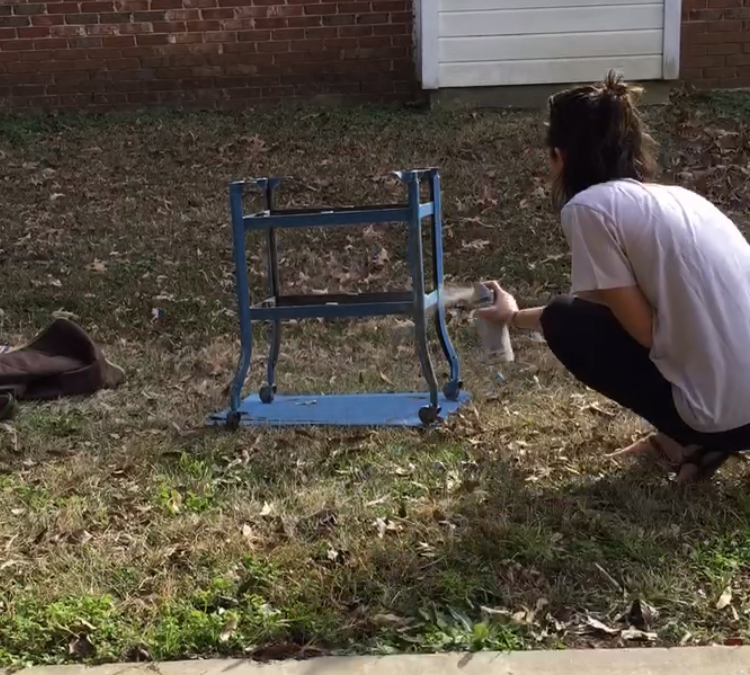
STEP 2: Sandblast the rust off!As you can see in the picture below, the wheels were extremely rusty. The cart still functioned, and the wheels aren't the most important piece to be painted...so sandblasting isn't a necessity if you don't want to go through the trouble. However, you will need to sand down all parts of the cart for good spray paint bondage. 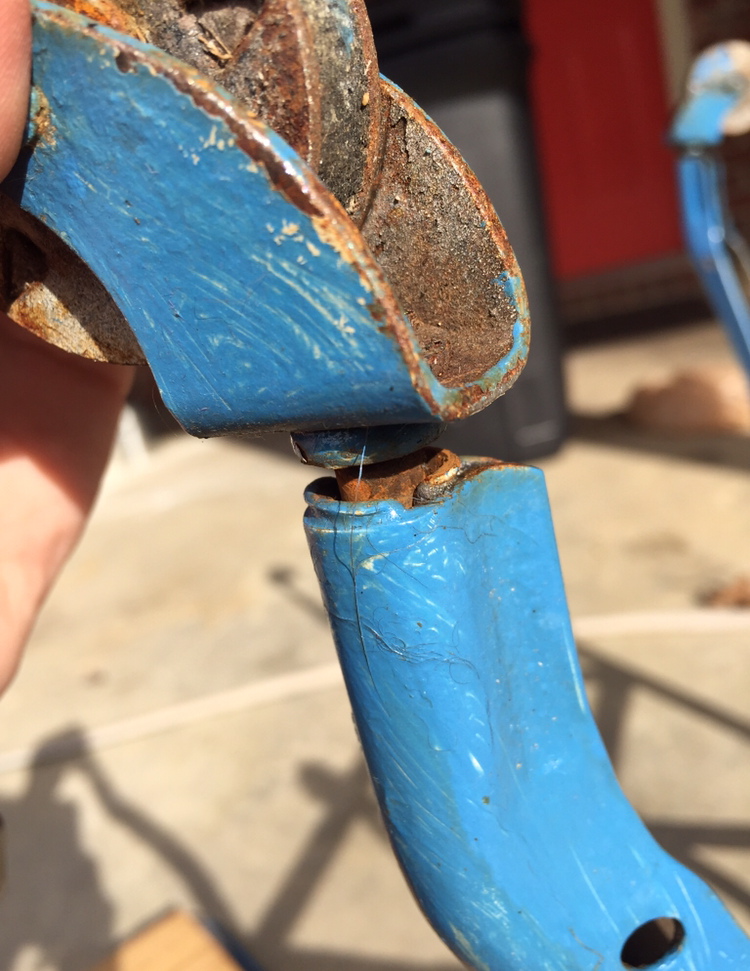 I should have a whole tutorial about how to buy a sandblaster. Actually, I should have read a whole tutorial about how to buy a sandblaster before buying mine. I don't regret buying this particular blaster from Harbor Freight, because I plan to use it for more "delicate" projects in the future. It worked fine for me for removing the rusty bits off the wheels. I feel certain if I had bit the bullet and purchased a nicer, more expensive blaster, I would have been able to blast this cart with no need for painting after.  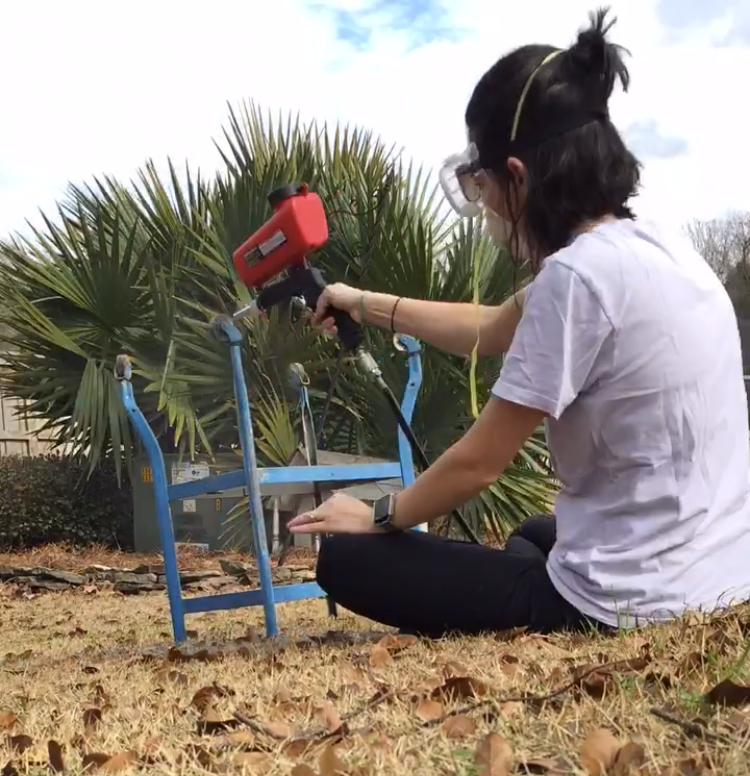 STEP 3: wipe off all the sanding particles I used lysol wipes. Quick and easy. STEP 4: spray the primer!Thin layers, people. Thin layers. Drips are not okay! Let dry completely before step 5.
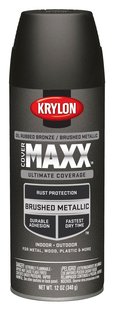
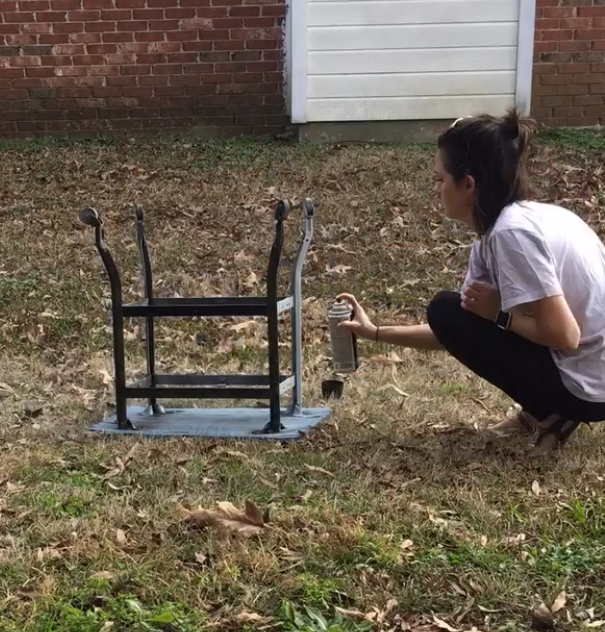
STEP 5: spray final color!Again, go for thin layers. I went on and sprayed the wheels. I'll let you know how that turns out on down the line....
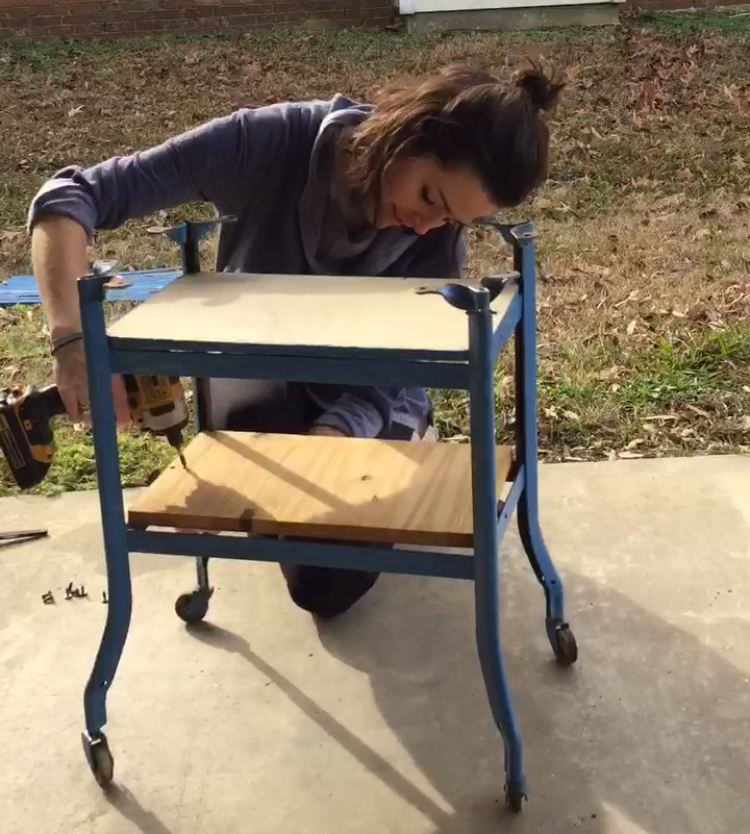
STEP 6: attach the cutting board and re-attach other shelvingMake sure your screws are short enough that they won't go through your cutting board!
STEP 7: all done!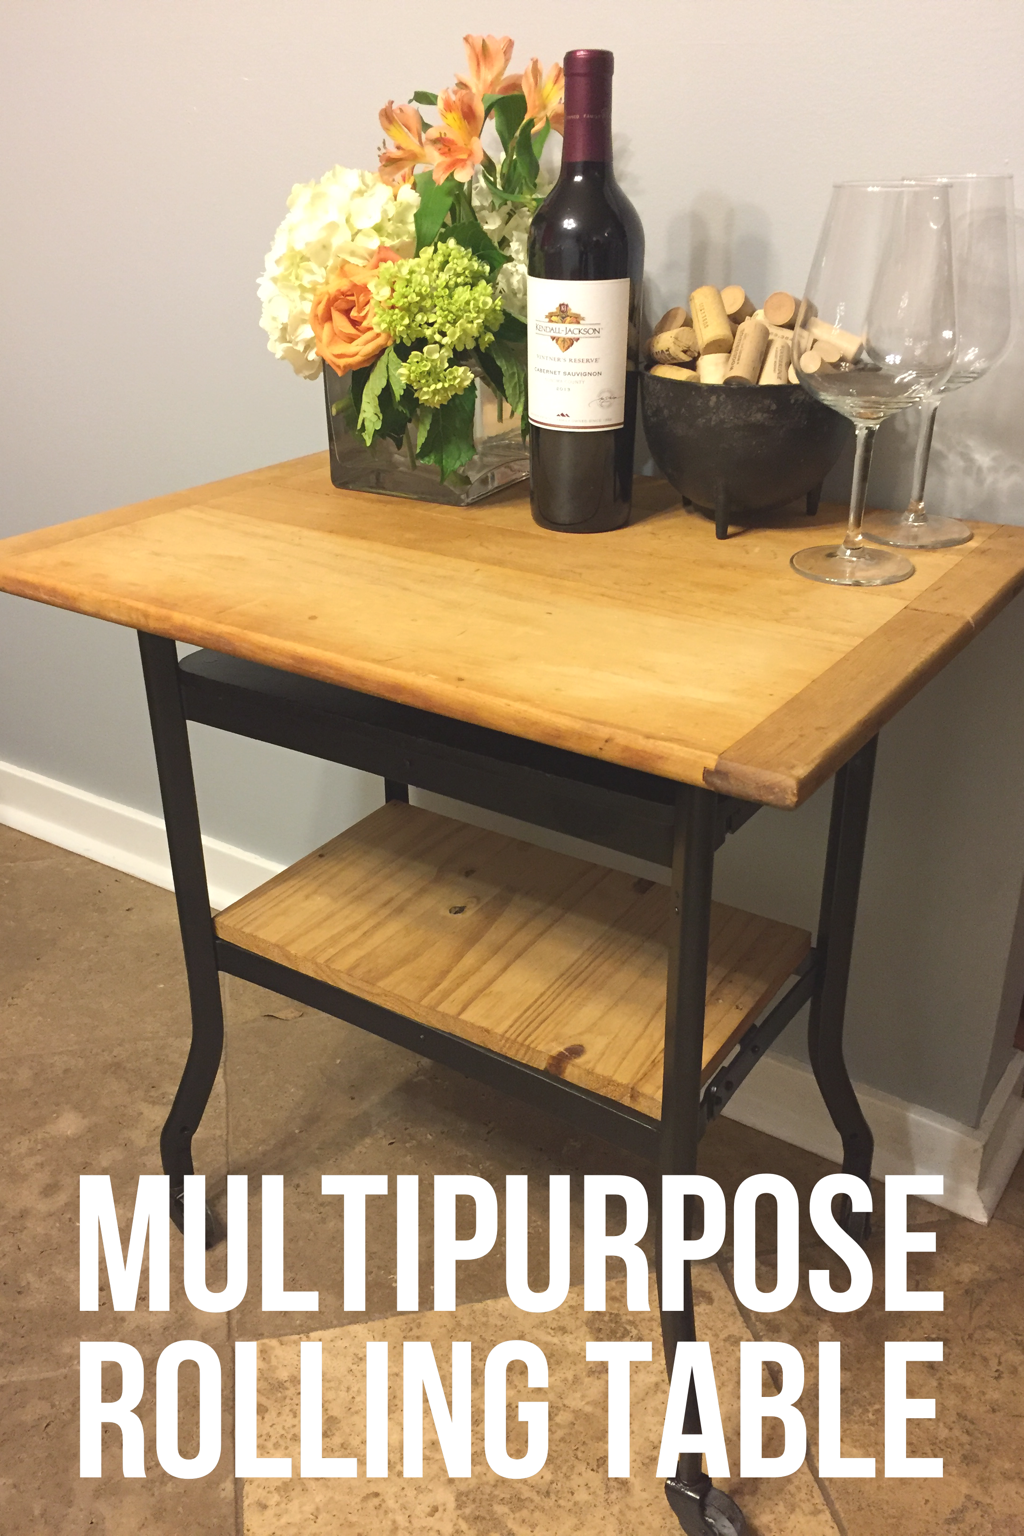  This is my FIRST EVER VIDEO TUTORIAL! Woohoo! Way to step up my game, right??? Please excuse the shakey cam and the cut off beard. It's a learning process and a work in progress. WHAT YOU NEED:
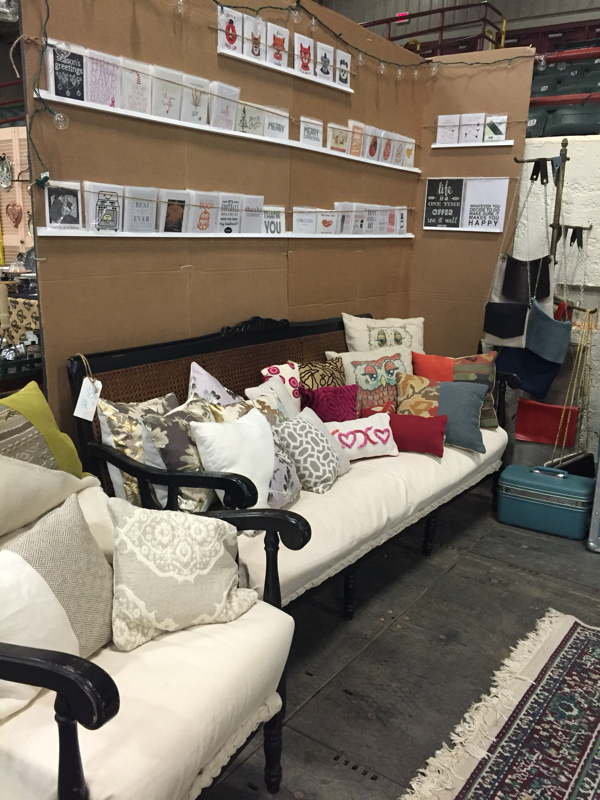
Well, what'd you think? I'm thinking it isn't too shabby for an impromptu first attempt at a video tutorial! Here's how I jimmy-rigged it: 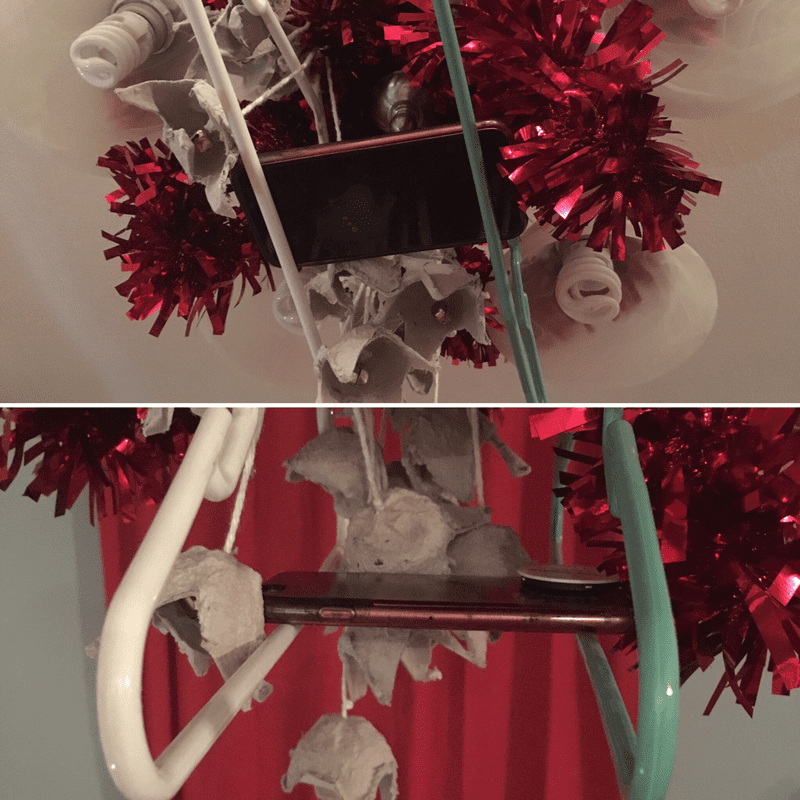 If you want the play-by-play: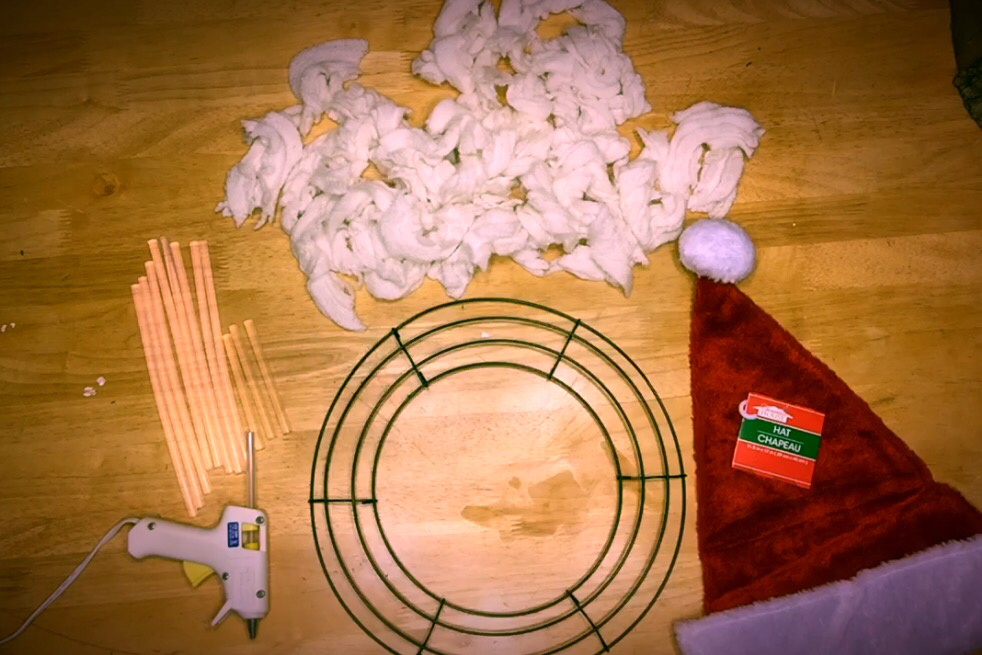 I started by placing my hat on my wreath form to know how far your beard should go. I put it on like a hat, but I suppose you could just glue it flat to the wreath if your from is too big? Try it and let me know. Next: get to gluing those scraps down! Personally, I love hot glue. Some people are really awful at it. Don't be awful, and don't burn yourself. It's a delicate art. 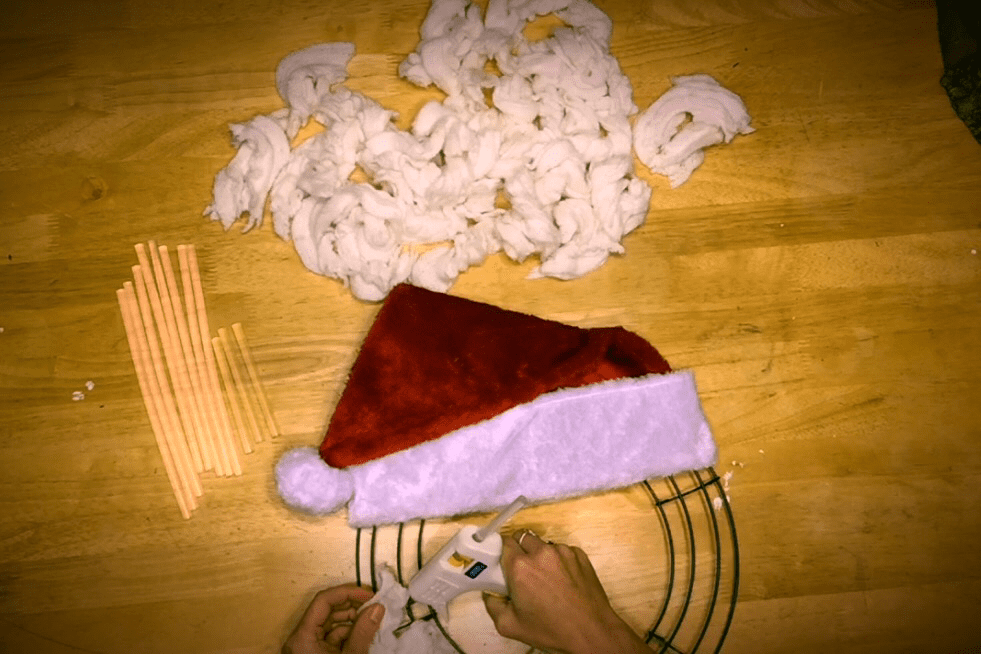 After I got about halfway done with the beard, I decided to go ahead and glue my hat down. I glued the insides shut. 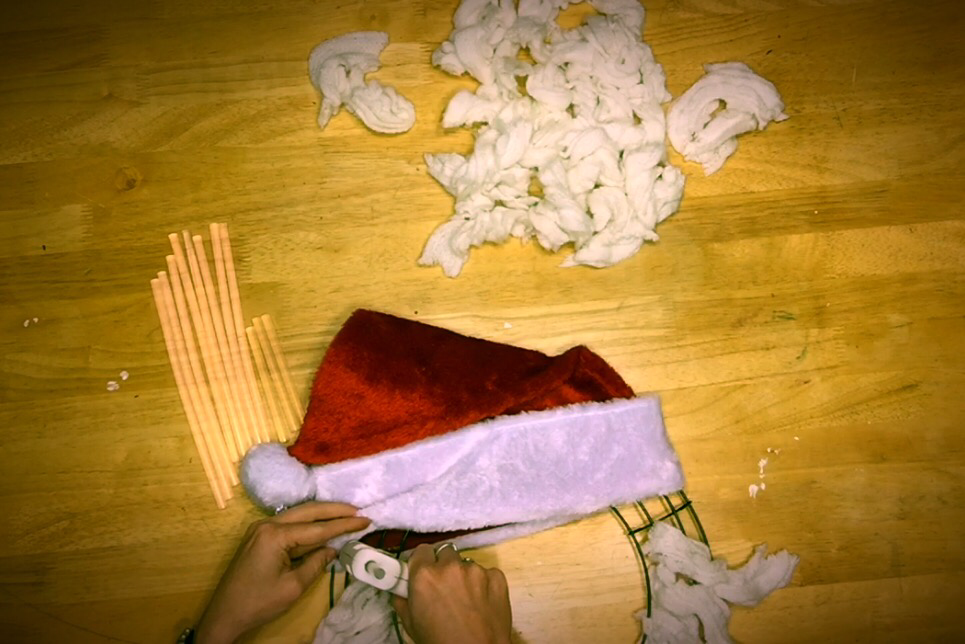 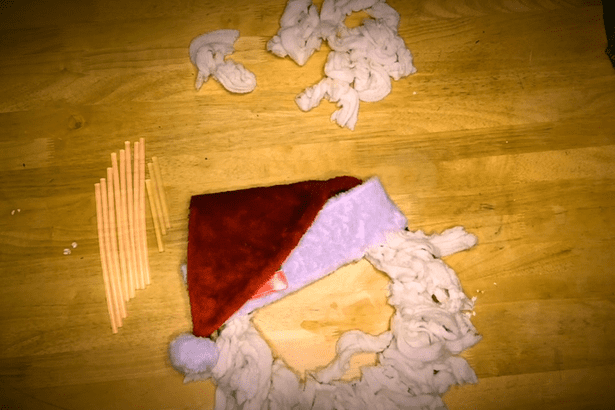 My little santa was looking weird without a mustache. I fiddled and found the longest scrap I had to reach across and connect. Then I decided he needed some eyeware.... 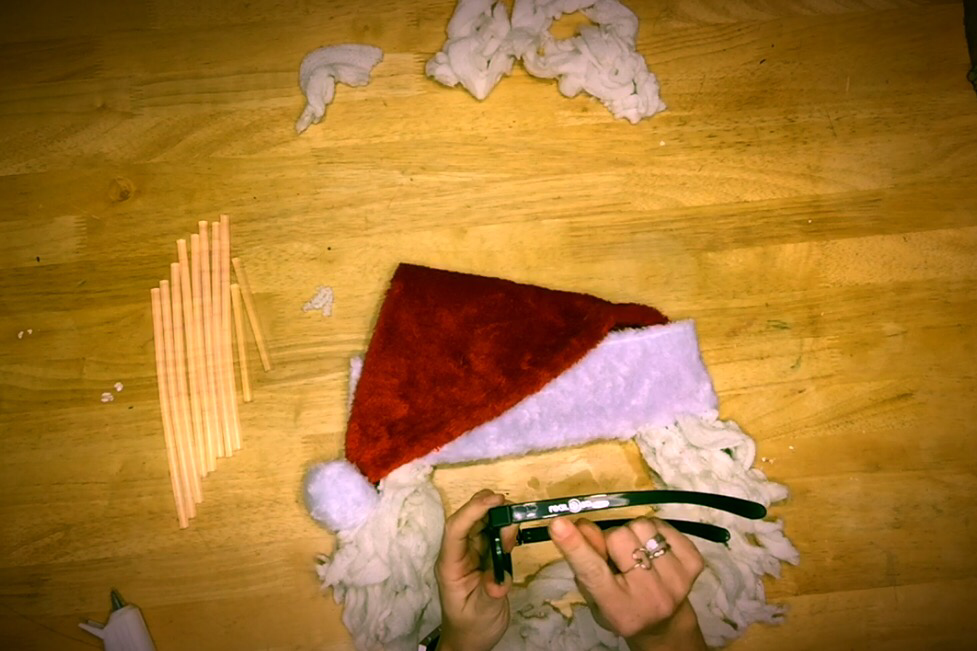 Seriously though, everyone has a pair of these laying around the house somewhere, right? Or am I just a hoarder? 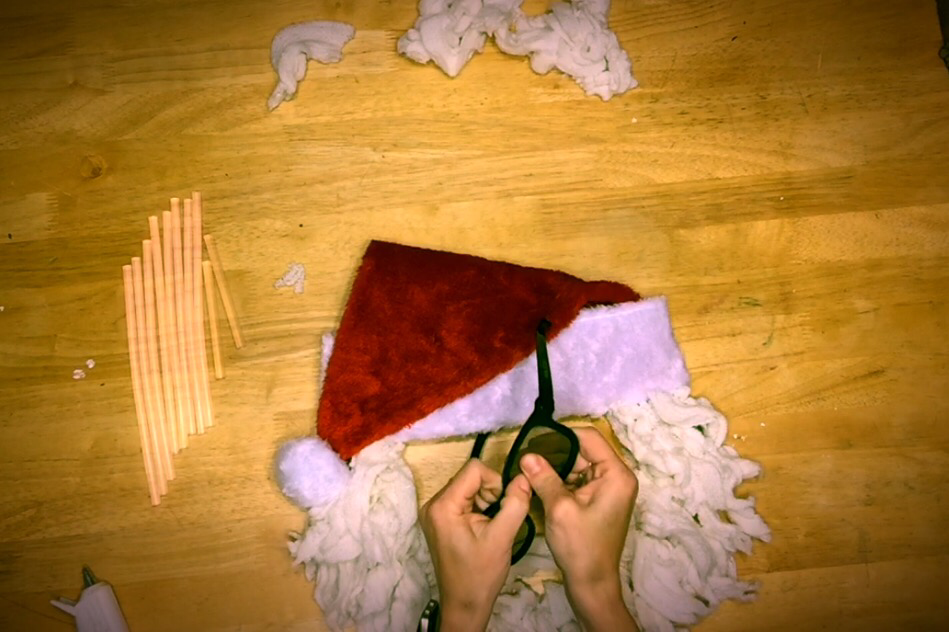 Punch out those 3D glasses and rip off those ear pieces! 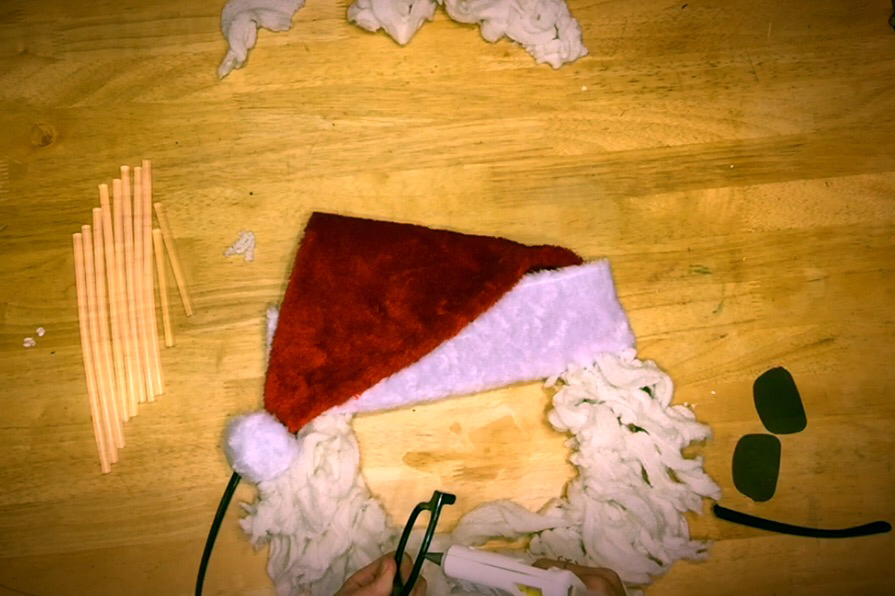 Add a little hot glue.... 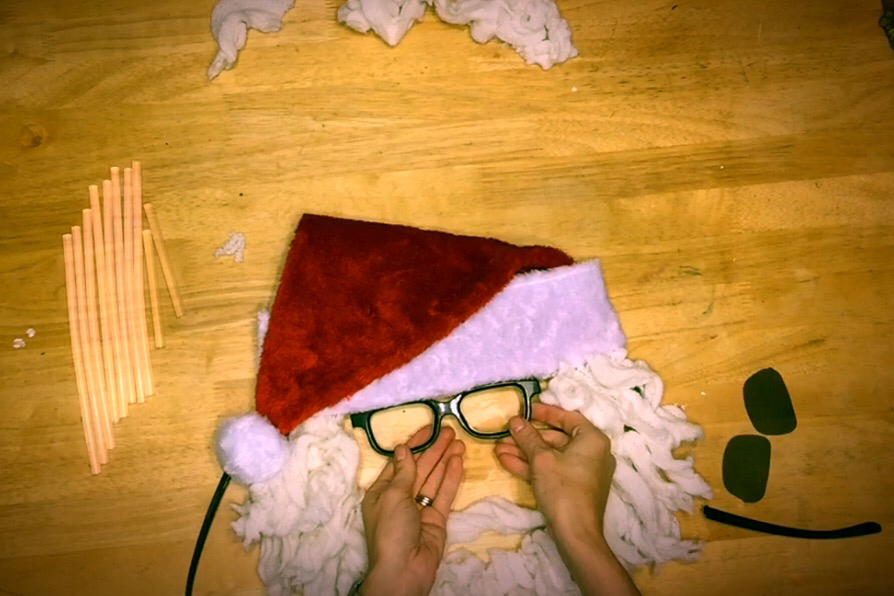 and hold them in place! 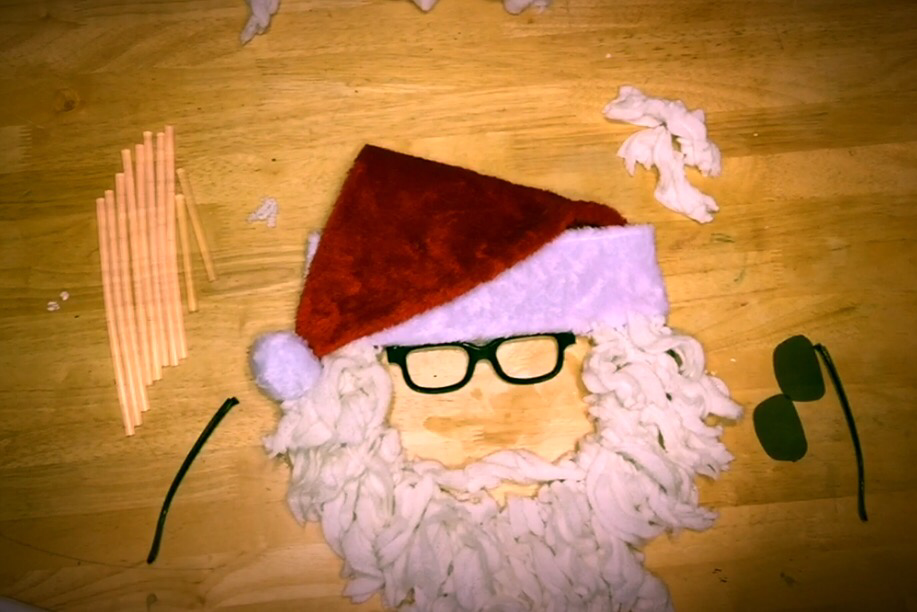 In hindsight, I wish I had thought to use fishing line to hang the glasses in the middle of his face...in a pench, this will do.  I hope you all have a VERY MERRY CHRISTMAS!   For a little frame of reference--I'm a hoarder. I used to work a few doors down from an interior decorator that constantly tossed fabric sample books! Much to the amusement of my co-workers, I loaded them up in the Cube. Every time I saw them. I have LOTS of fabric sample books... Here's a handful of projects I've made with trashed fabric sample books:The best use my fabric samples have ever had: |
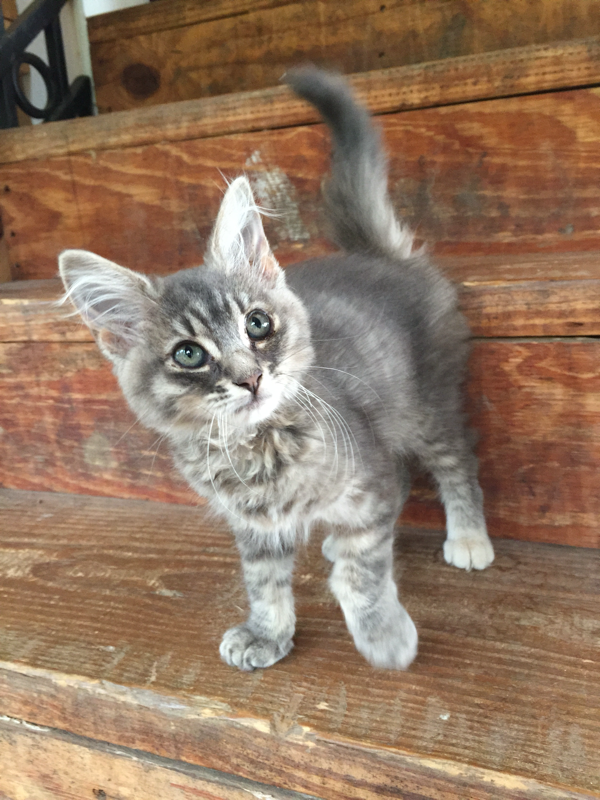
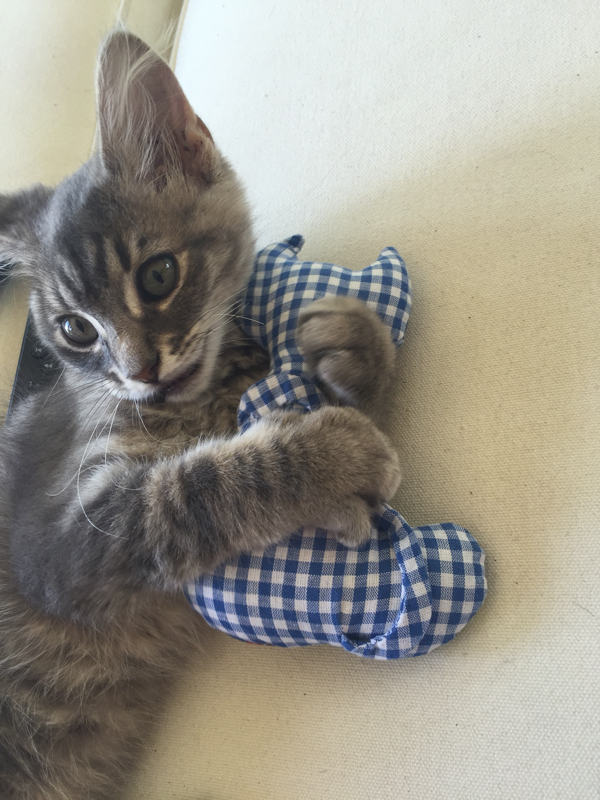
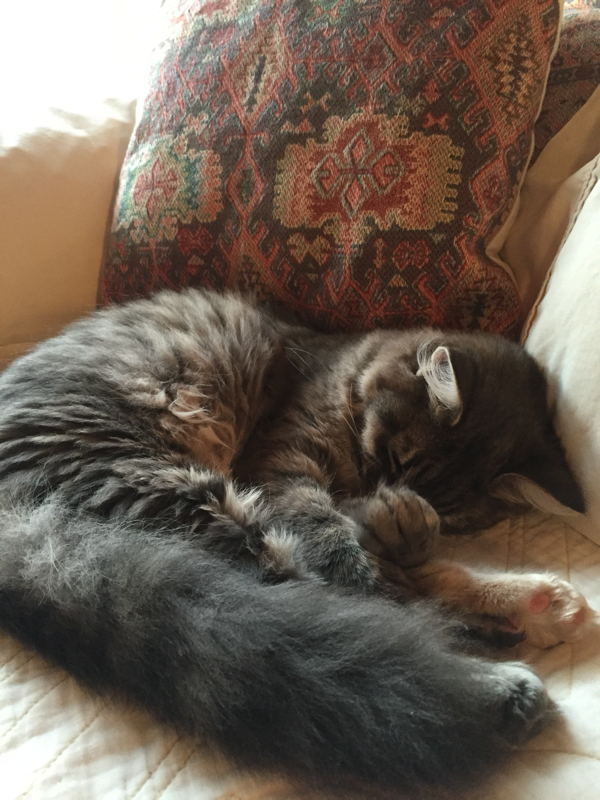
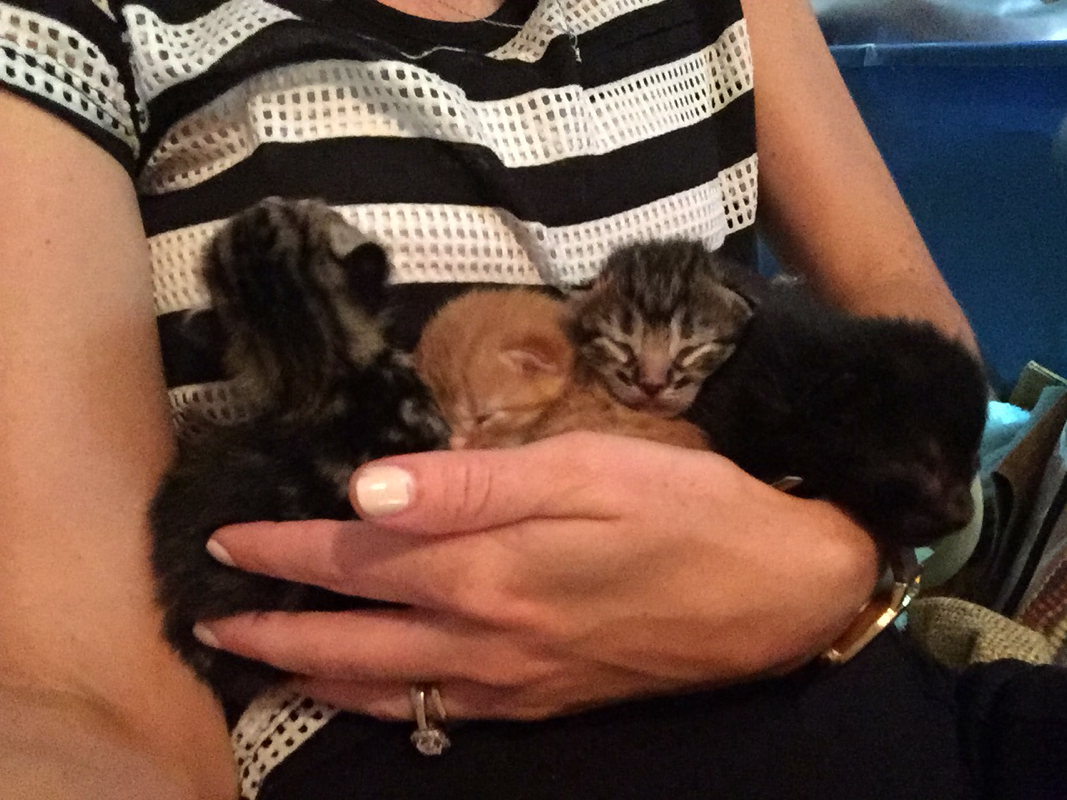
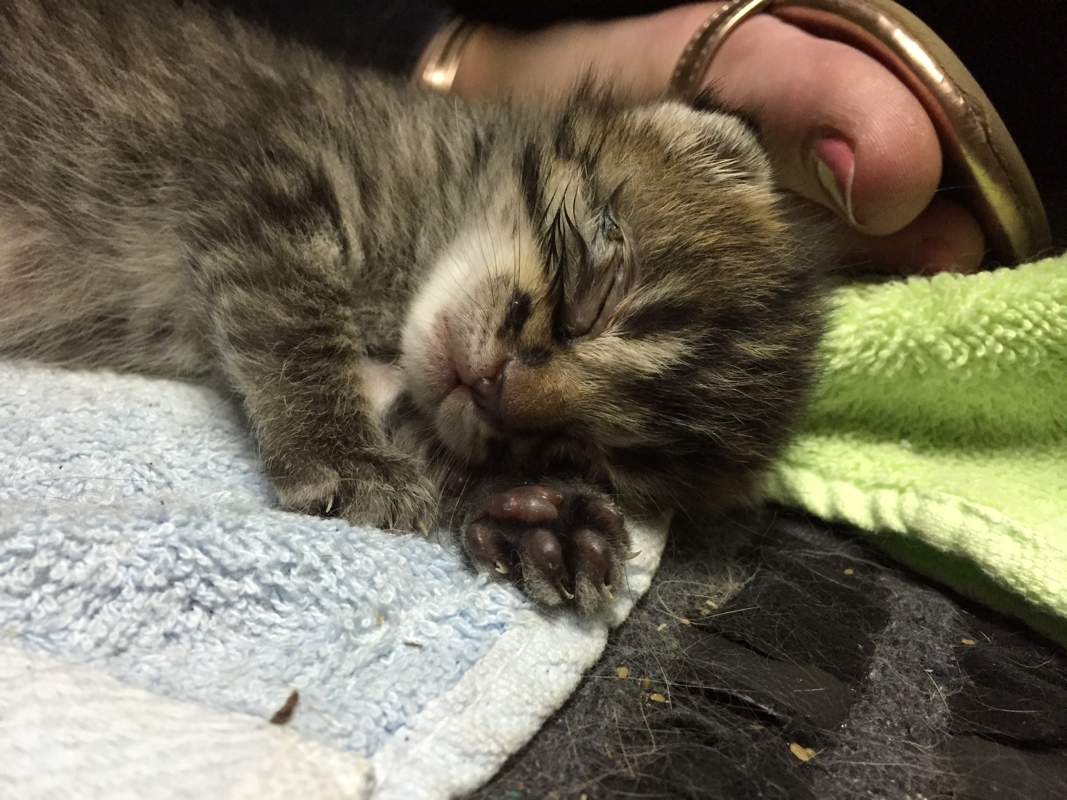
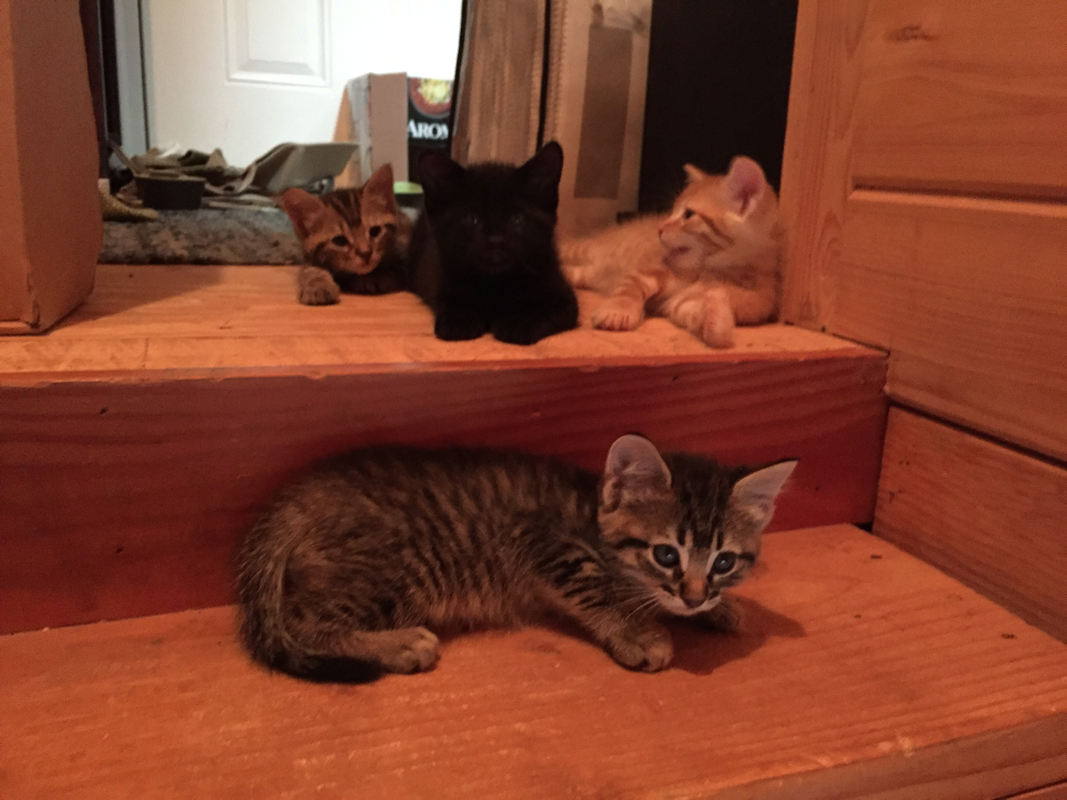
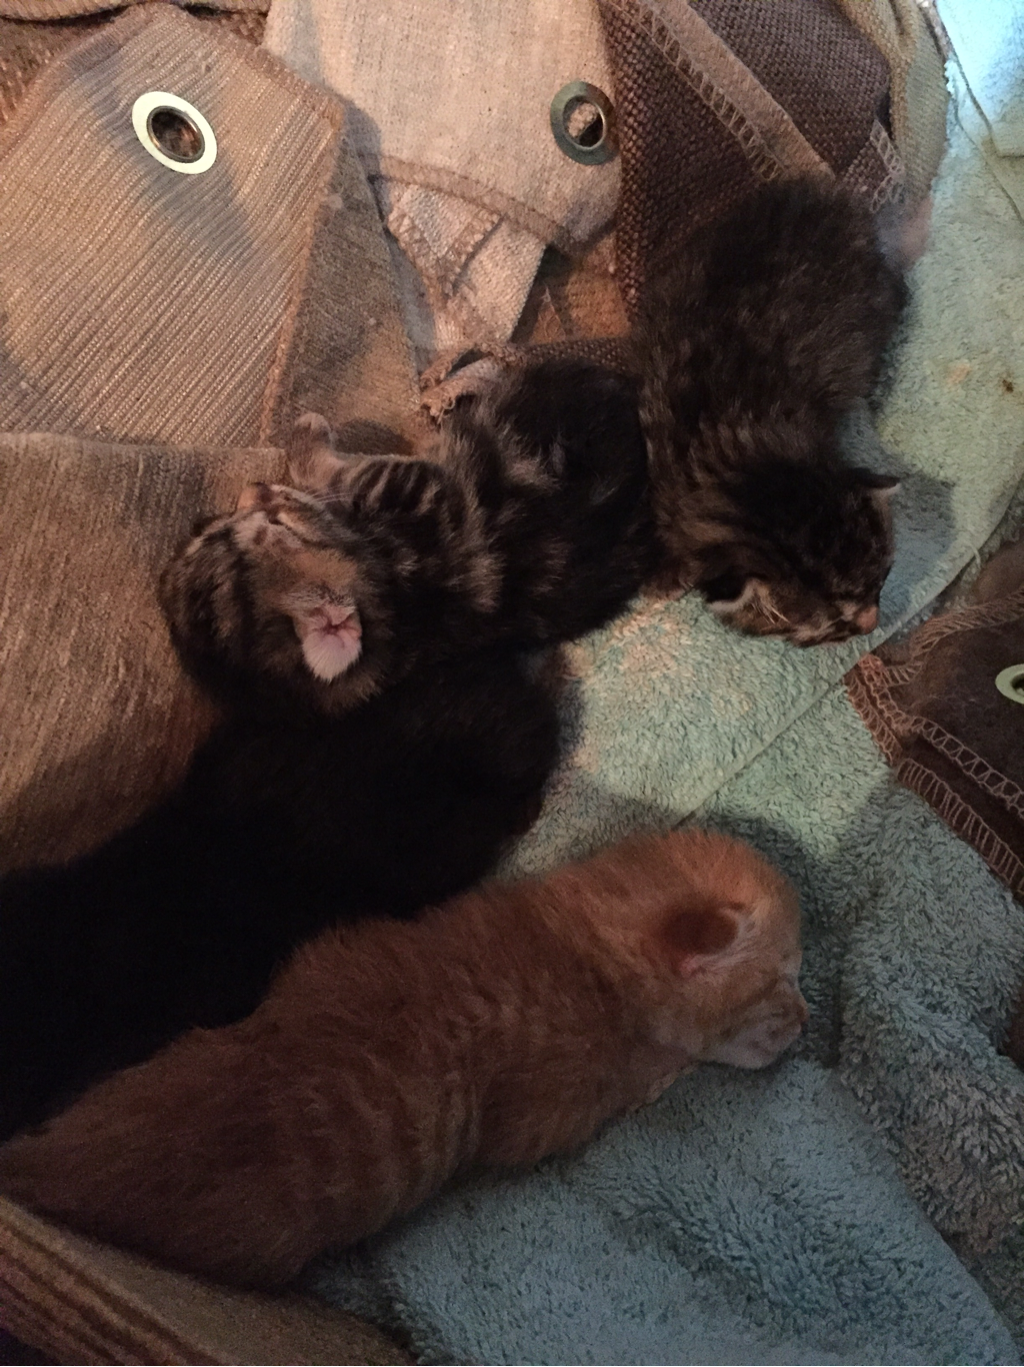 Kittens: day 1 There are 4 of them--black one right above the orange looks like a shadow! | OFF TOPIC: here's the story of my surprise kittens. |

I pick up other people's garbage and take it home.
All
ABOUT ONE GIRL
DECOR
EASY DIY
FREEBIE
FURNITURE
KITCHEN
ORGANIZATION
POWER TOOLS
SERIES OPENER
SEWING
VIDEO TUTORIAL
WEEKEND PROJECT

July 2018
March 2018
January 2018
December 2017
November 2017
September 2017
August 2017
July 2017
June 2017
April 2017
March 2017
February 2017
January 2017
December 2016
November 2016
October 2016


 RSS Feed