my DIY high
There's nothing quite like stepping back and saying, "Yes, I made that."

 I officially bullied my way into doing a tutorial in Madison County Magazine! I so wish emojis would show up on here because I'd definitely use the smirky side grin face right now :) 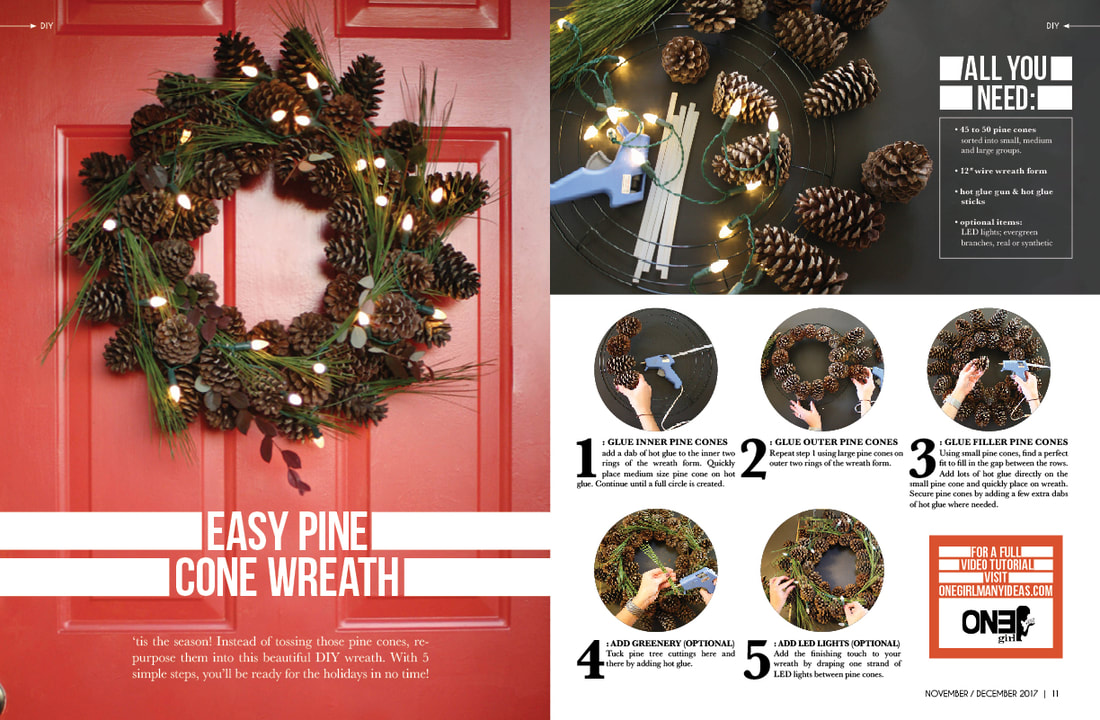 If you haven't already, go find yourself a copy of the magazine somewhere in Madison!
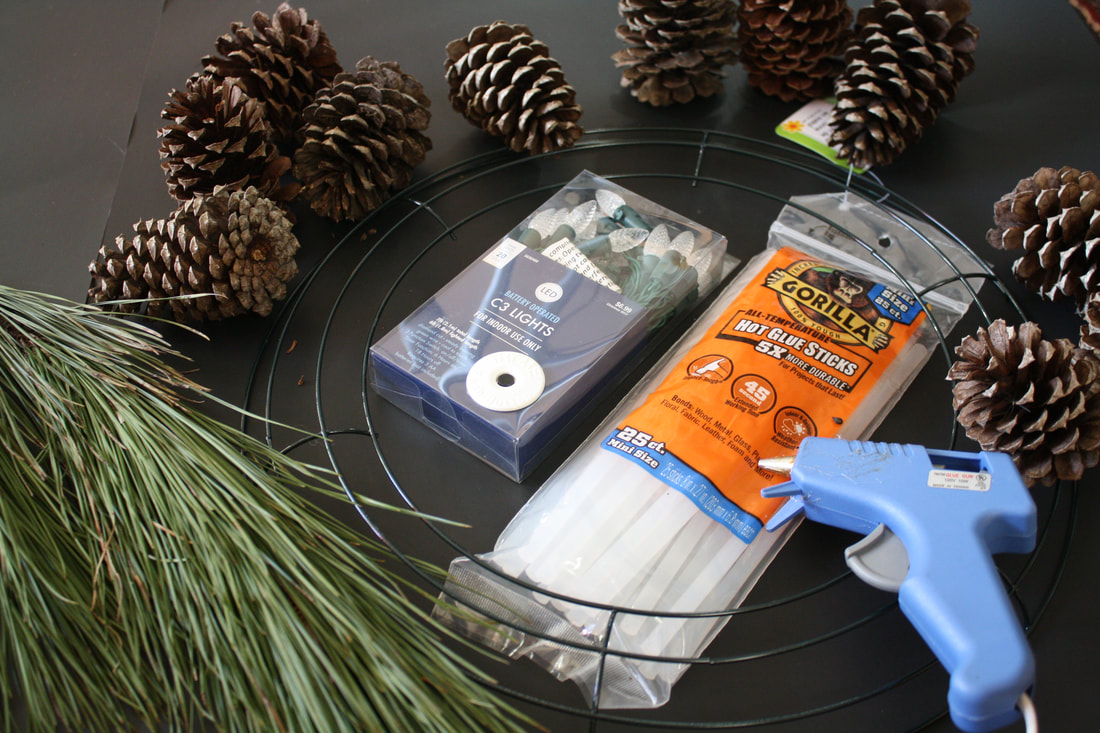
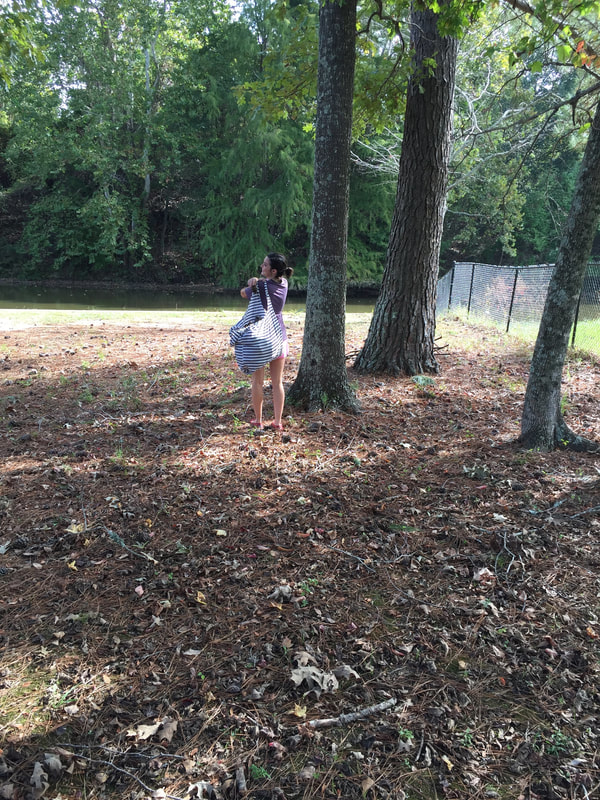
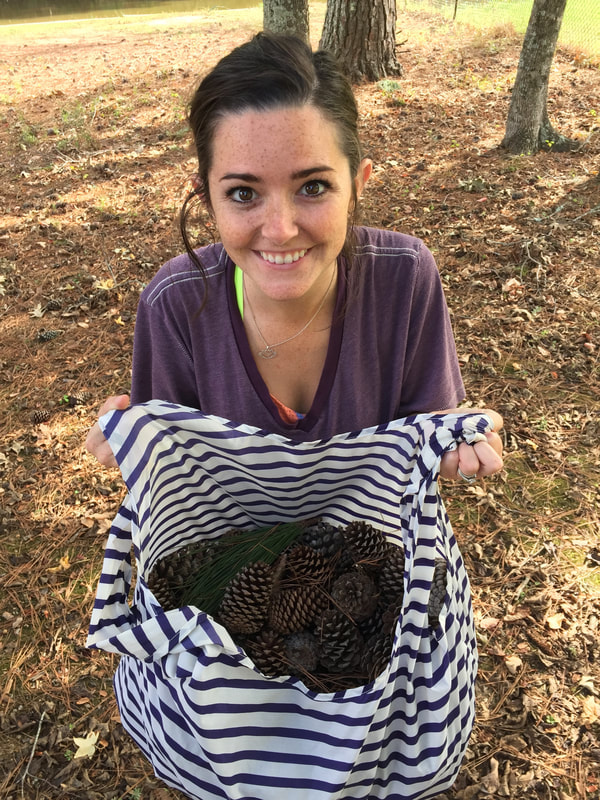
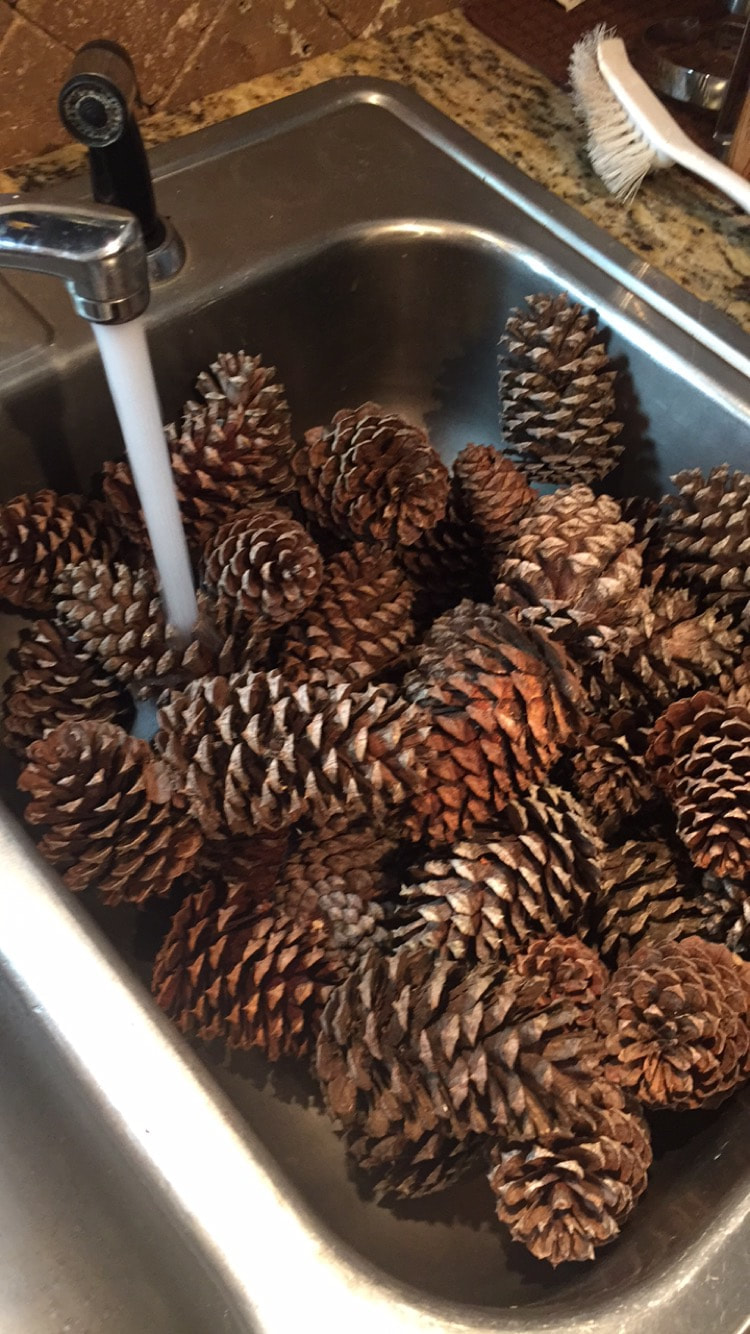
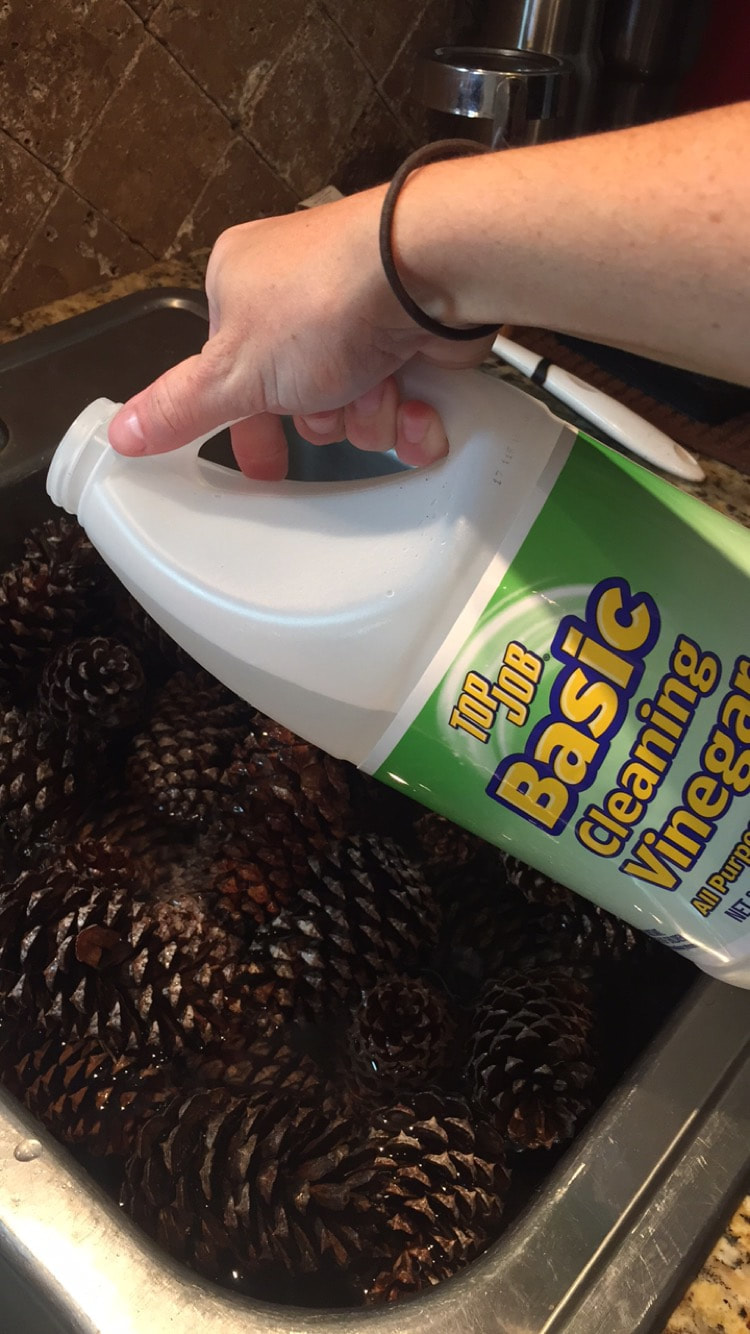
Of course, when I actually made the wreath I recorded it and took pictures along the way. So! You benefit from this new endeavor of mine! If you follow me on instagram you most likely saw my stories leading up to this. I hope you enjoy the final tutorial! WHAT YOU NEED:
 WHAT TO DO:
the wreath:
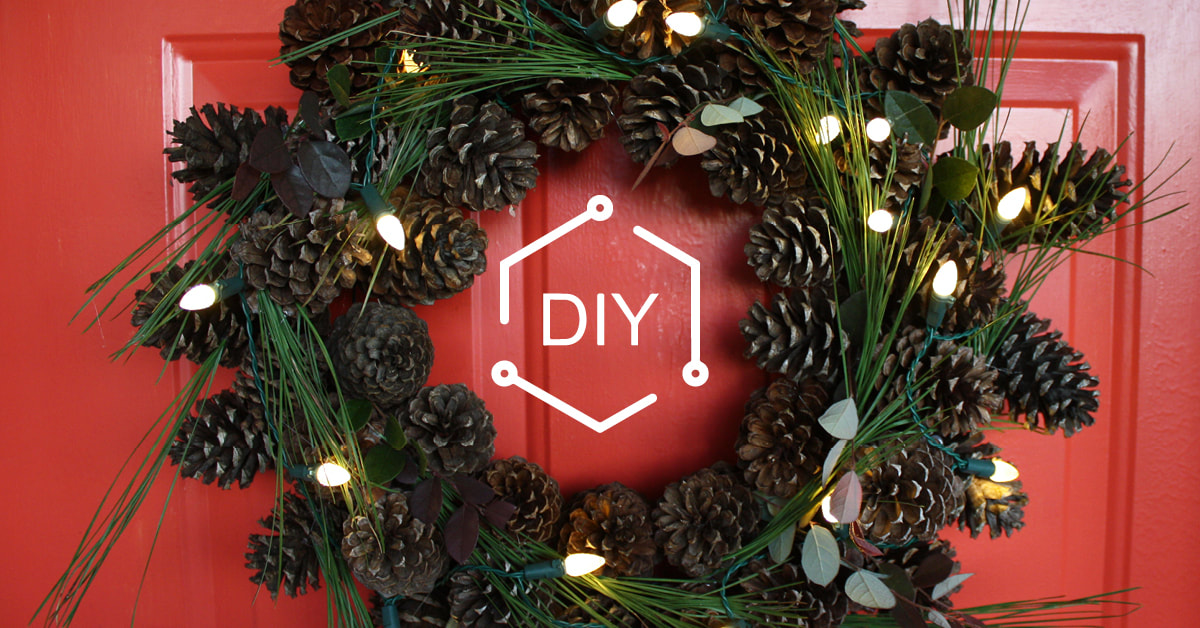
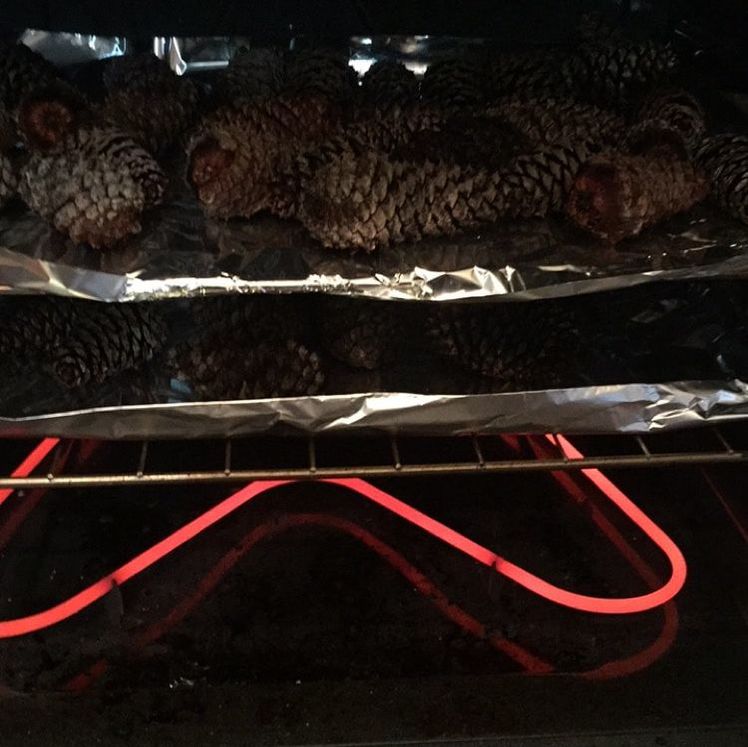
There you have it! It's so easy! And look-- I did it in less than two minutes: 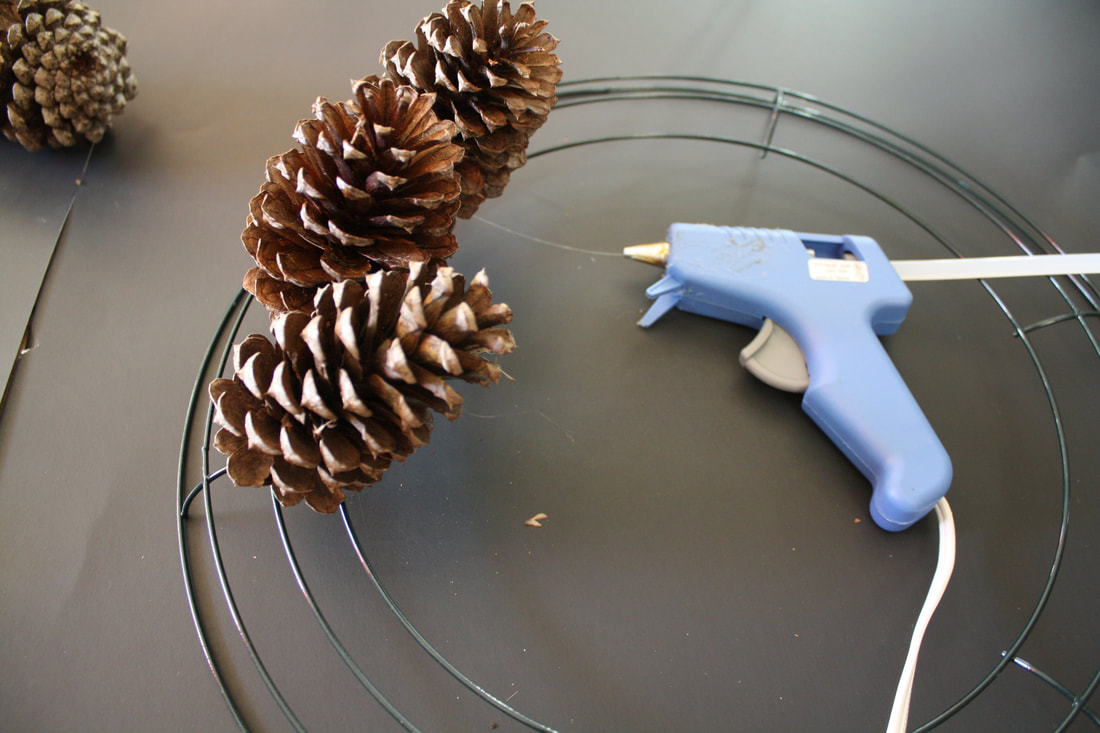 Start with the medium pinecones. Yes, medium. Put two small dots of hot glue on the inner two rings of the wreath form. Quickly place medium pinecone on hot glue. 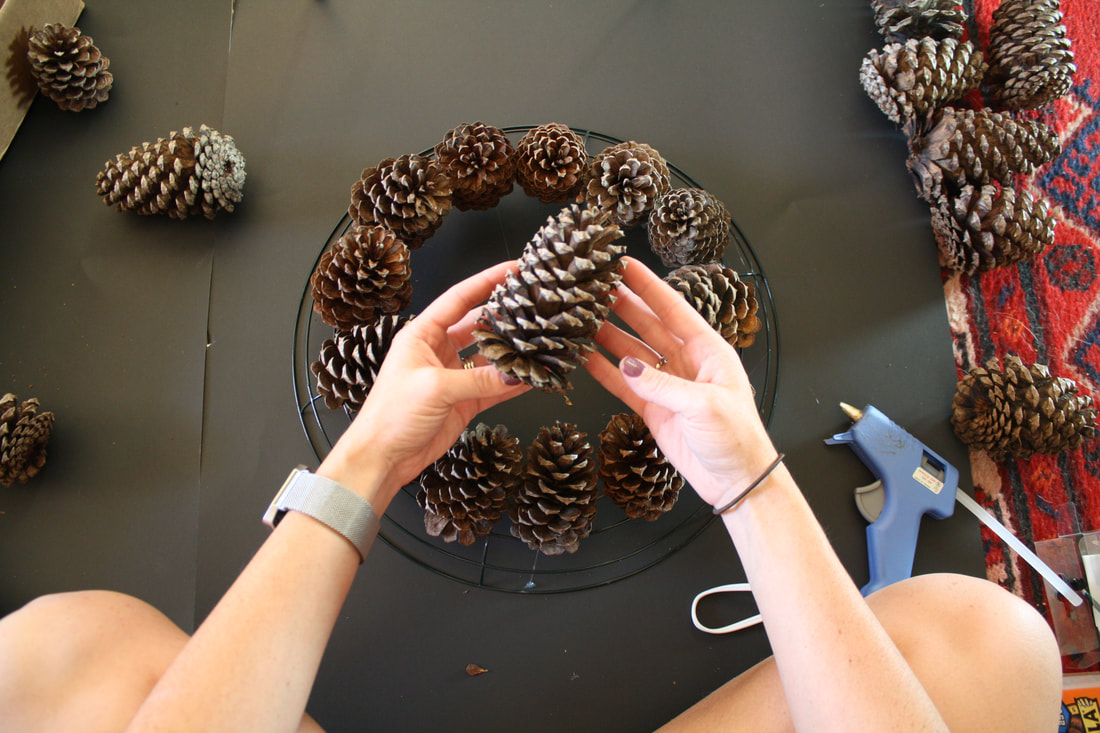 Continue all the way around to form a full circle. Now use the largest cones and repeat on the outside two rings.  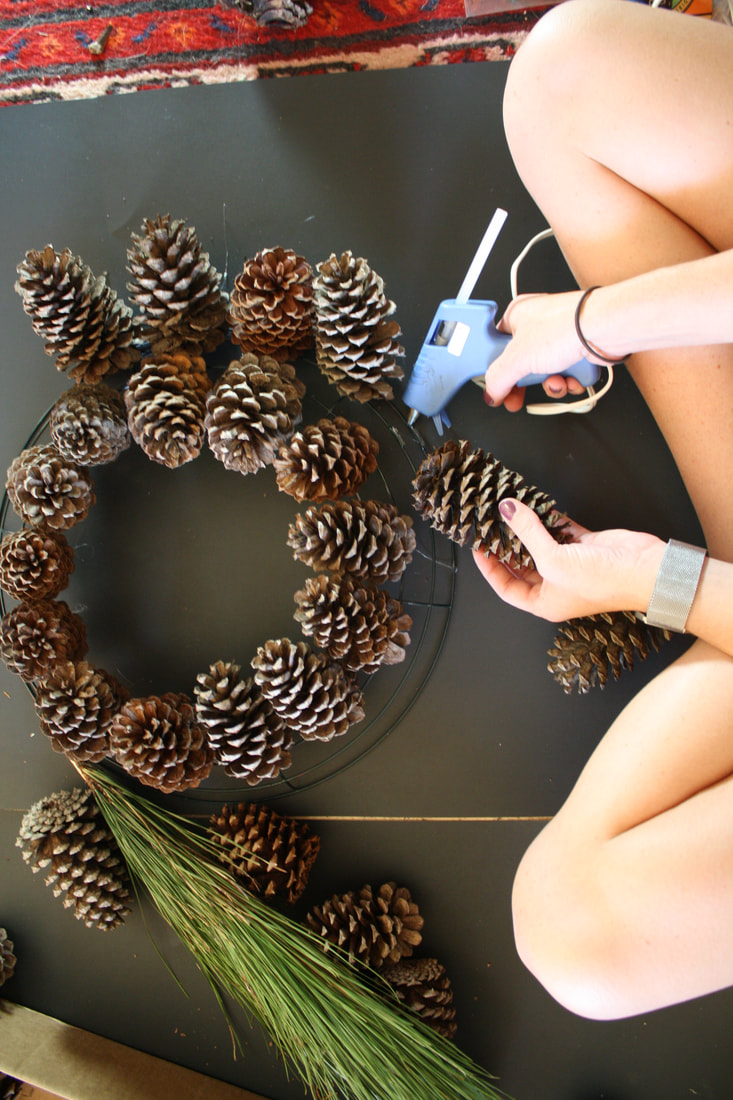 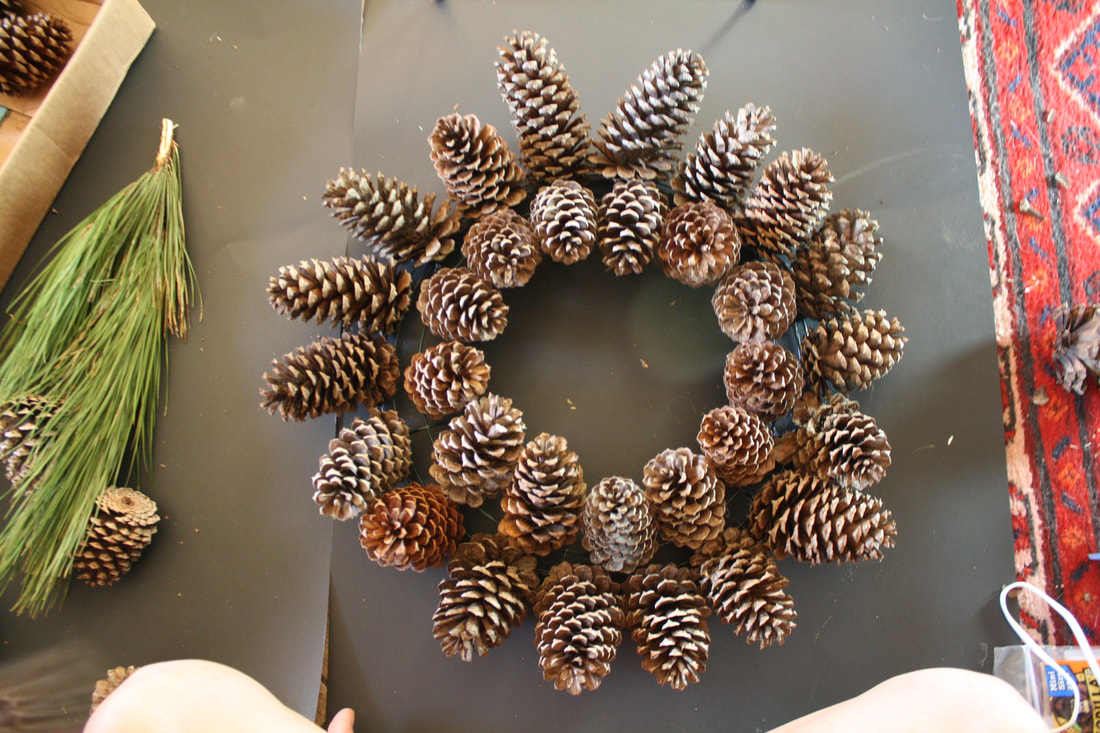 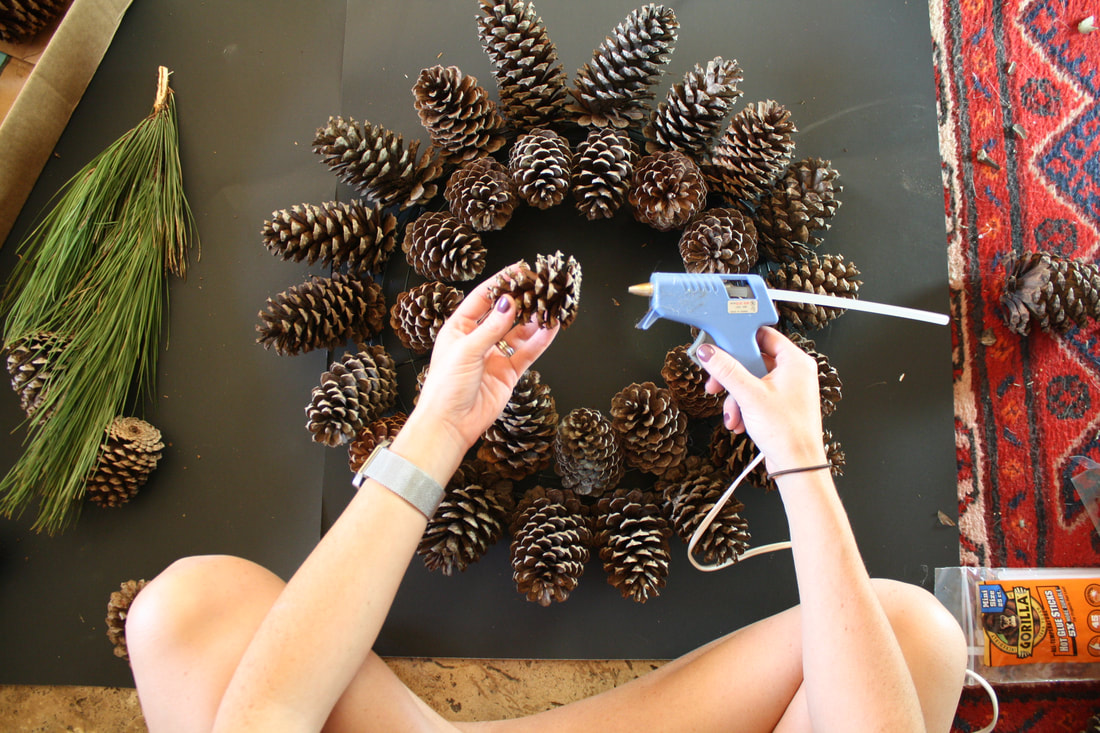 Use the smallest cones to fill in the gaps between the rows. 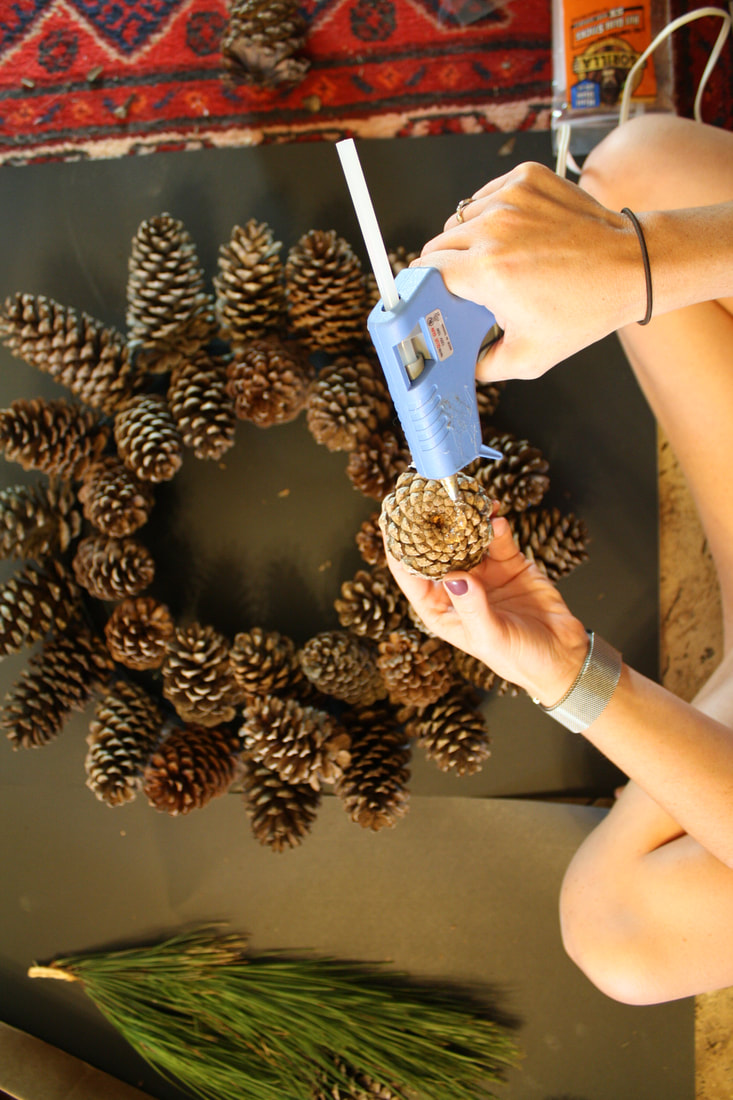 Add hot glue directly to smallest cones and here and there where needed to secure cones. 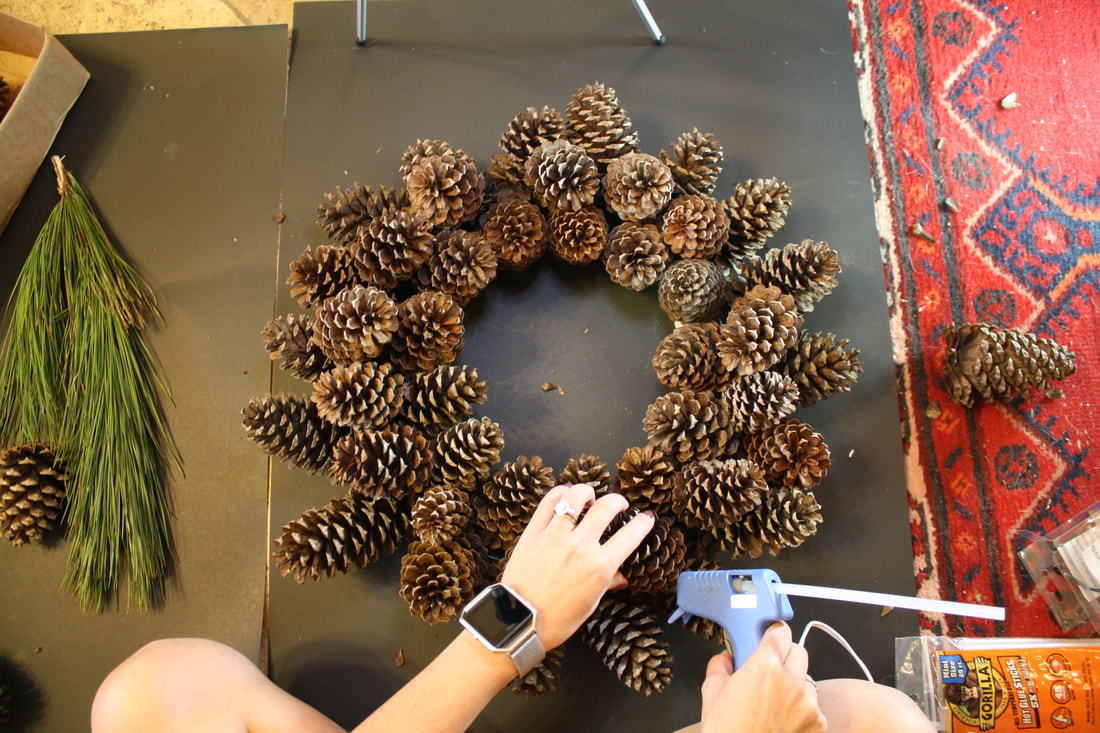
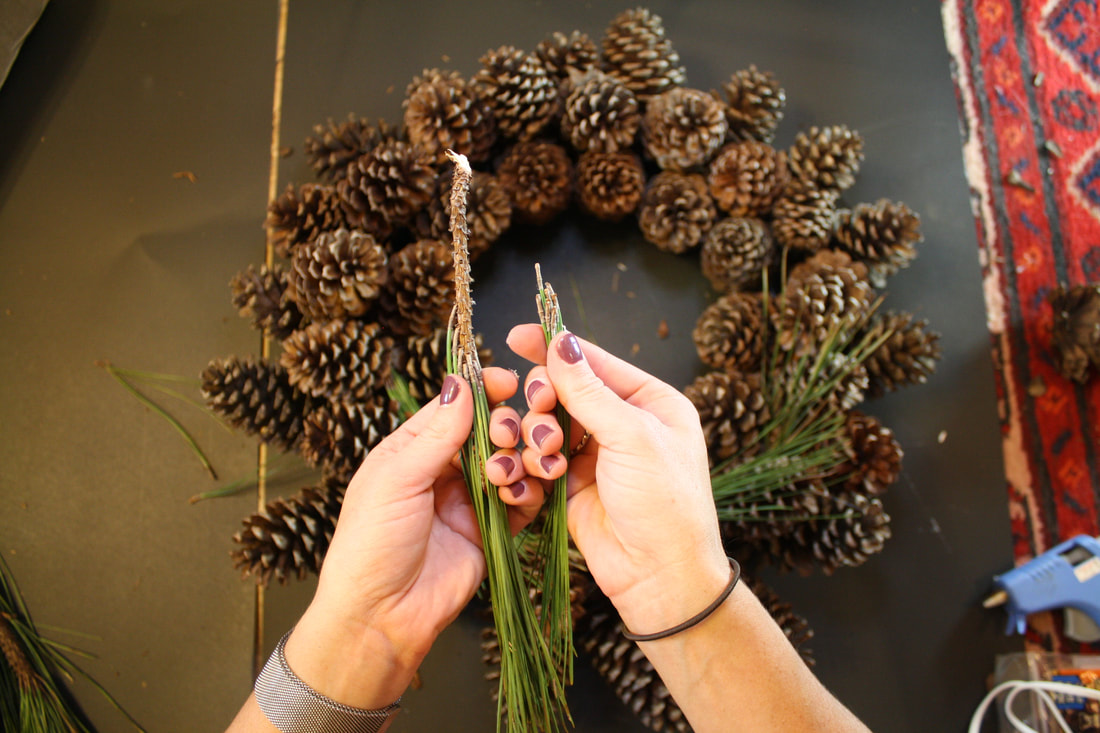
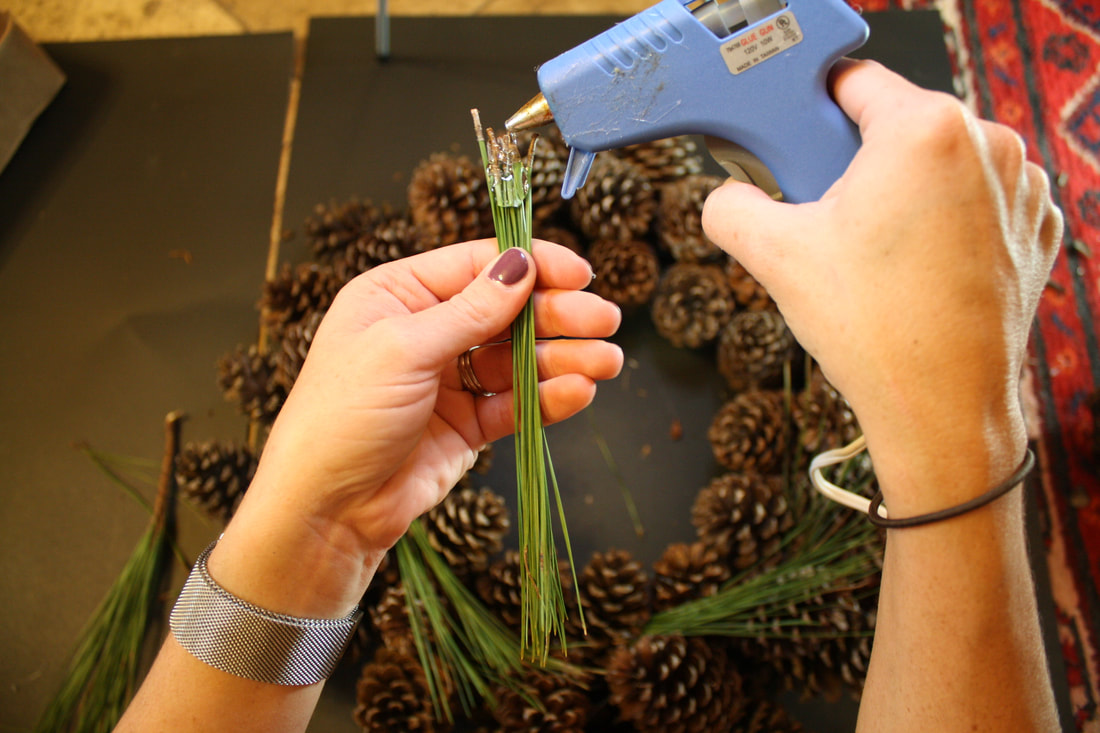
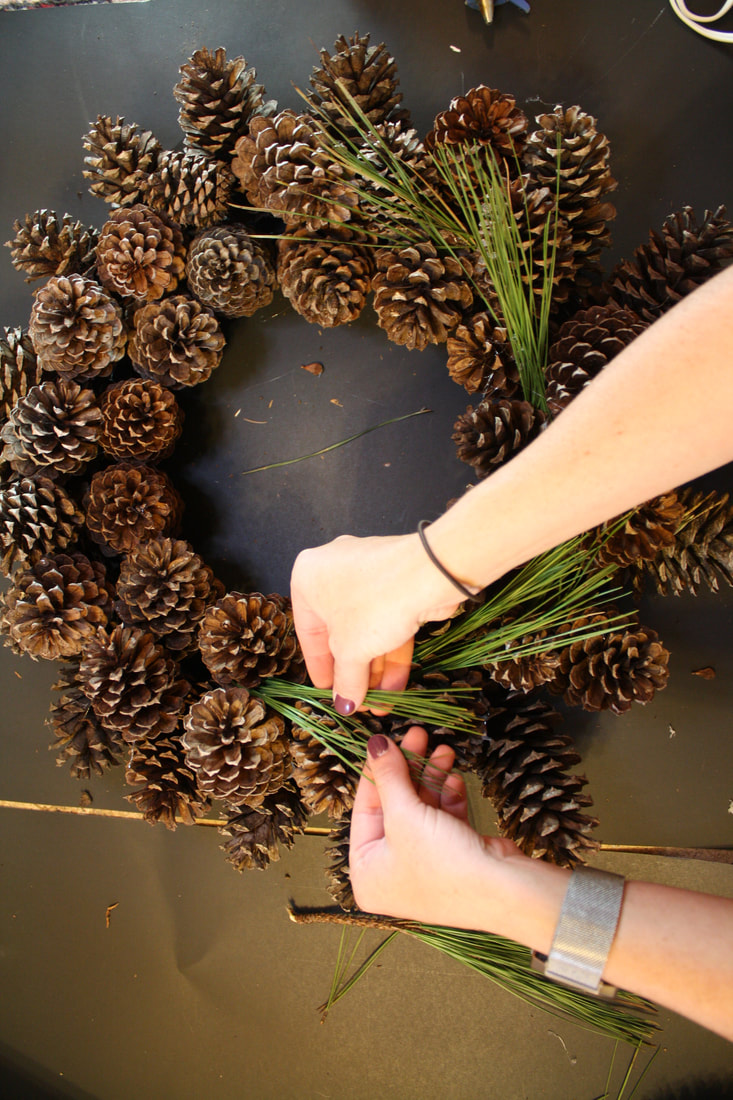 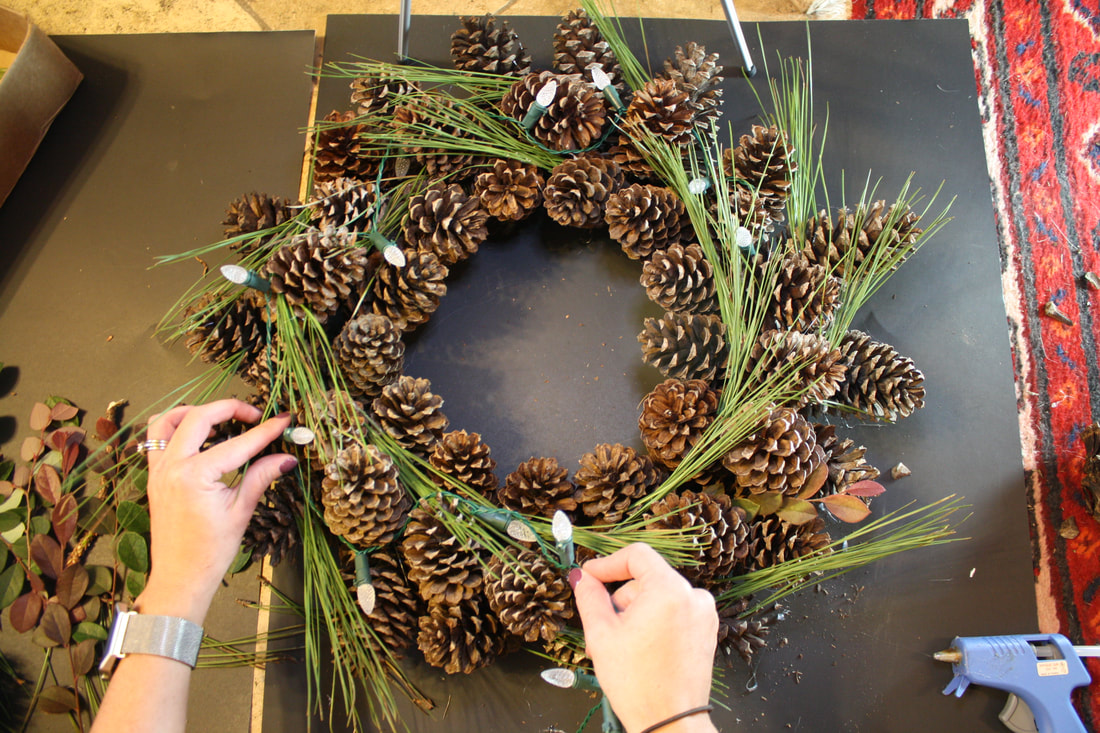 Optional next steps are to add greenery and lights. I tucked mine between the cones. 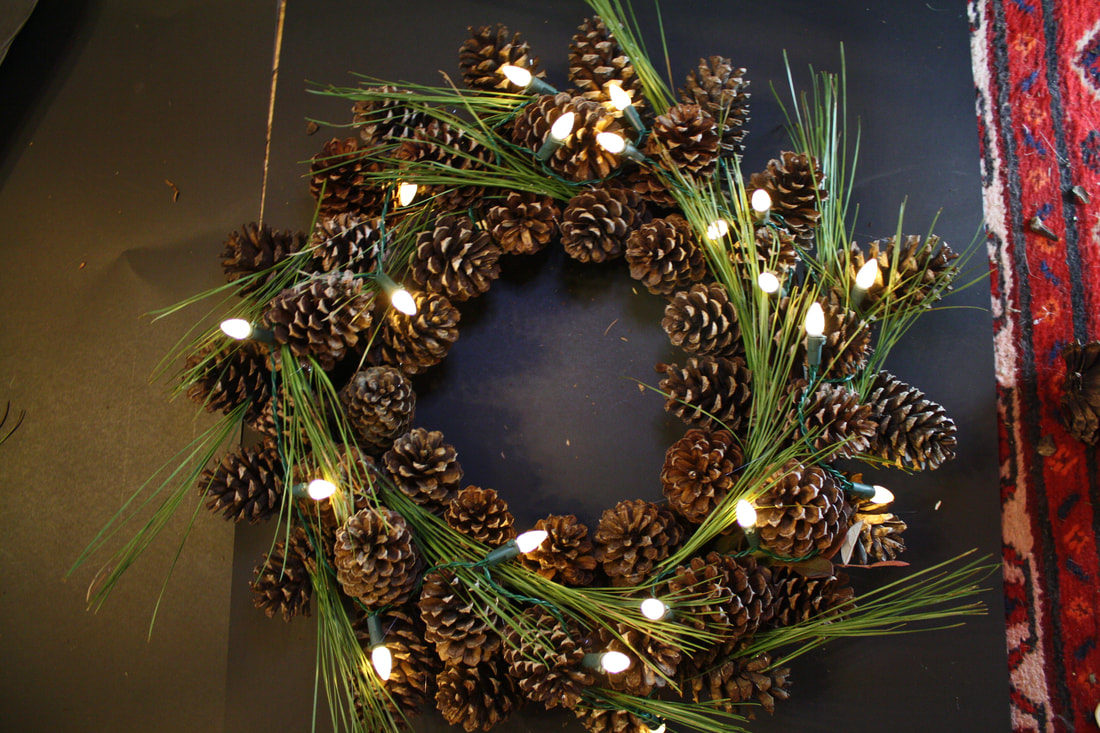 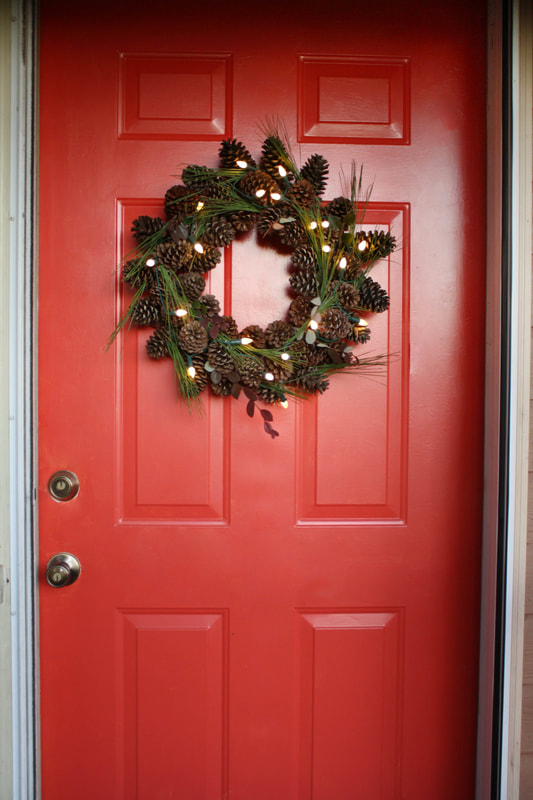 Happy crafting!YOU MIGHT ALSO LIKE:
|

Hi, I'm Rachel.I pick up other people's garbage and take it home. Whatcha lookin for?
All

By Date:
July 2018
|


 RSS Feed