my DIY high
There's nothing quite like stepping back and saying, "Yes, I made that."

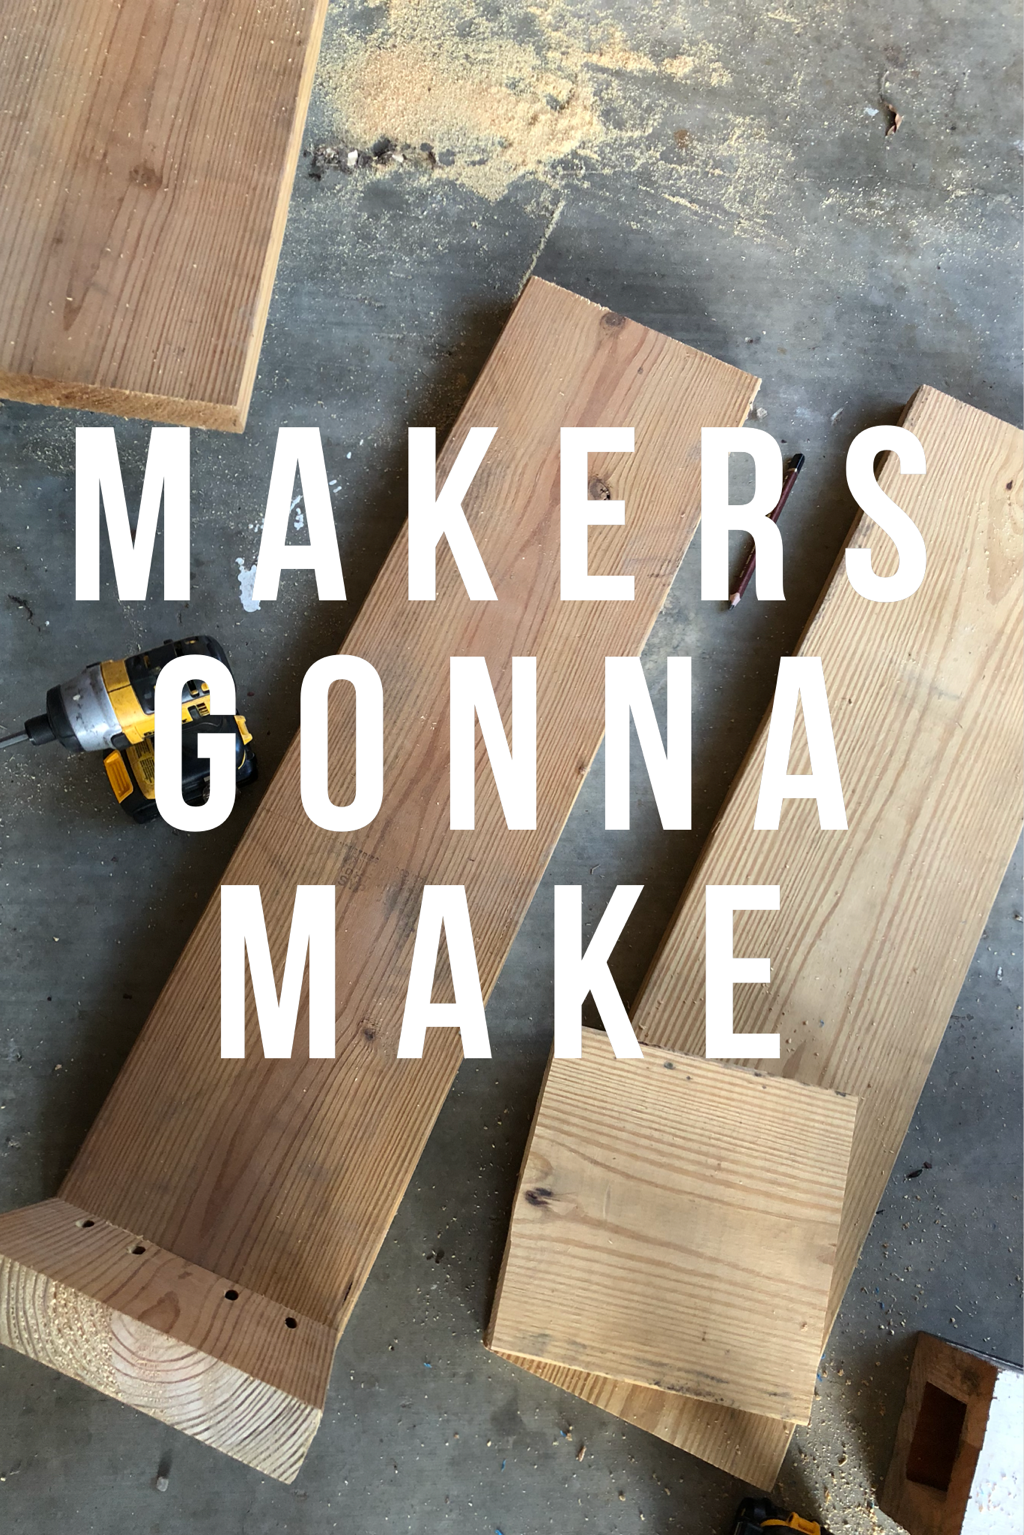
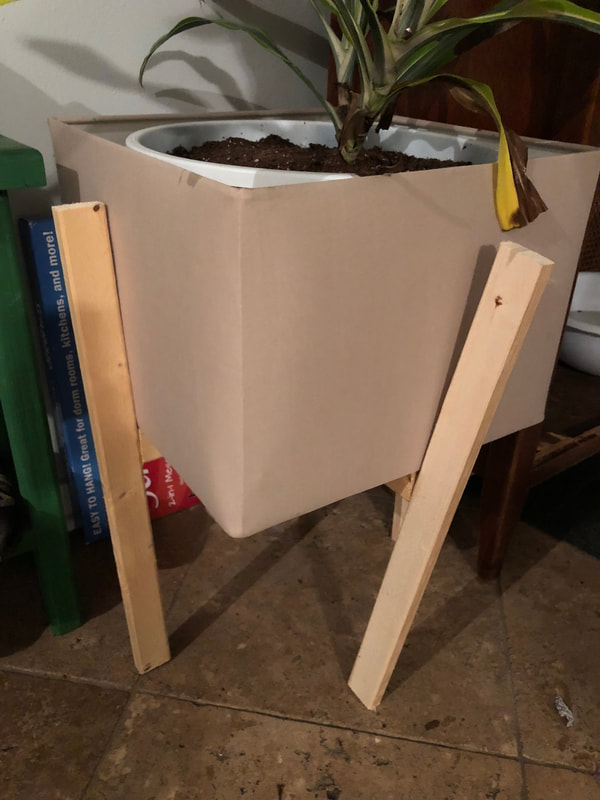
The worst of the worst happened to me recently. Okay, maybe not the worst of the worst...but pretty bad. I either misplaced my beloved hand-me-down circular saw or it was stolen. I realized this when I wanted to use it to build a fancy mid century modern planter. Out of pure frustration and determination, and because, well...makers gonna make, I made the planter anyway. It was a total bust.
I FINALLY purchased a new saw and had the unbelievable hankering to use it RIGHT THEN. I wanted to build something A) of all, very functional and B) of all, out of materials I already had.
Nathan uses the guest bathroom in our house. It's pretty small, and almost always messy (sorry to throw you under the bus, Nathan). I knew he needed somewhere to store his shoes and something to get his dirty clothes off the floor. This was Nathan's "organizing solution" that I came up with quickly one day. Sadly, the bathroom never was this clean, and the cat is missing :( 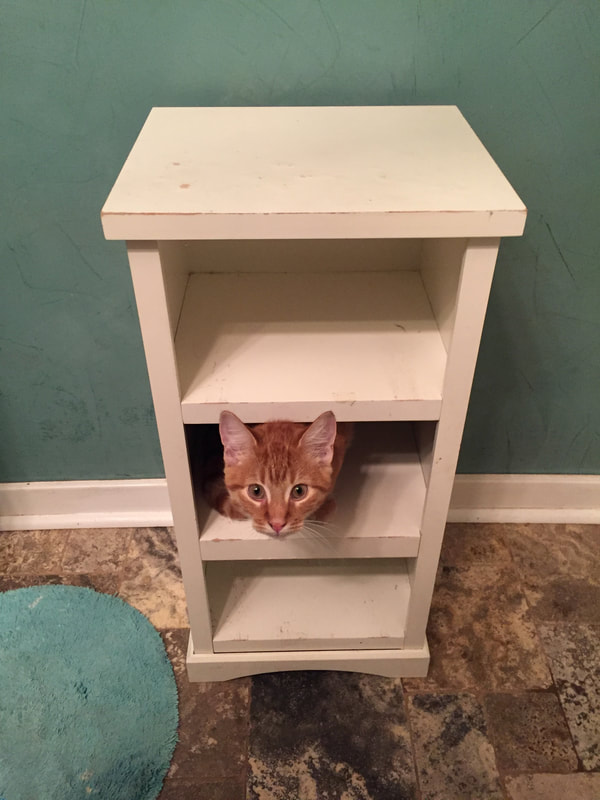
Anyway-my solution to curb my need to build and solve the bathroom organization problem -- A rolling bench / shoe rack! I had a 12” x 8’ board and left over wheels from previous projects. It took about 2.5 seconds to build. That's not true. It took probably 15 minutes to build.
What you need: 2 boards 12” x 36” (or desired length) 2 boards 12” x 12” (or desired height) Circular saw Pocket hole jig (optional) 8 screws 2 ½ “ long 4 caster wheels (I used these, but these would look awesome!) 16 screws for wheels – mine were 1/2” long Sand paper Polyurethane Drill Long phillips head drill bit STEP 1: cut wood I cut my boards to size (3’ and 12” – 2 of each). 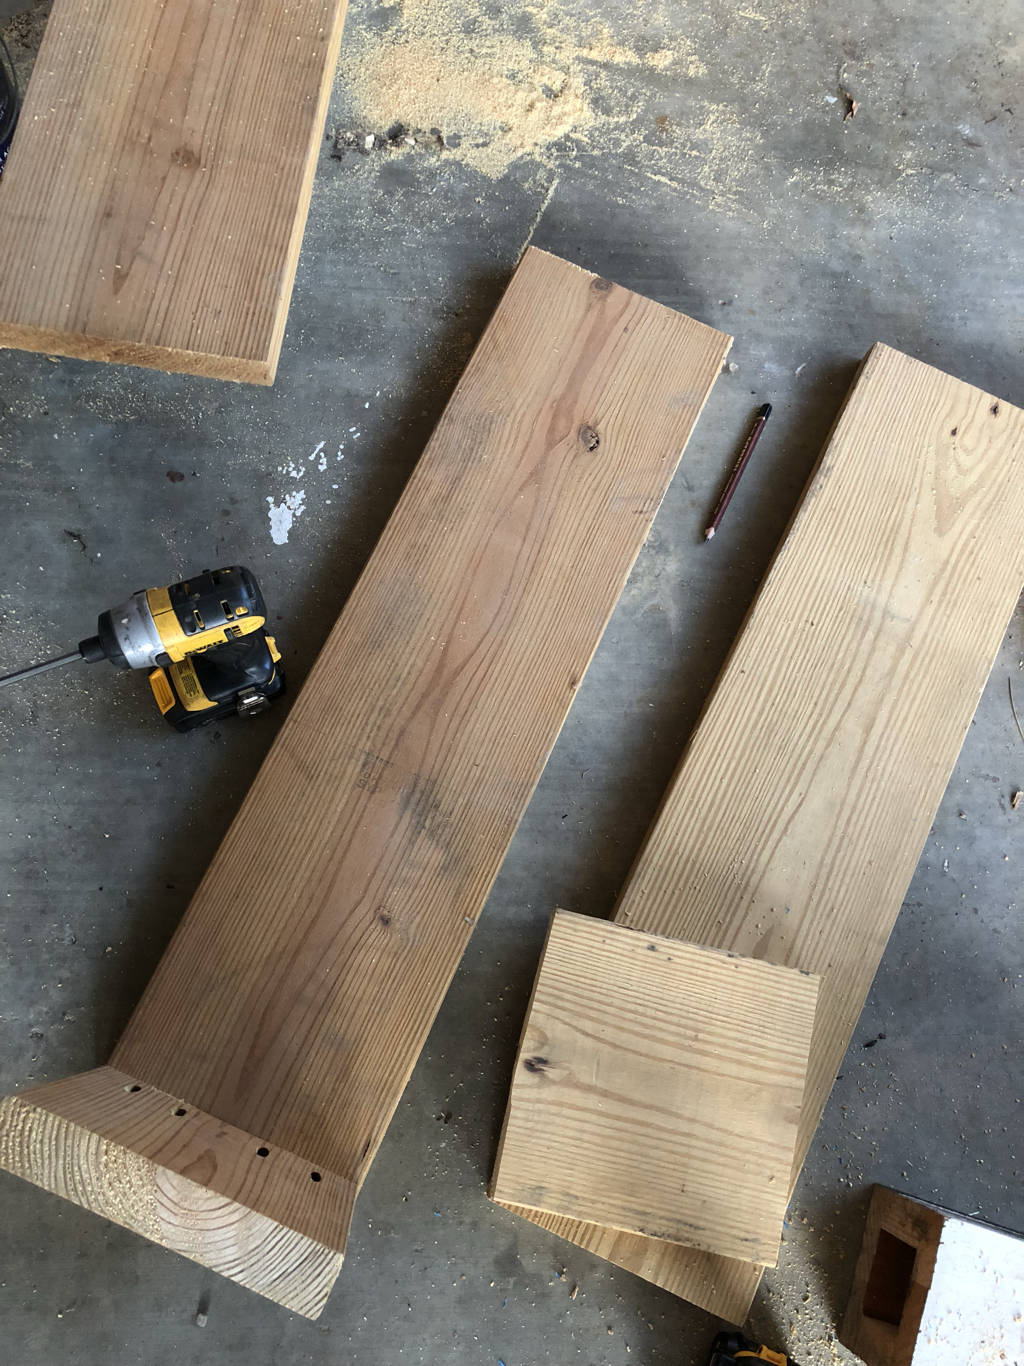
STEP 2: screw boards together
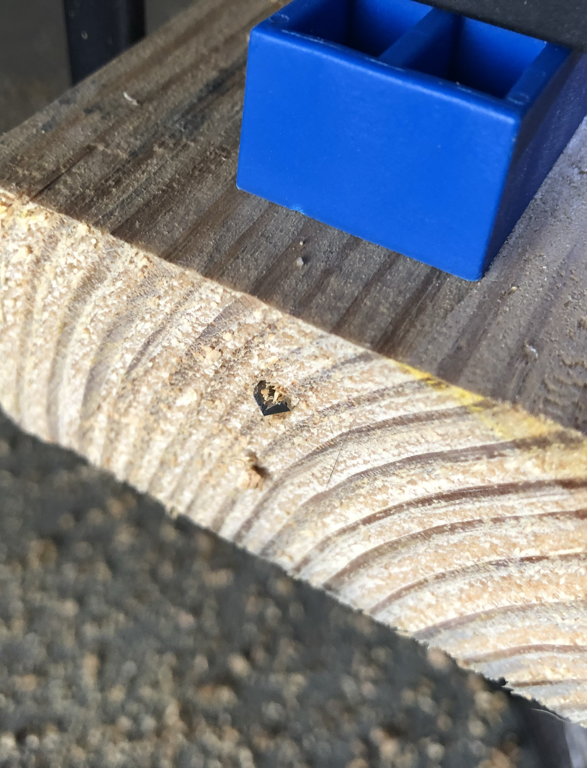
I got fancy with it and used my recently purchased Kreg Pocket Hole Mini Jig to hide my screws for the top board. The bottom didn’t matter since…it’s the bottom. 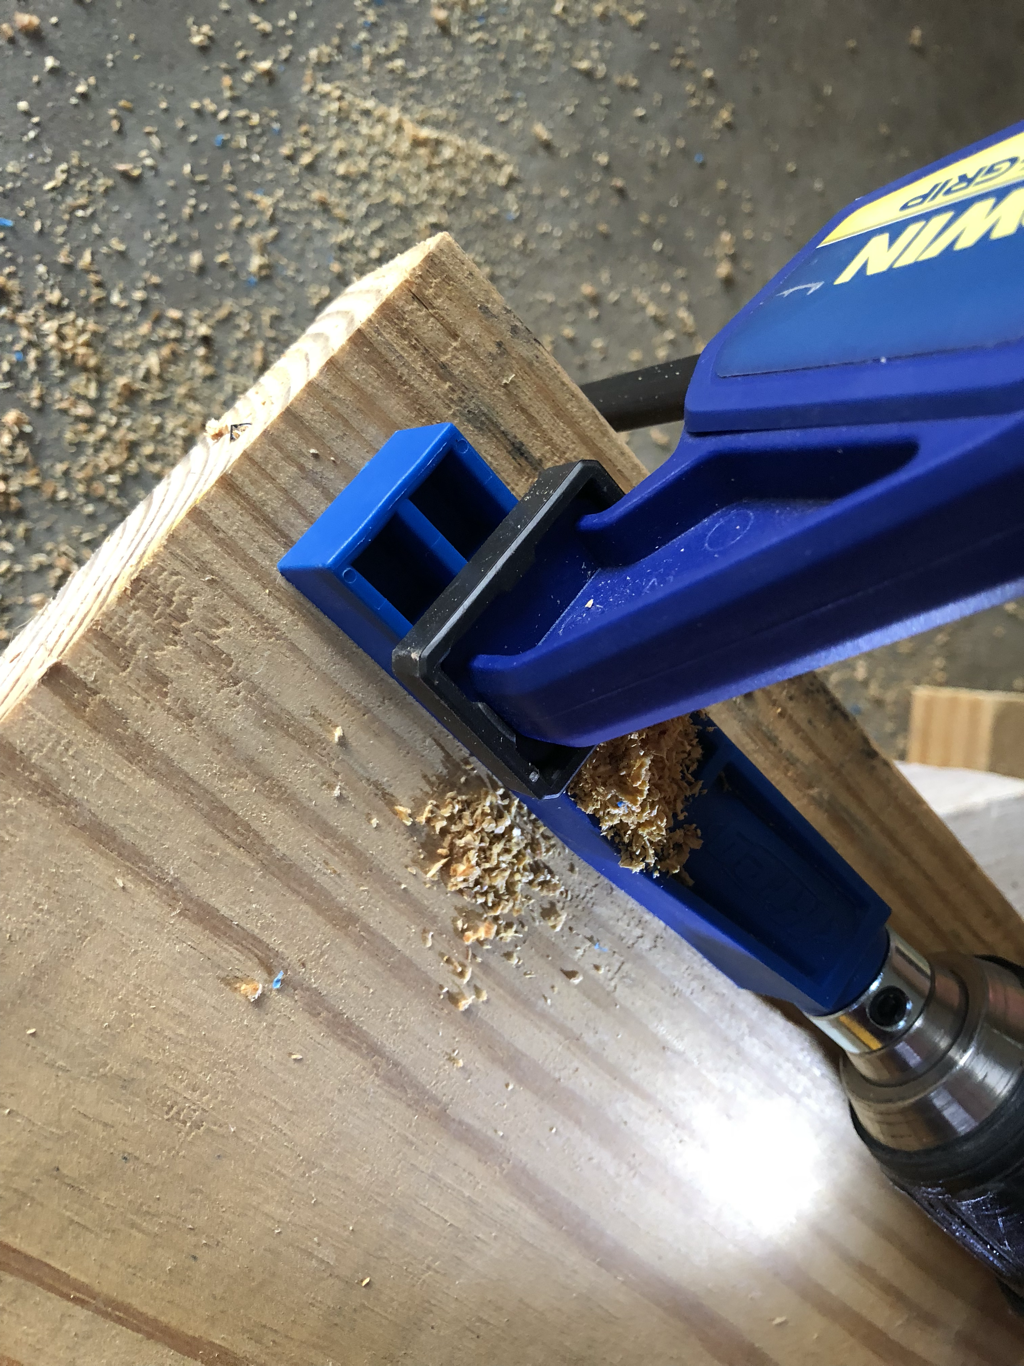
This was the first real time I had ever used my Jig. It was pretty easy, but there was some trial and error. It came with a handy direction booklet, but who reads those the first time??? I didn't line mine up the correct way with my first pocket hole. The drill came through the wood a little bit (that shouldn't happen) and it wasn't in the center which is fine, but not ideal. After that...I read the directions. They were actually pretty straightforward.
STEP 3: add wheels
I screwed on some wheels and there it was! 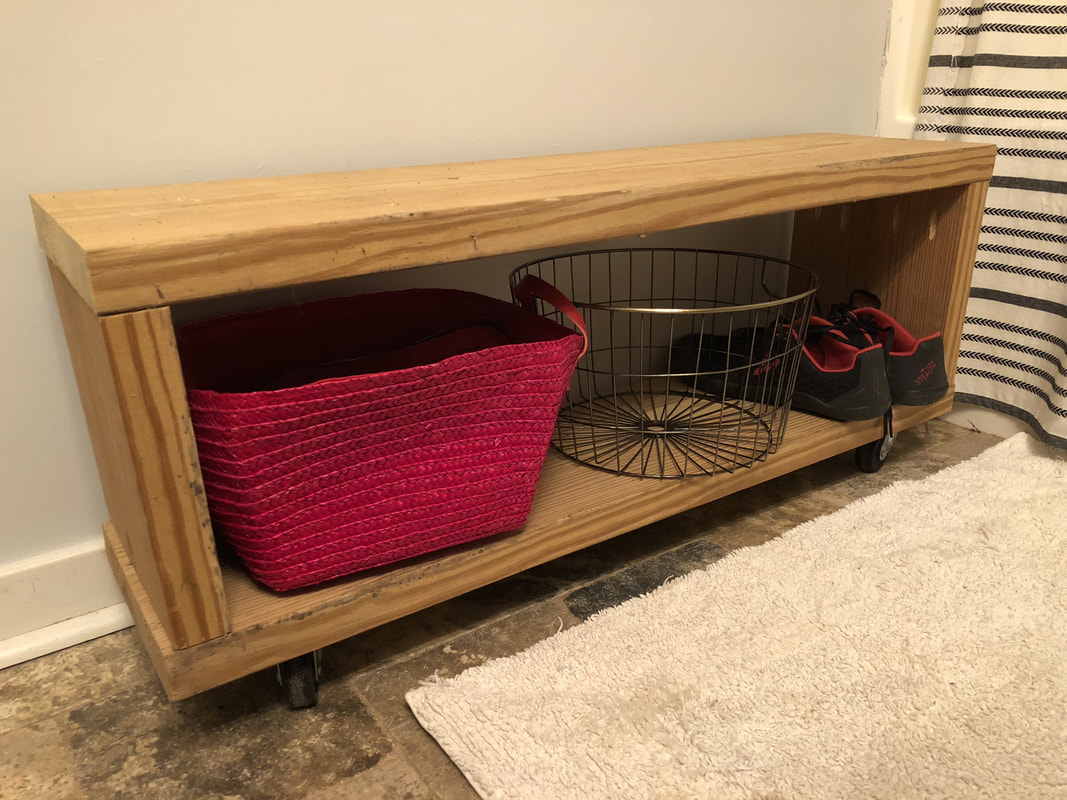
Of course I got excited and put it in the bathroom pre-maturely. I still need to sand down all the edges and corners, then paint with polyurethane to protect it from bathroom humidity.
This project opened a huge can of worms and now I've repainted and fixed up the whole bathroom. I'll post that soon! YOU MIGHT ALSO LIKE: |

Hi, I'm Rachel.I pick up other people's garbage and take it home. Whatcha lookin for?
All

By Date:
July 2018
|
 RSS Feed